
The Brief

This exercise is getting me used to thinking about the layout of my zine for assignment 1. It is showing me how the pages collate together and in what order so that when I come to design pages using InDesign I can lay them out easily ready for print; either home printing or to send to the printers. This was actually a useful exercise because in previous exercises in Core Concepts the briefs were to create a typographic book and a few pages of an “A-Z” book, I massively confuse myself when laying out the pages correctly in InDesign! If anything I can use this exercise as a template for moving forward with my zine; I can refer back to the mini books I have made for this exercise to help me get the pages correct on my actual zine. In the printing industry a lot of printing companies print pages by individual PDFs but some still use the paginated format which this exercise would be perfect for.
I started off with the first example; the small mockup A6 booklet. With this one you take the A4 and fold it in half and half again to create an A6 mini booklet. I have seen a lot of this style for sale on Etsy when I did my research into zines, a lot of these designs use the inside folded out page for a poster, map or anything else that would want to be on a larger scale. Pages 6,3,2 and 7 would make up the poster or map or whatever it is the designer would want to fill the pages with. I quite like this idea.


The next example was the full size mockup which will help me the most with organising my pages in order and especially if I wanted to get something professionally printed where they use the paginated format:


In InDesign it will make it easier to correlate my artwork to the actual pages. This just means that a lot of ahead pre planning will need doing to know what I am putting on each pages; I will need to have a plan and structure for the book narrative. I would need to have all the content for my zine and collect it in sections which will allow it to be better organised onto the relevant pages and tested out to make sure it all works. I would constantly review placement as I worked along.
Although there is no real right or wrong in the art of zine making, having some kind of structure is extremely helpful. So once all the content of the zine is working, get to work in planning your structure out. Like a book, create a content page, or separate the different works collected into sections – for example, ART / PHOTOGRAPHY / POETRY. This will then allow you to manage better the ways in which the information is organised, which makes life easier for both you and your readers.
While I was playing with the folding of the books I decided I would have a go with the binding too:


This is the long arm stapler for binding. This is a very popular and quick and easy way of binding but for a long run of publications it can prove costly buying the boxes of staples.
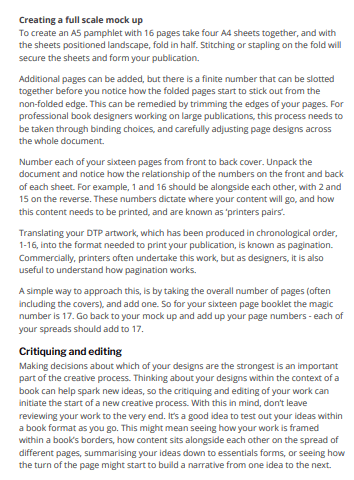
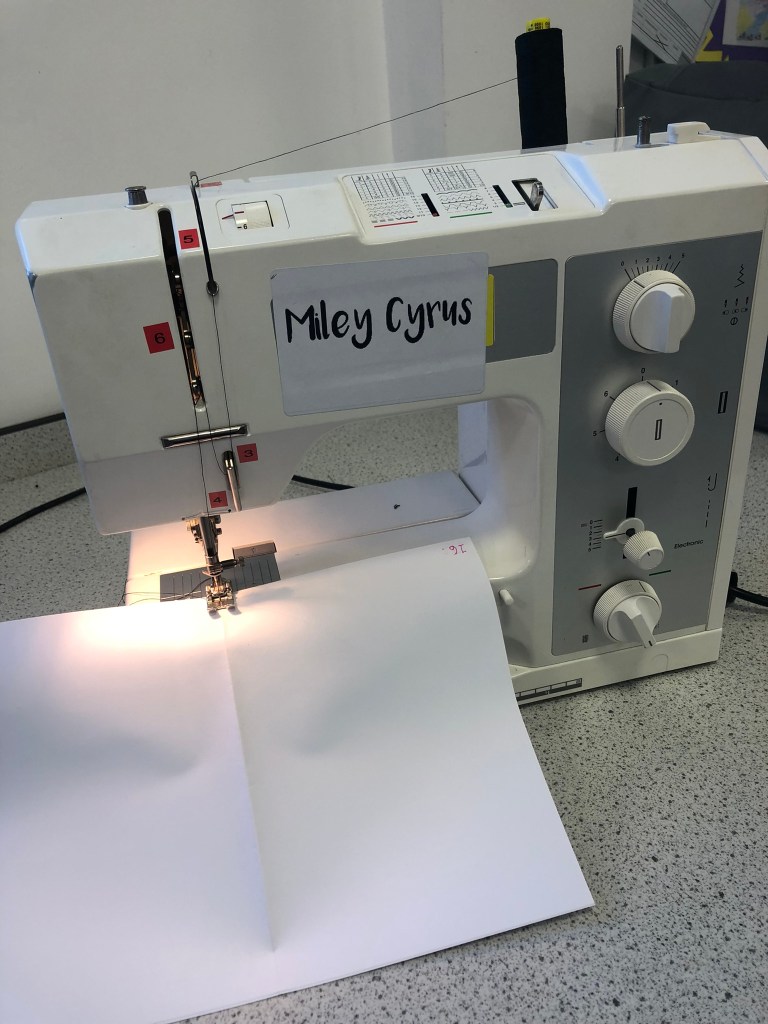
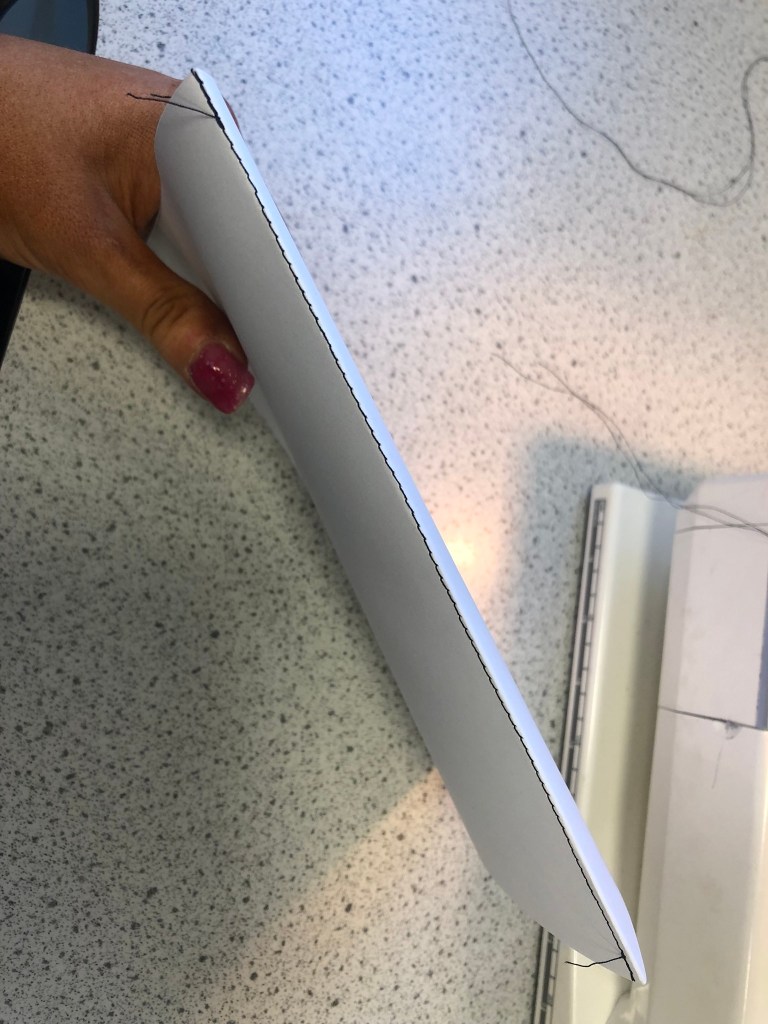
I then had a go at stitching the spine; my job in Design Technology in a secondary school means that I have subject knowledge also of Textiles. Using one of our trusty Bernina machines (Miley Cyrus – yes! we name our machines after pop stars!) I stitched down the middle of the inside spine. This method is so quick and easy and a much stronger method than the stapler. It just depends on whether or not people have access to sewing machines for this method. This method of binding would be cheaper than using staples, a reel of thread goes a long way and would be able to stich a lot of spines; working out a lot cheaper.


The next method I tried was binding by hand stitch; saddle stitch. (I mentioned this before in a previous post; I already tried this out when I was at college for a book I designed on Morocco) I followed a tutorial video on YouTube to remind myself of how to do this method of binding (I have embedded the link below) The method was really quick and easy to do!


This method could be done using embroidery thread which I have used or using the thinner machine thread. I have used the thicker embroidery thread so that it is seen more in my photographs but also if you wanted a really decorative binding this would be good for it.
This exercise has been a short and sweet one to complete! It has actually been quite fun having a go with binding and also now that I have created a prototype of a zine layout that I can use as a reference for my first assignment.
