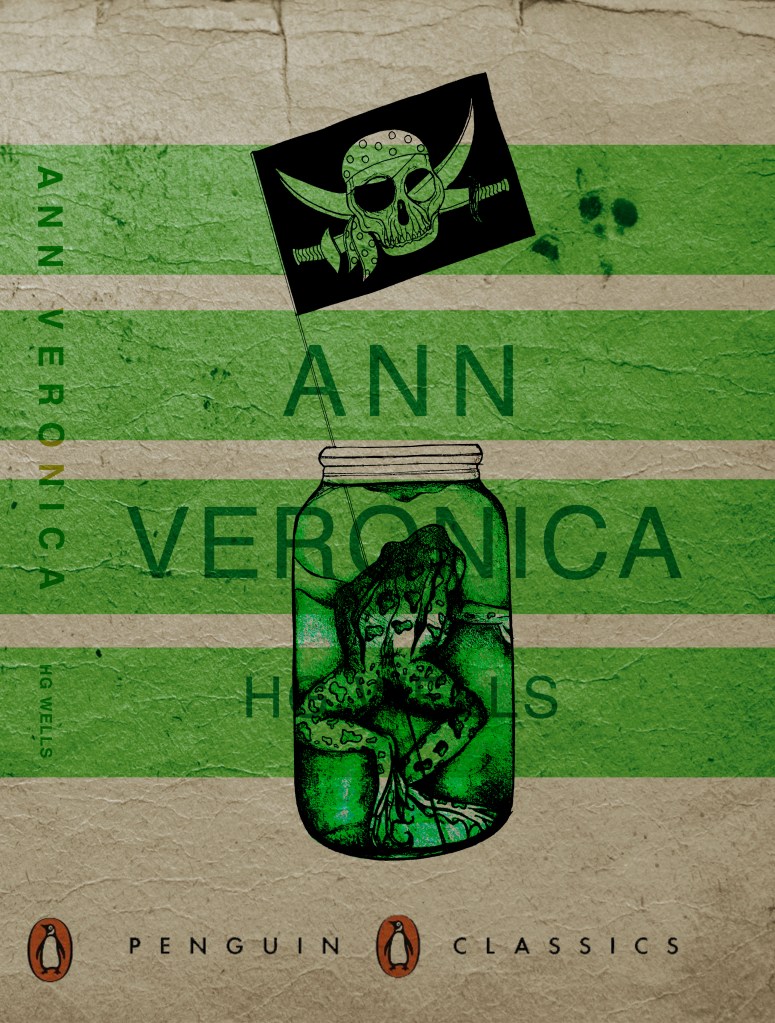
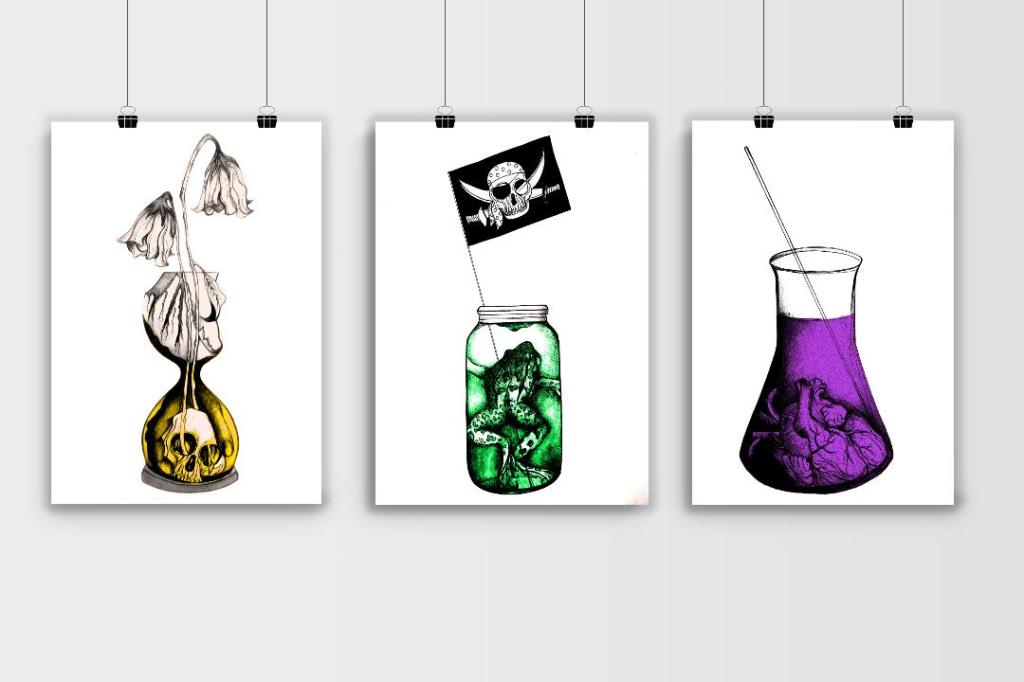
As per my last post I made the adjustments I felt I needed for the designs and here they are!
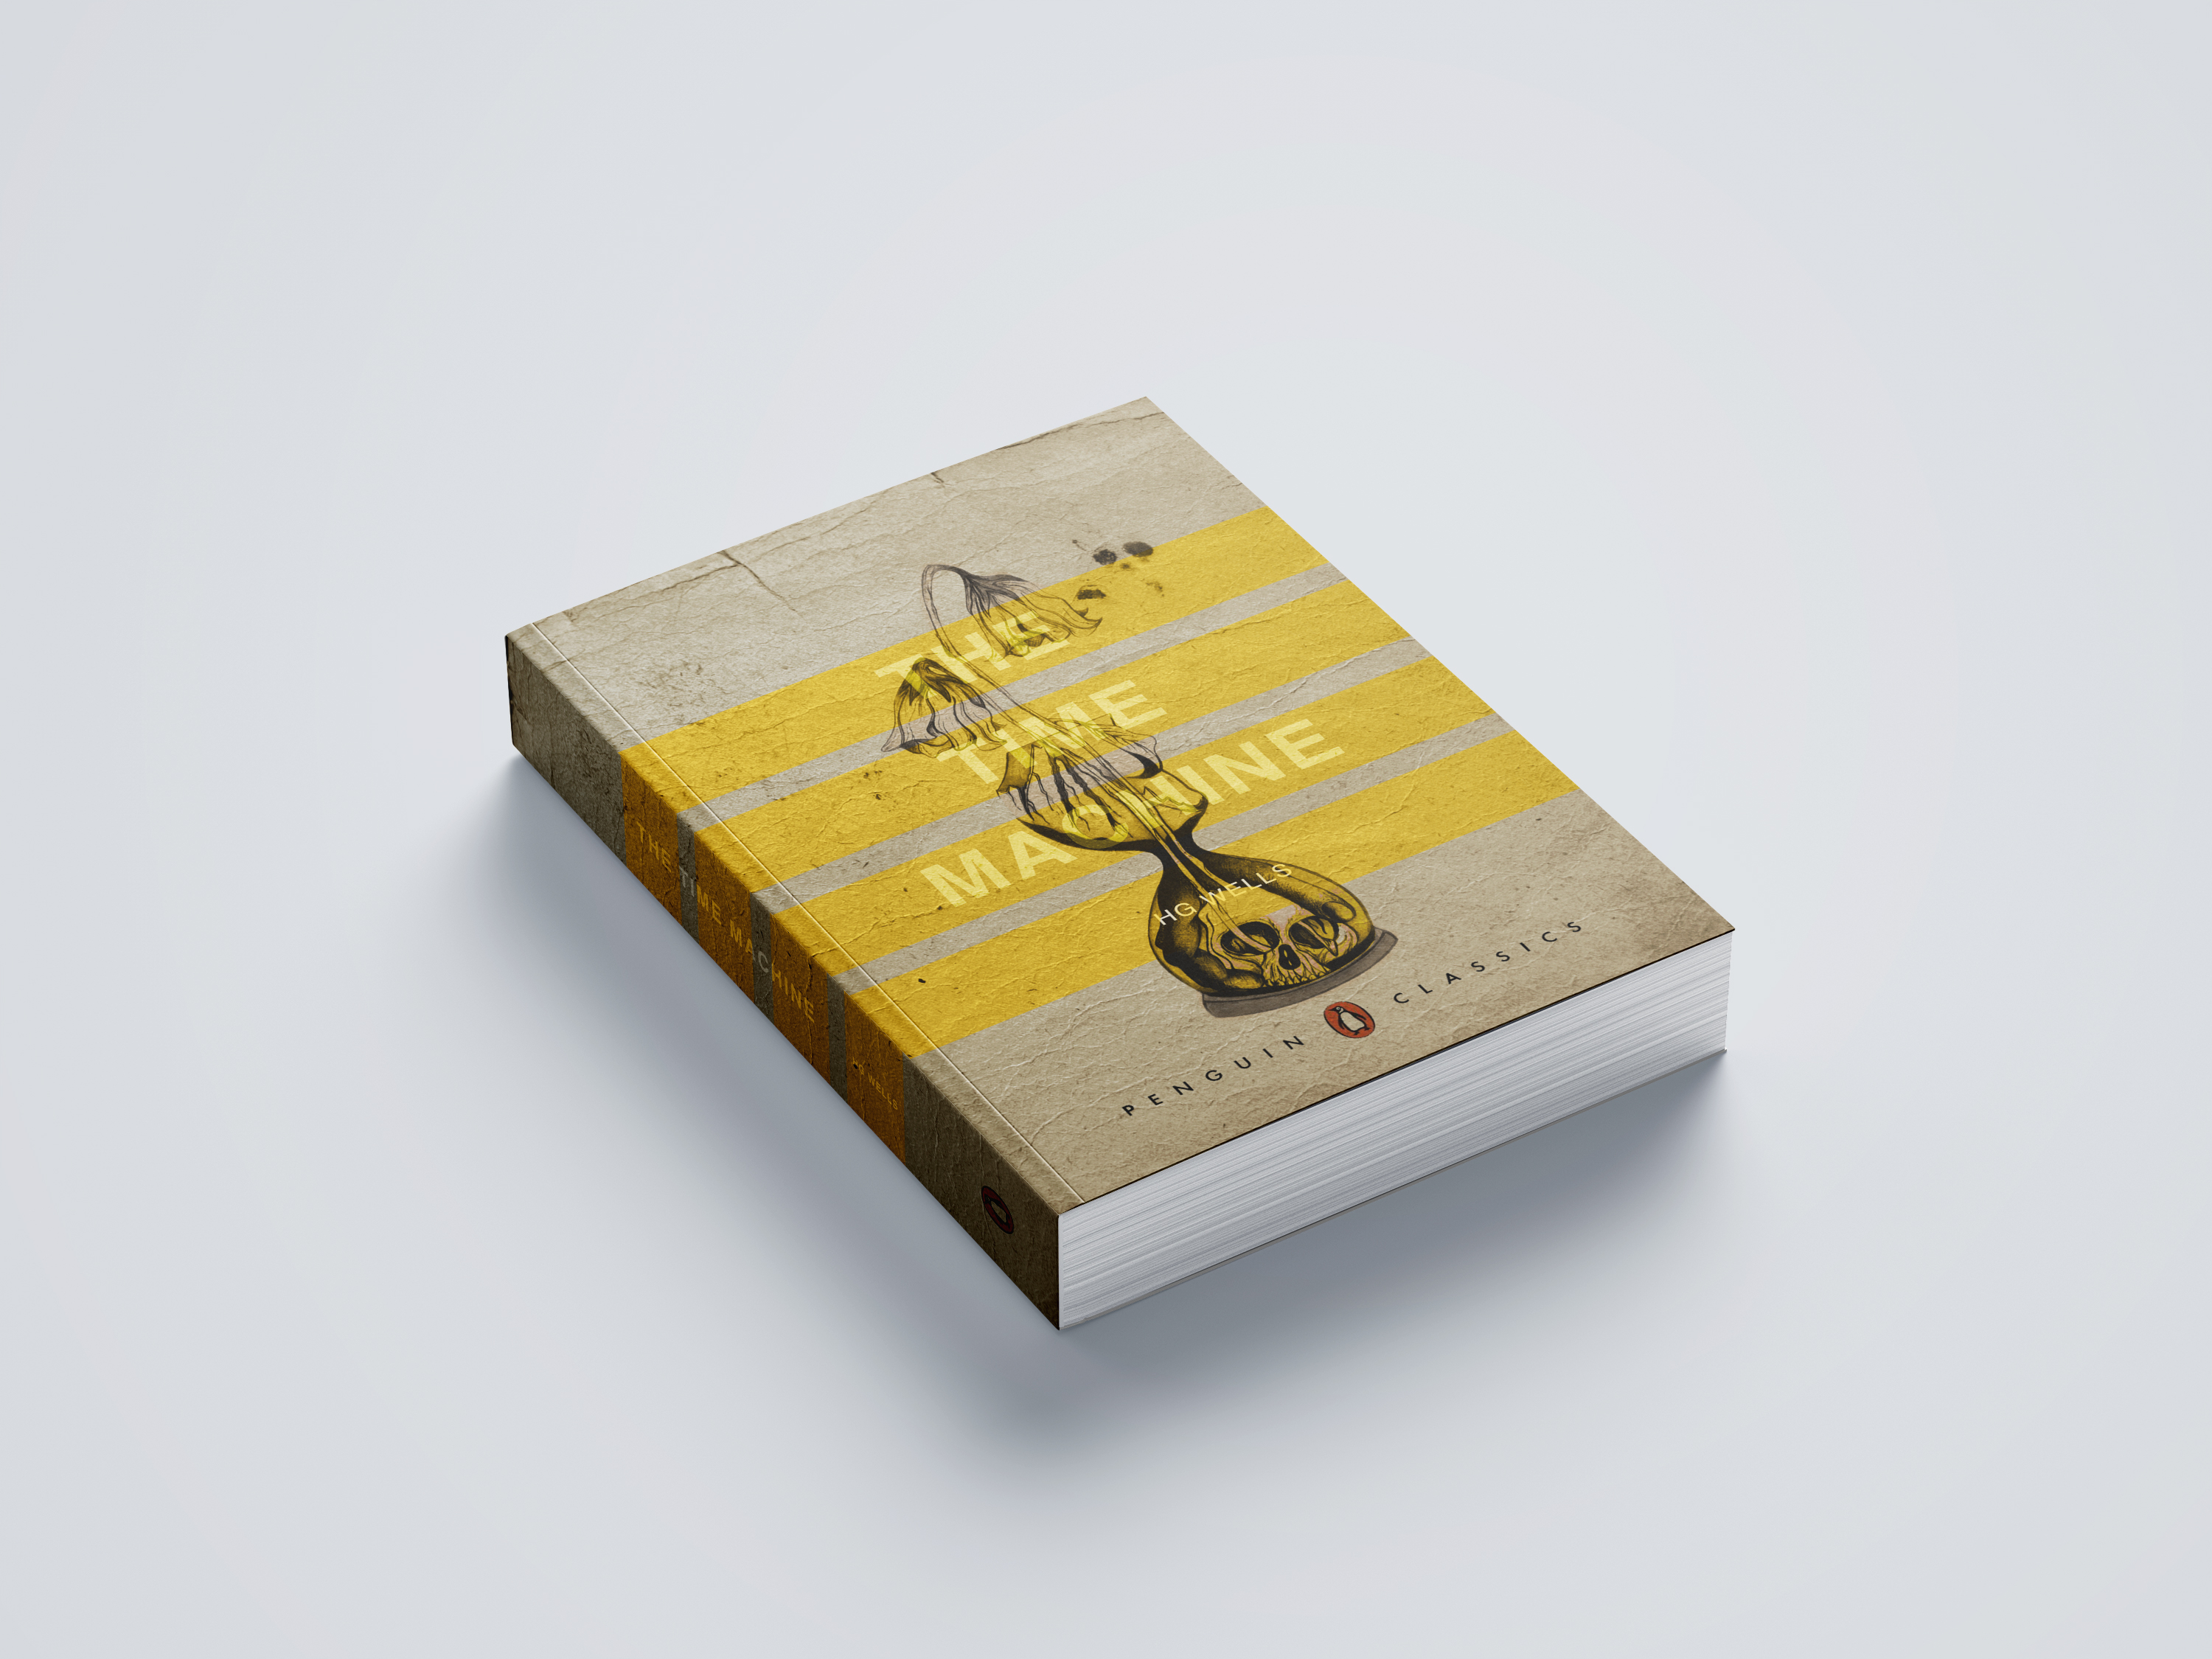
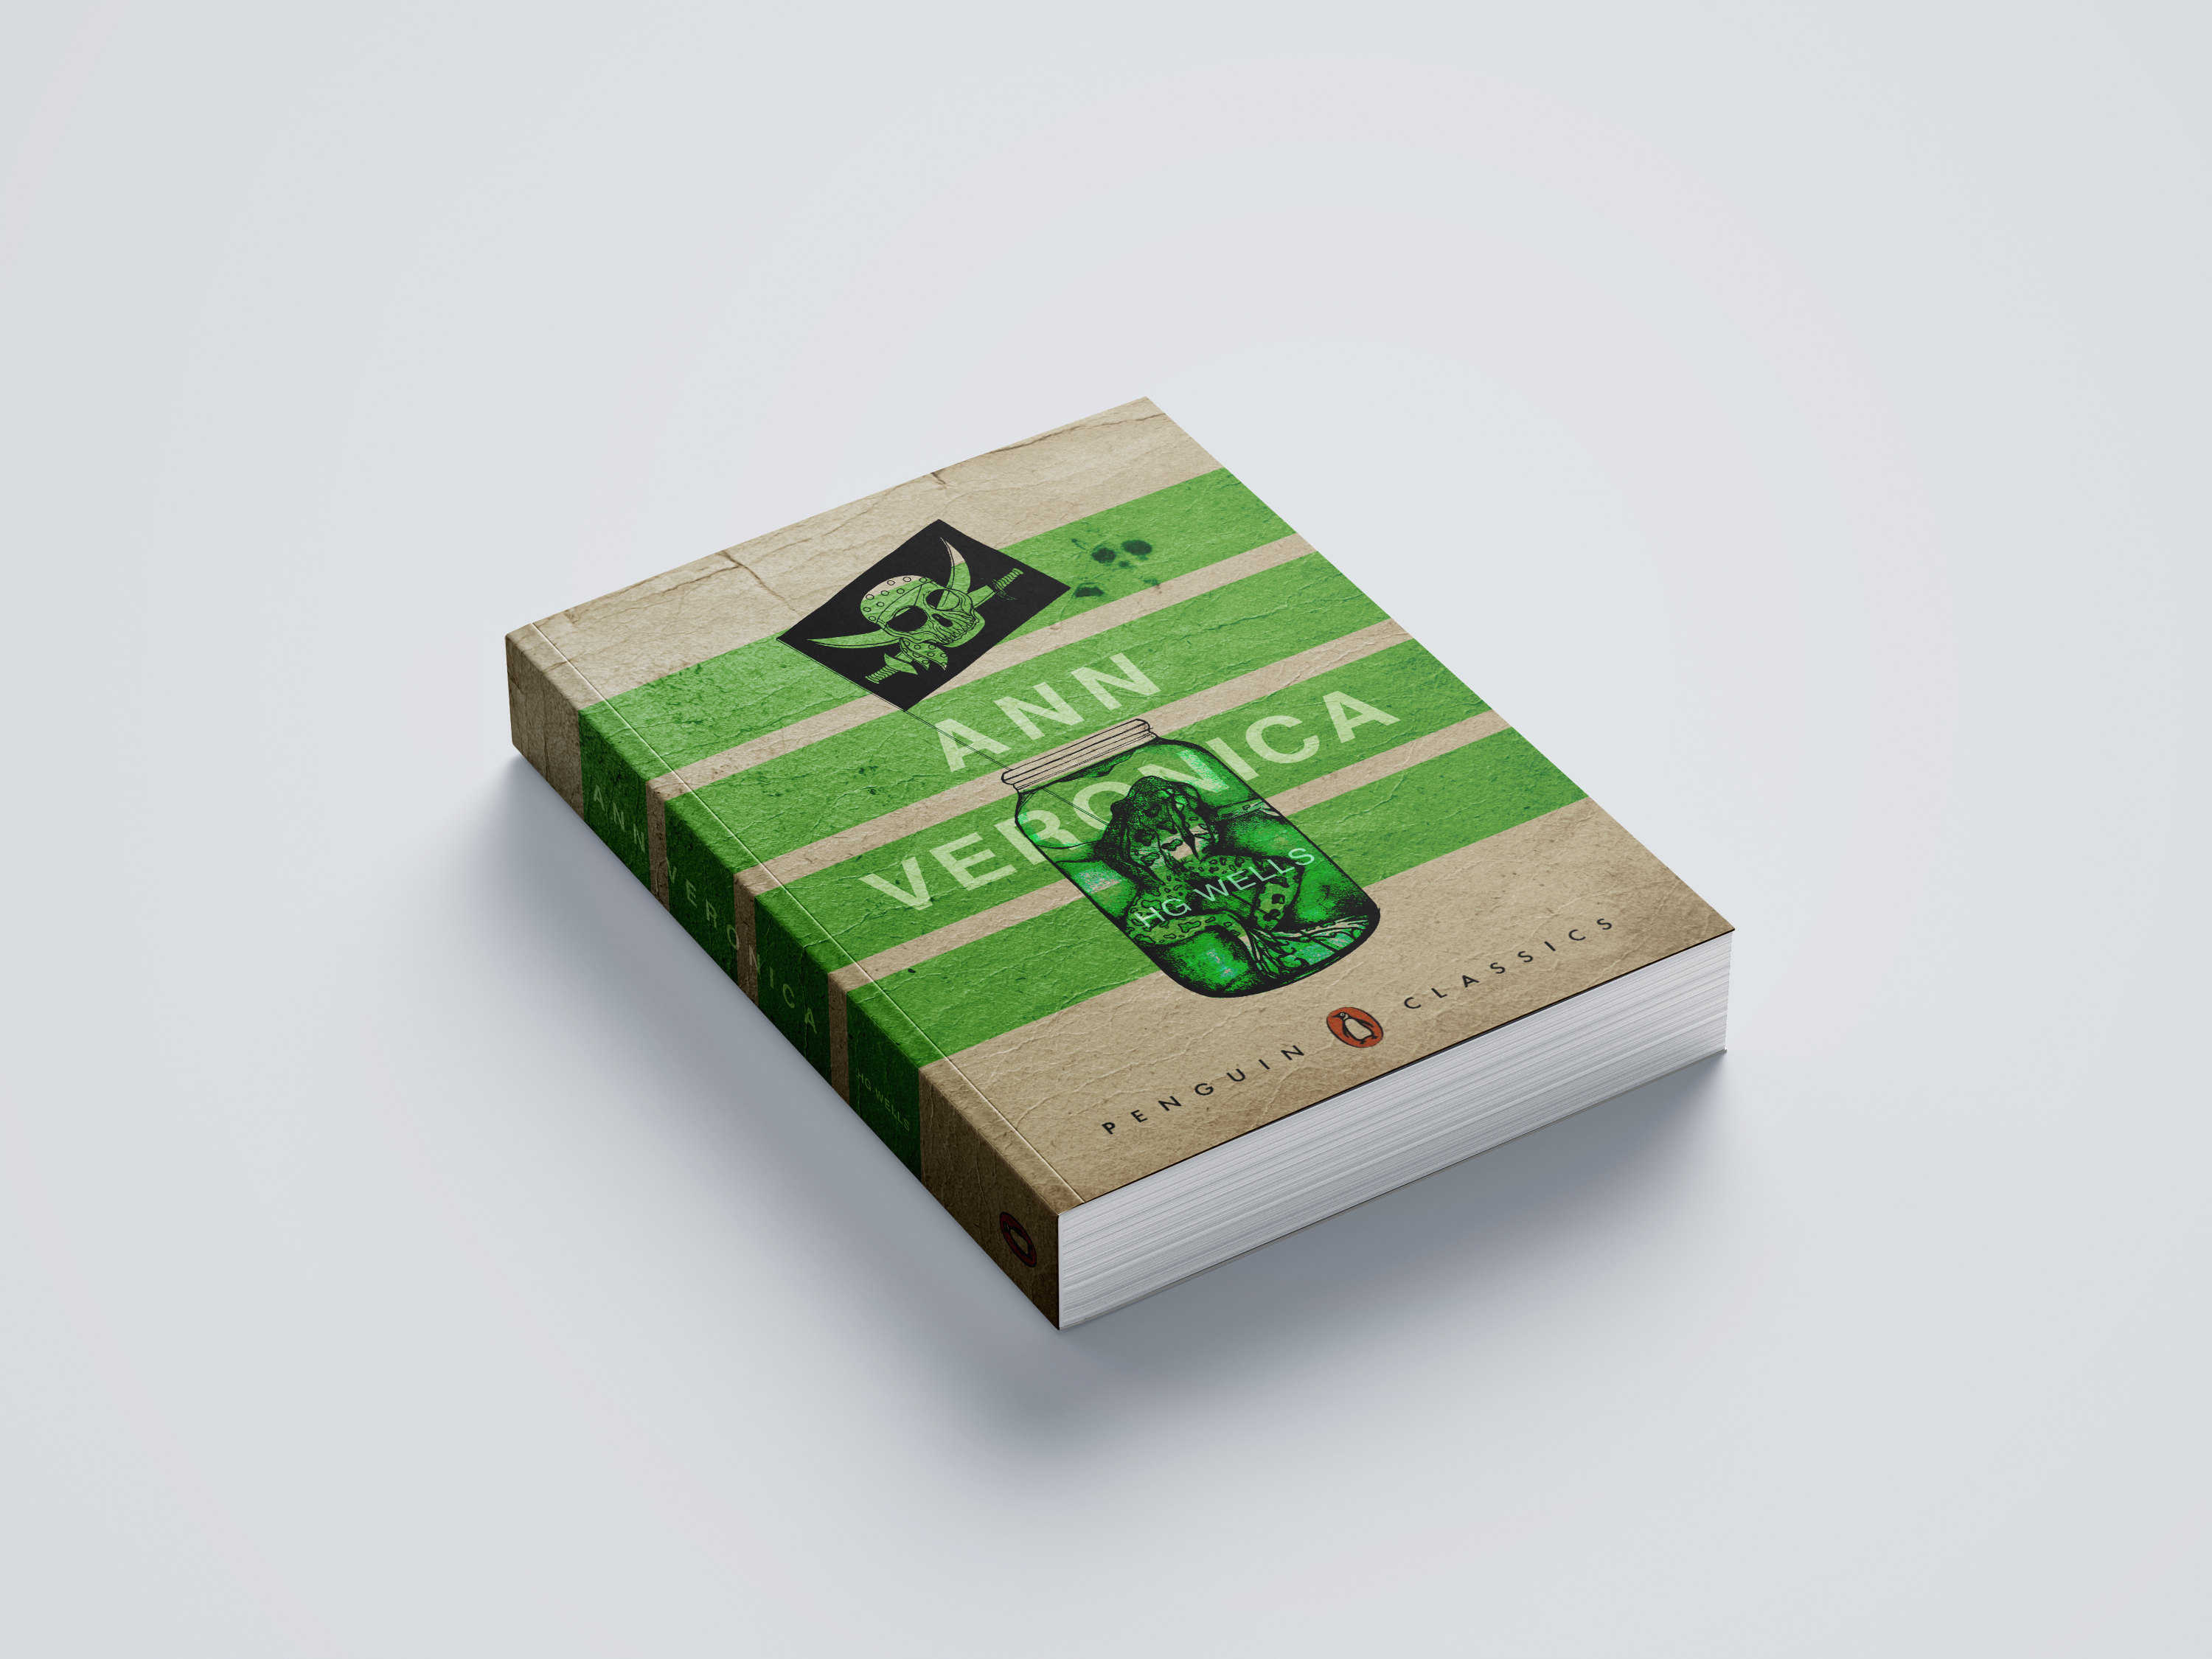
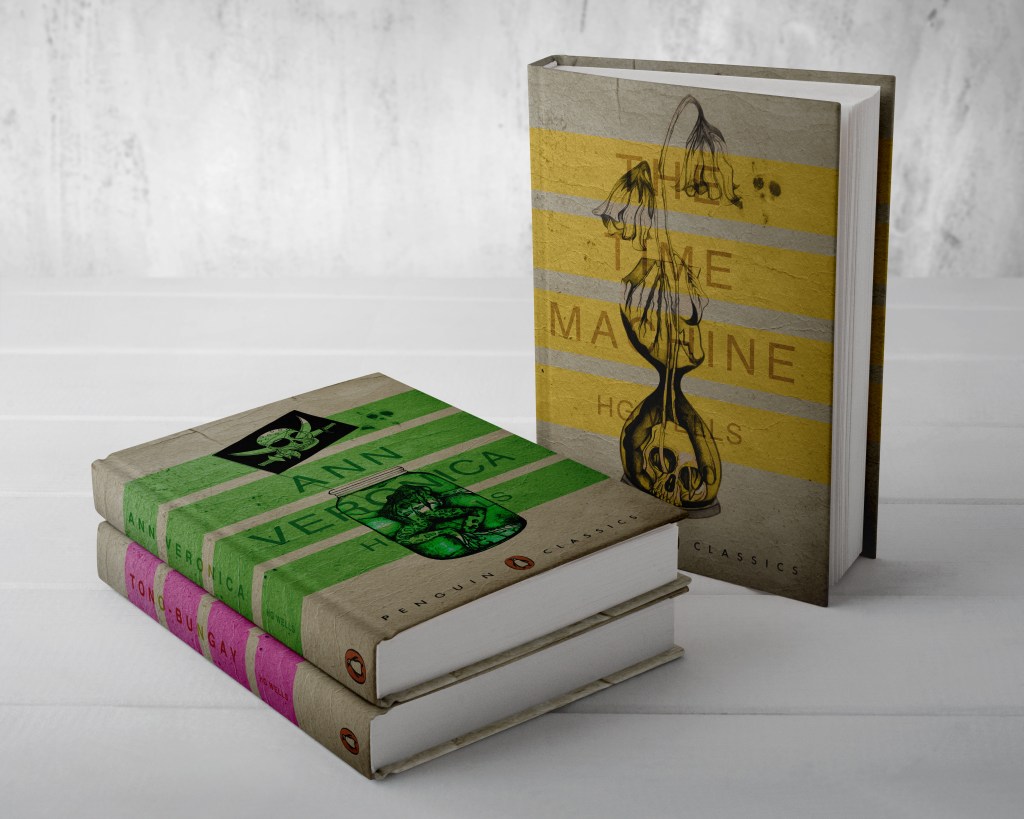
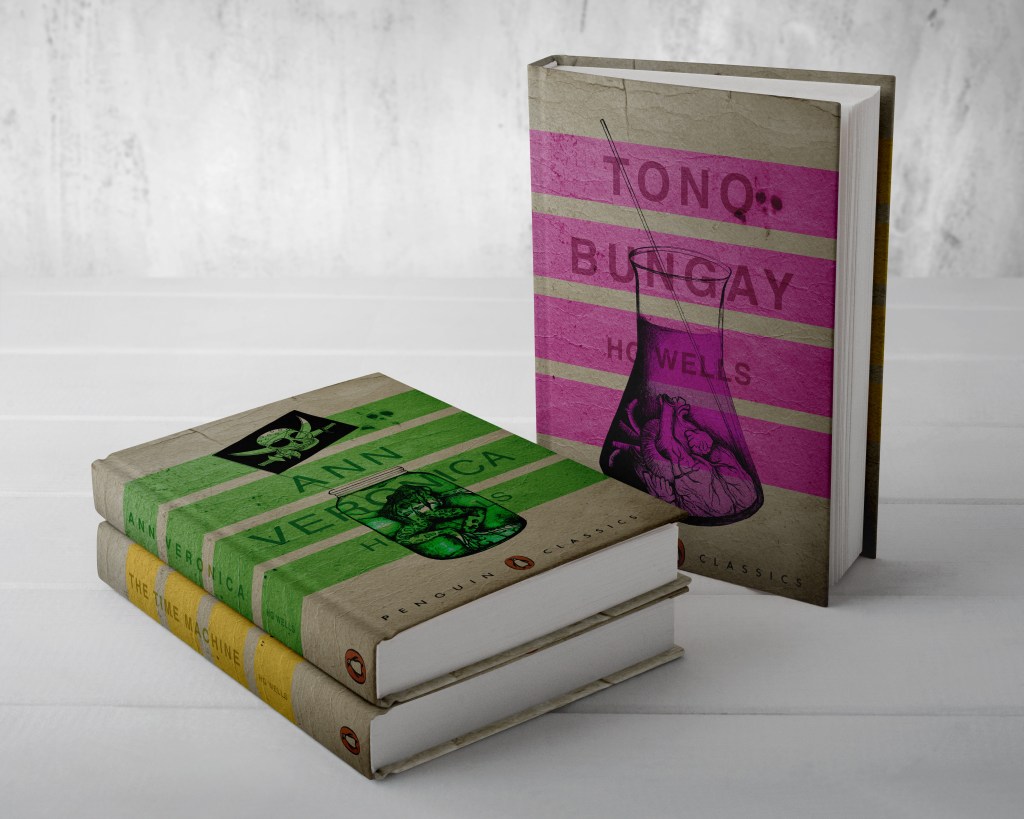
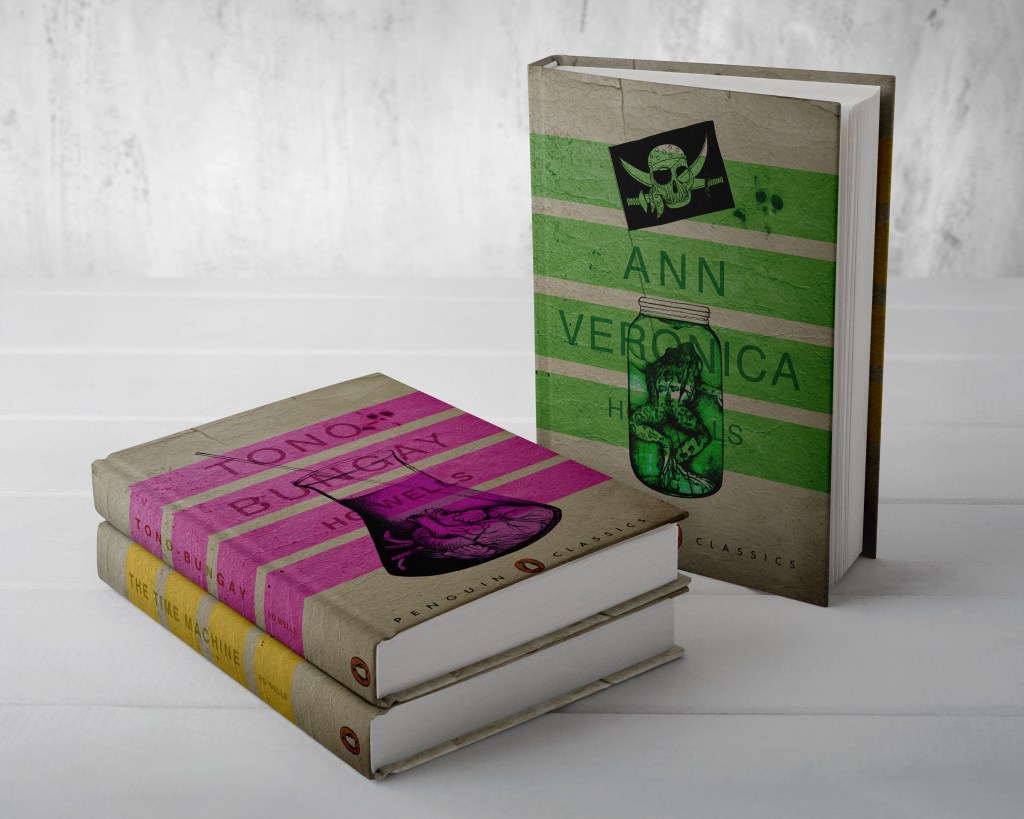
I also found an appropriate paperback book mockup (as stated by the brief) to mock my designs on!
I feel now that there is more contrast in the designs and the text of the authors name (although smaller) is more legible and does not take the attention away too much from the main title.
Following on from my last post I have now finished the Book design exercise!! (well!… almost! I wrote this post a few days ago and have been keeping it in my drafts! – I have relooked over my designs and seen one potential flaw!… I have written about it at the bottom of this post!)
As I said in my previous post I was feeling very apprehensive about starting this exercise. I didn’t know anything about the author and did not know anything about any of the books he had written. Book design is something that I had never looked into or done before and I was completely overwhelmed with where to start with it. Finishing this exercise I feel that I have learned a lot from researching into the author and his books, watching TED talks by Chipp Kidd about successful book design and looking into existing designs out there. I feel I have achieved successful final design outcomes. I really enjoyed this exercise and as I said in my previous post book design is something that I would potentially like to go into.
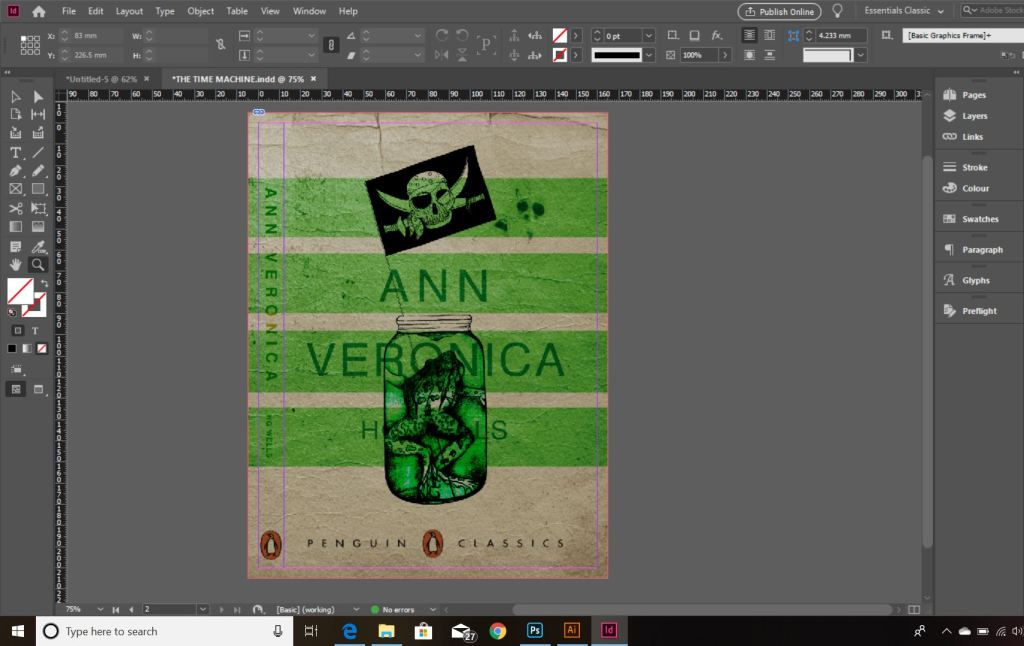
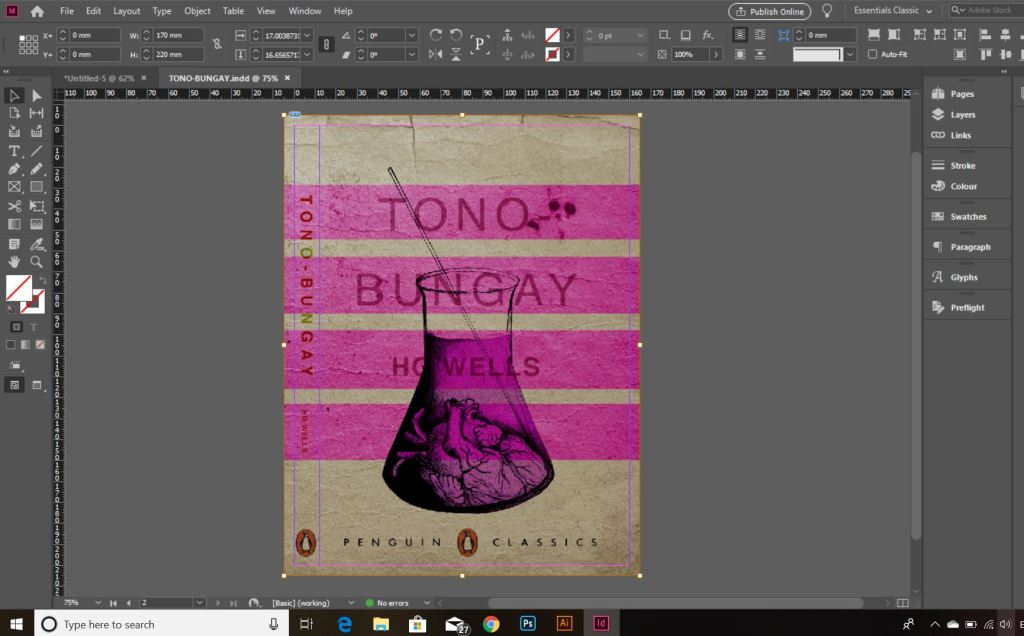
From my last post I adjusted the typography on the books; although some parts of the text are still hard to read, I actually quite like this effect. I also designed the spines. Once I saved the designs as PDFs I then imported them into InDesign. I set up the document in InDesign and worked out how big to make the spine by calculating the number of pages by the weight size of the paper used in paperback books (usually 80gsm). The calculations came up to about 4mm but I decided to work larger than that so that I would have more spine to work with in the design. I then created PDFs and mockups for my final designs. The mockups that I did for my Instagram posts I mocked up on hardback books. There are lots of free downloads online for free book mockups but most of them are for hardback books. I specifically wanted one to feature all 3 books at the same time. The mockups below show this.
The images above are the PDFS of my final designs with the spines. The screenshots below are the makings of them in InDesign.
*** Since writing this post as a draft a few days ago, I watched a poster critique by @thechrisdo. I know that this is book design and not poster design but the same rules still apply. It was so obvious that I don’t know why I did not spot my mistake earlier!… I haven’t made the titles of the books bold. I need to make the titles bold and the authors name in regular. This will show contrast between the 2 and also make the title stand out more. I may even adjust the tracking of the titles also.
I have FINALLY reached the final steps to this exercise! I have really enjoyed the design process though even though it has been a long and overdrawn one! – I always said I didn’t want to half ass it and I wanted to make sure that when it was complete that I had done the very best that I could have done with it! Putting the typography onto it and making them into book covers was a really daunting prospect! – However, I can go to bed tonight knowing that I am one step closer to making them look like the real deal! Doing this exercise has really made me also think that going into book design is something that I would want to do. I find now that whenever I go into bookshops I am scanning the shelves for the covers and not necessarily the books! Researching into Chipp Kidd and purchasing some of his books as well really interested me and made me think deeper into what really goes into the design of a good book cover!
“Never judge a book by its cover….. Unless you’re a designer!”
I started off with the 3 designs I tweaked on Photoshop (below):
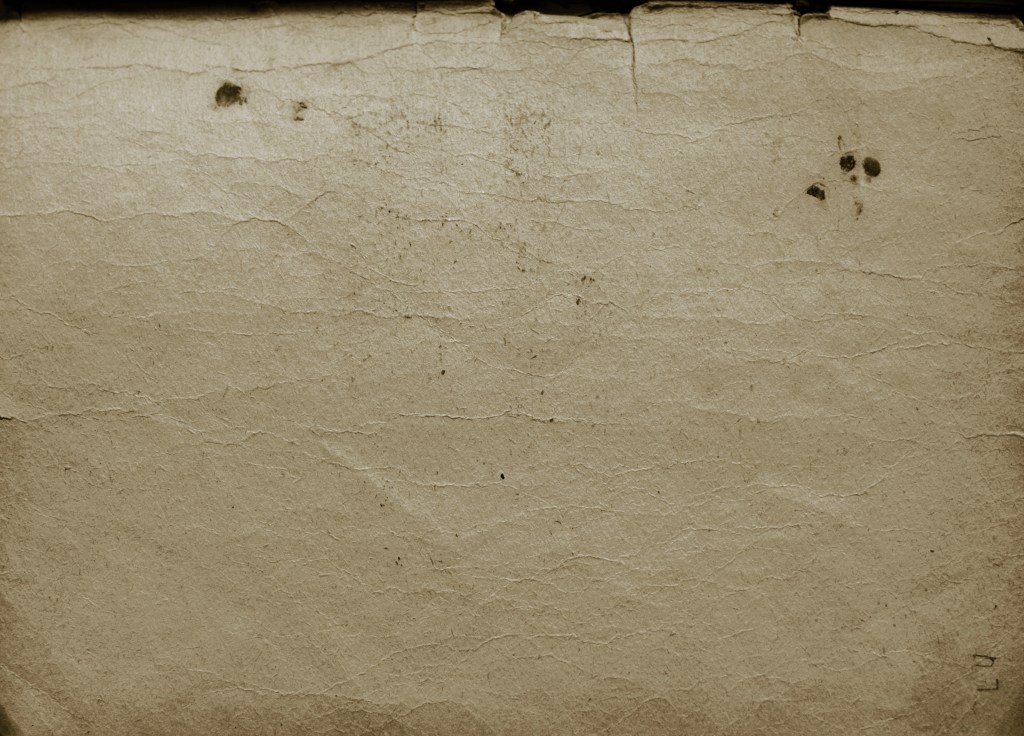
I have a current obsession with textures… which is a good thing seeing as one of the suggestions in my last feedback was to add texture to my work! I watched a video by Roy Cranston on Chris Do’s @thefutur where he spoke about where and how he sourced his textures for his poster work, it was funny because I already collect random photos of interesting textures and findings but just never use them! He also mentioned how you have to scour the internet for the free ones. I thought it might be interesting to add a texture to the covers.. maybe like an old vintage paper feel? This is what I went out to try and do.
I found a texture online which resembled ripped, discoloured old vintage paper (below) I imported this into Photoshop and did an overlay of it with my designs.
The texture I found online to add an effect to my covers
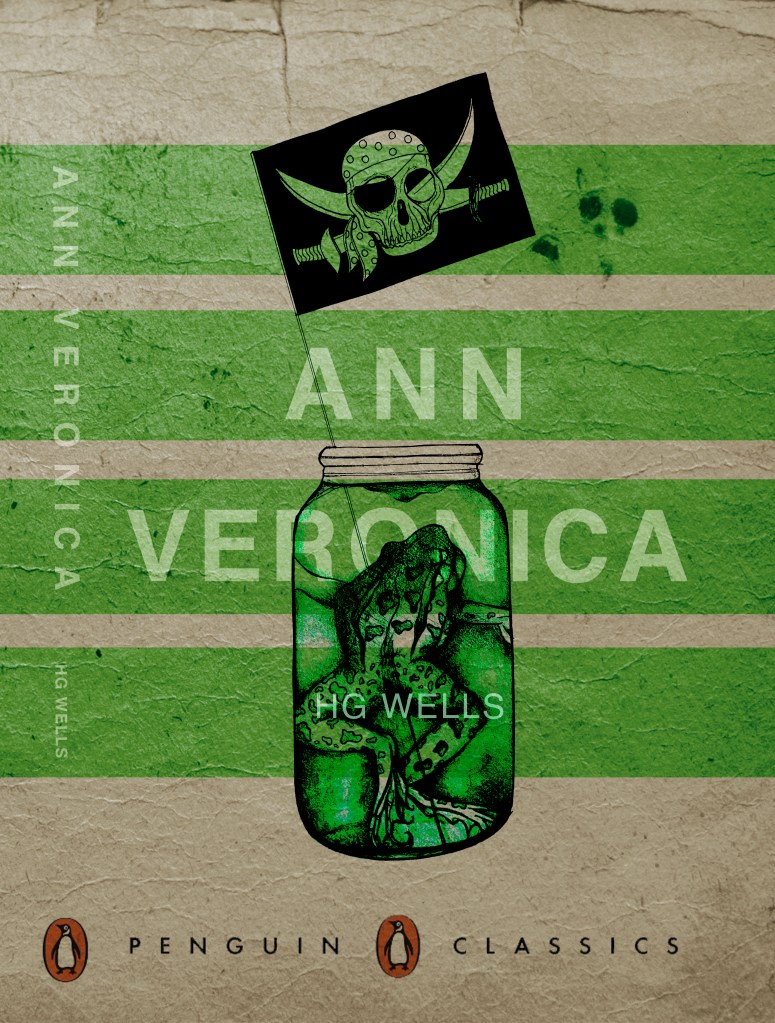
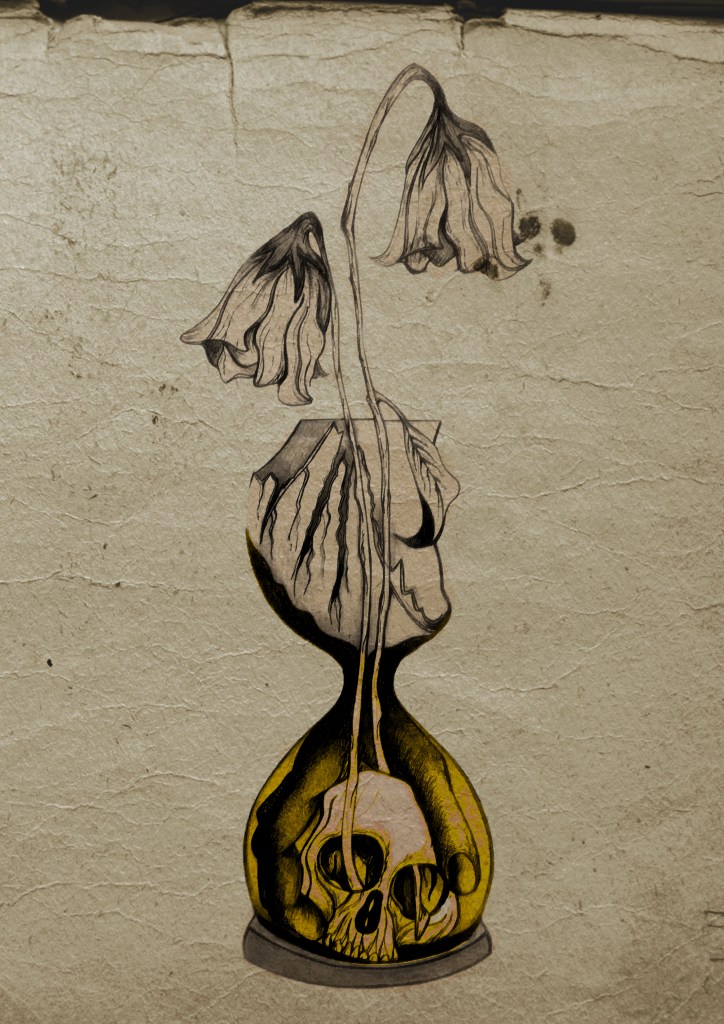
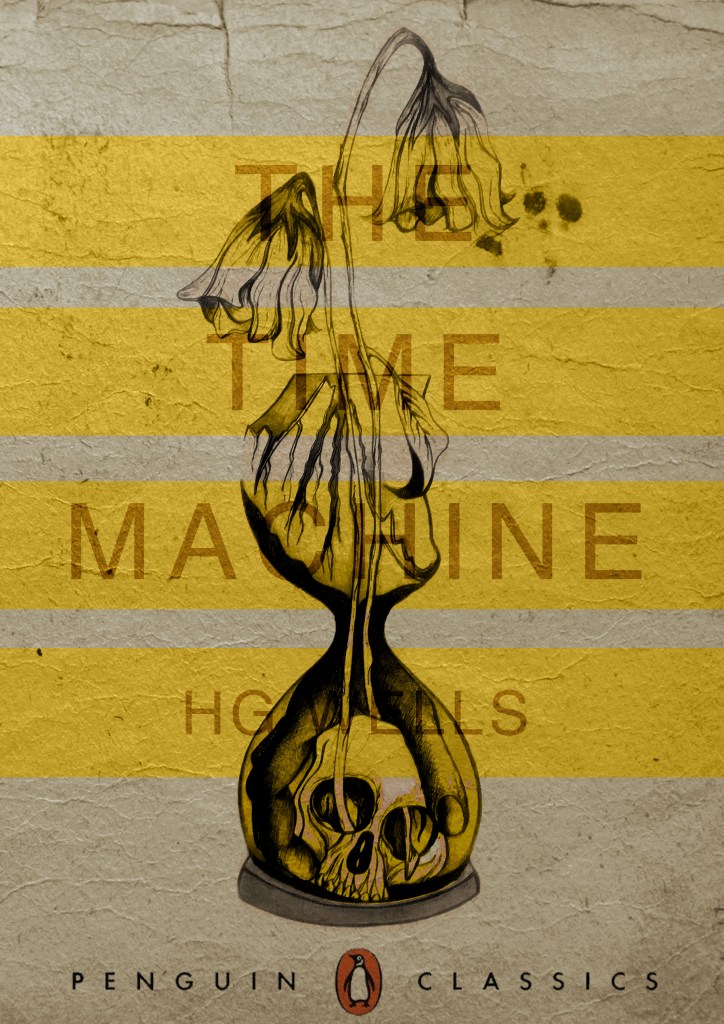
I think the texture worked extremely well! (below) This is what the first cover that I designed looked like with the texture included:
I then had the problem of successfully adding text onto the cover without making it look too drab, boring and old fashioned. Although I wanted the covers to have a vintage feel I also wanted a modern feel to the design to bring the book into the 21st century and to make sure that it is still relevant for many more years.
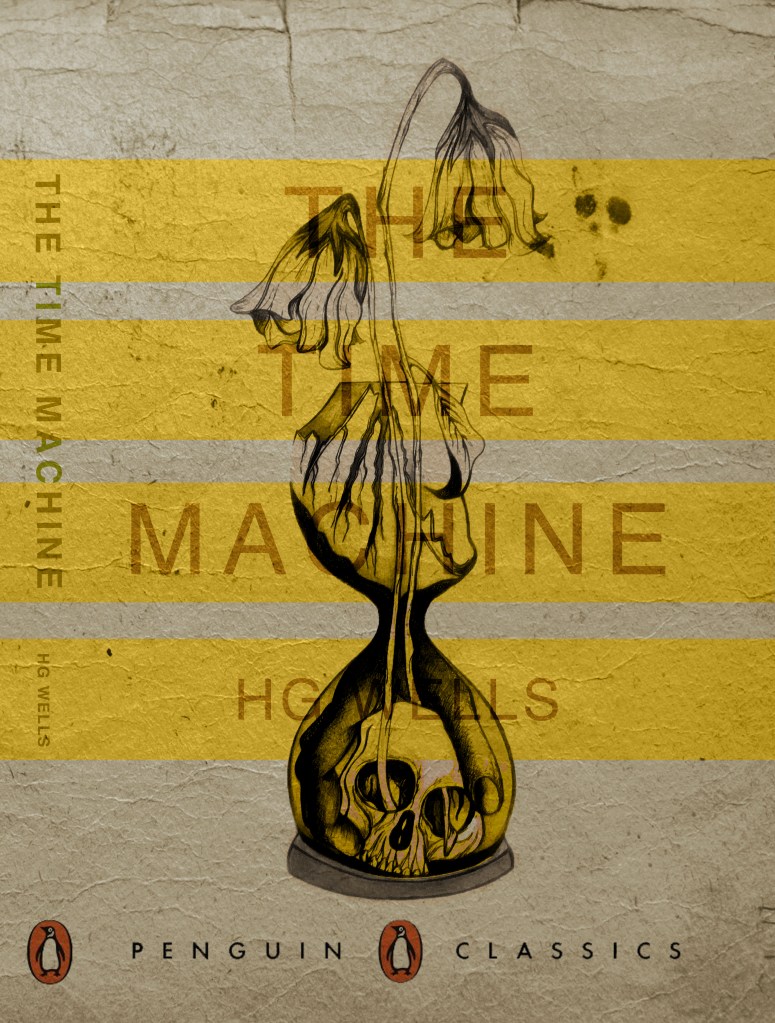
This above is the design I toyed with; I liked the idea of Franklin Gothic as a font at first glance.. it was literally the first trial typeface I used and tried it with. In my head I knew I wanted the text to be quite prominent across the whole cover. I had the idea of turning the opacity down to make it partially see through. I thought as well I could match the colours of the type to the yellow in the hour glass (see below)
I liked this idea, the yellow worked well but it was still missing something… This is when I thought of the idea of using coloured bands across it (one for each line of the title)
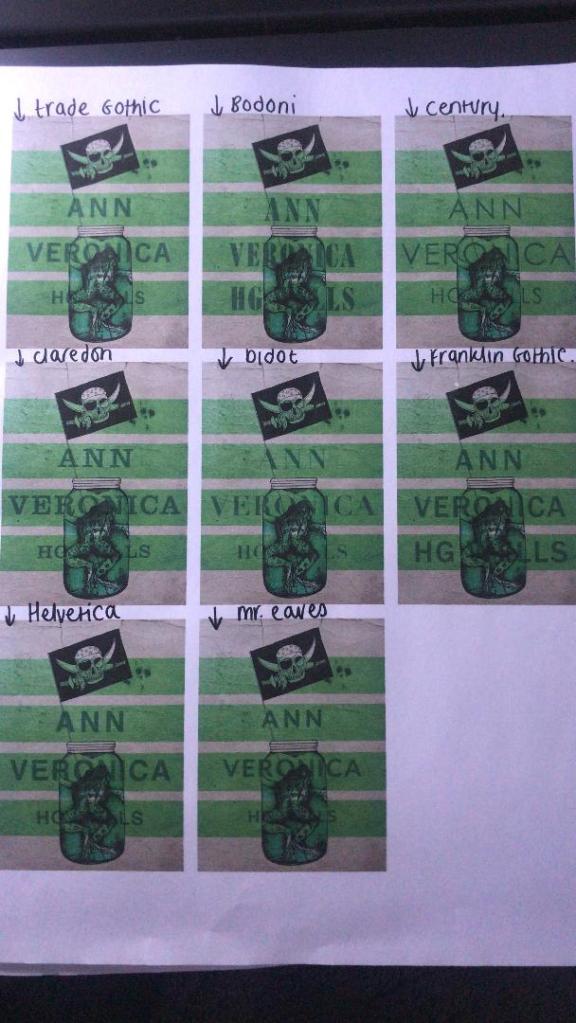
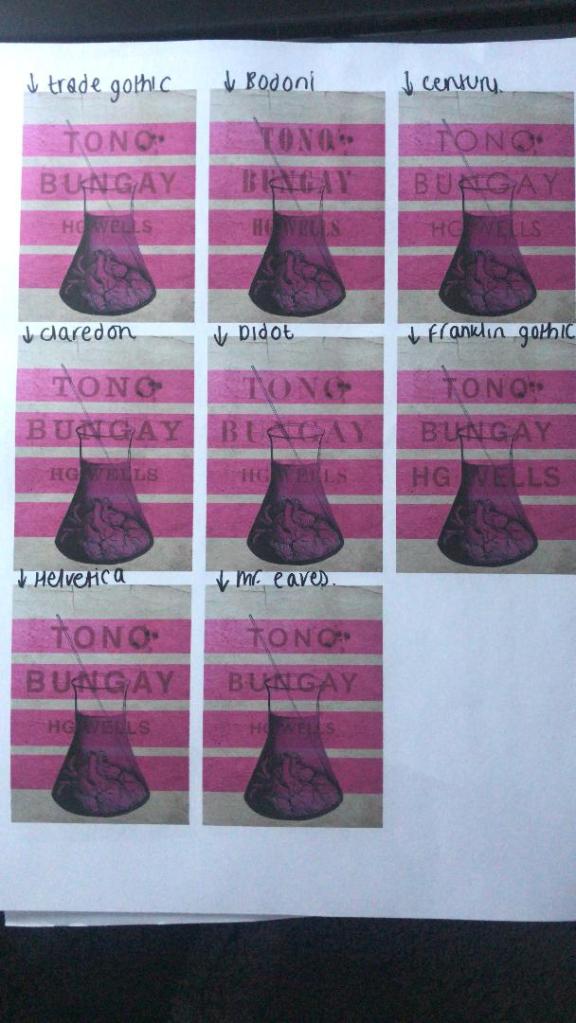
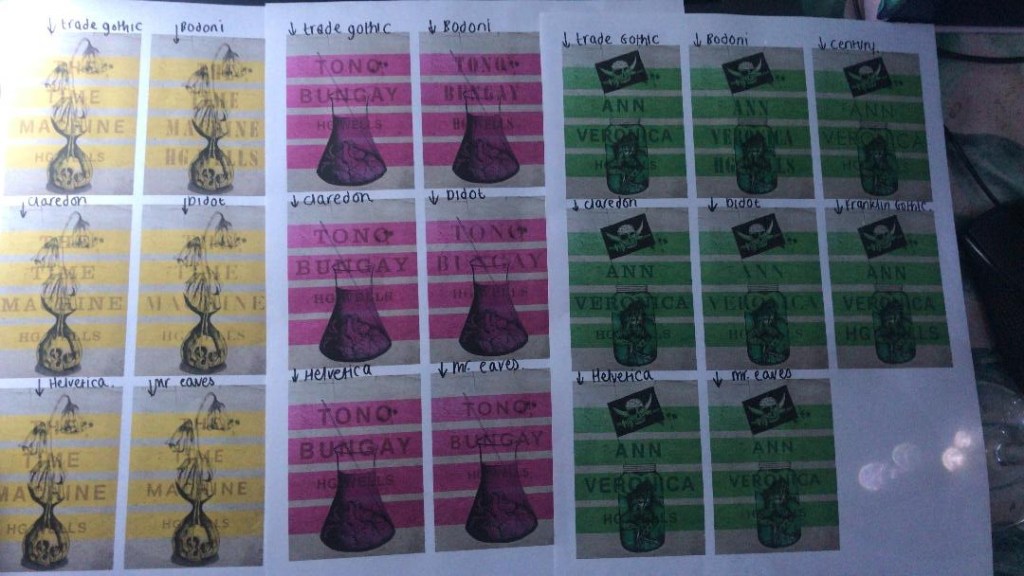
I really liked this idea! The only thing I needed to work on was the typography! I spent a while (a fair time!) picking out some of the best fonts and using them on all the designs to print out and compare! I sent photos also to my Mum who using her expert opinion and eye ;p picked out Helvetica! I also shared captions on my Instagram and people replied also with Helvetica. The reasons?.. obviously with it being the font of choice for most designers and also for the fact it is strong and stands out on a cover.
These are the sheets I shared with all the different fonts! (below)
So! Helvetica was the popular opinion!… and you know what?!… There is a reason why Helvetica rules all!.. I actually really like the look of them! The type is still illegible in places but I can work on that!
I then wanted to give it a go adding the publishers name and logo. I decided to go for Penguin – The classics! I found a logo online (not the best way to do it for pixelization and plagarim… BUT the brief states to use one so!…)
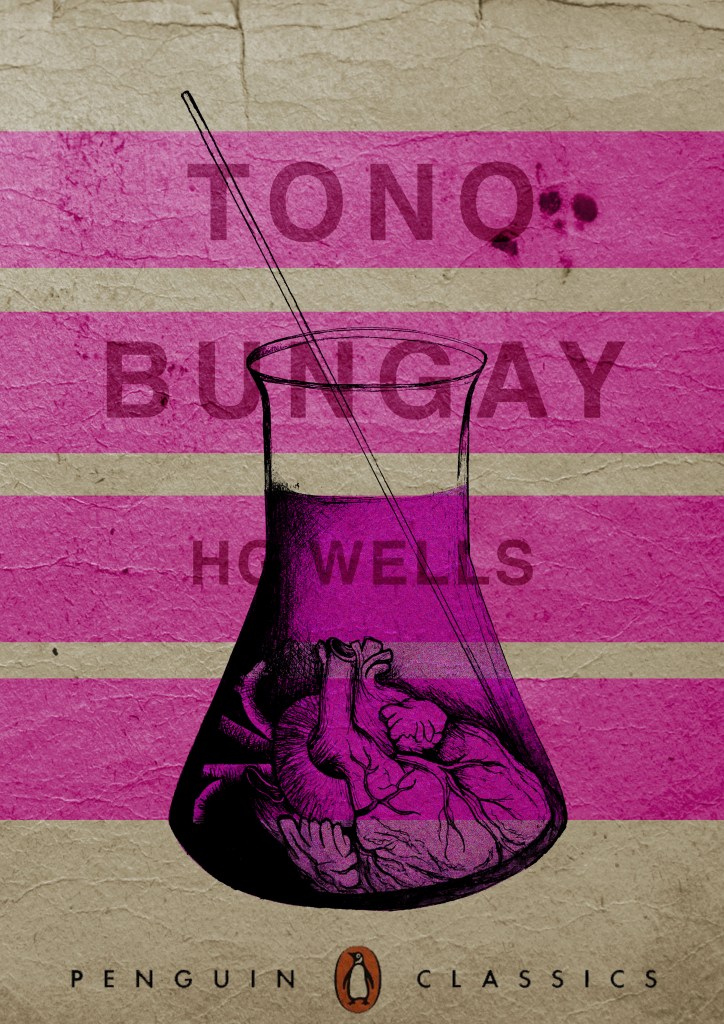
This one is perfect!… I then added it to each of the designs and adjusted the layouts accordingly and this is what they look like so far! 😀 really, really chuffed with them so far!
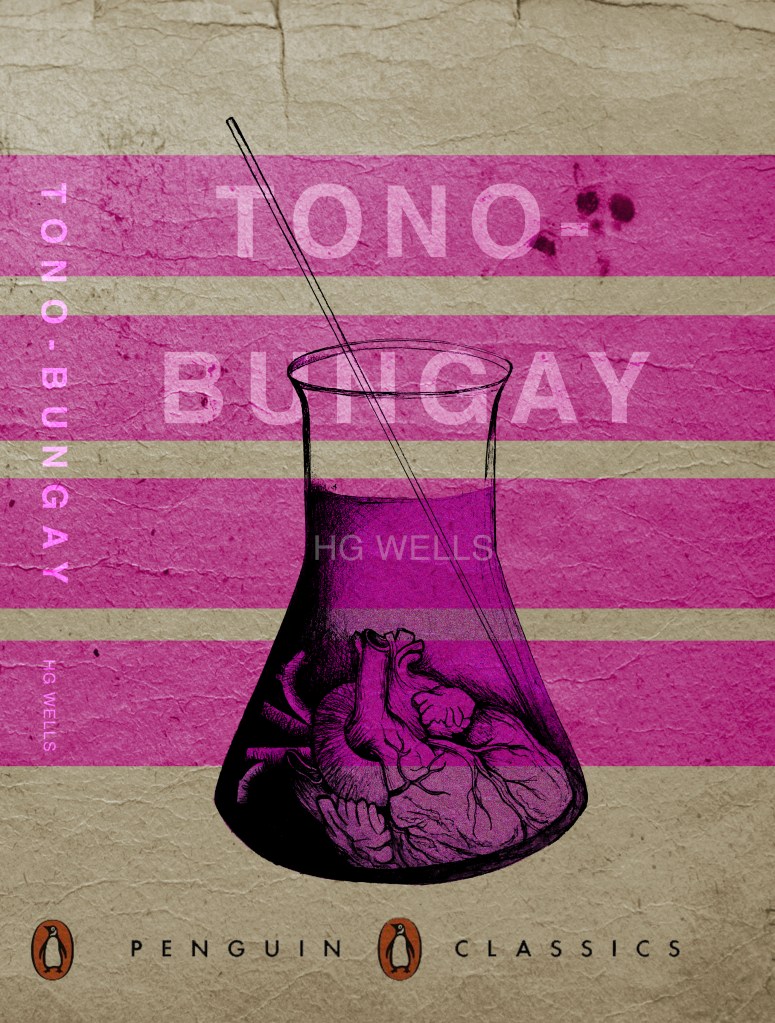
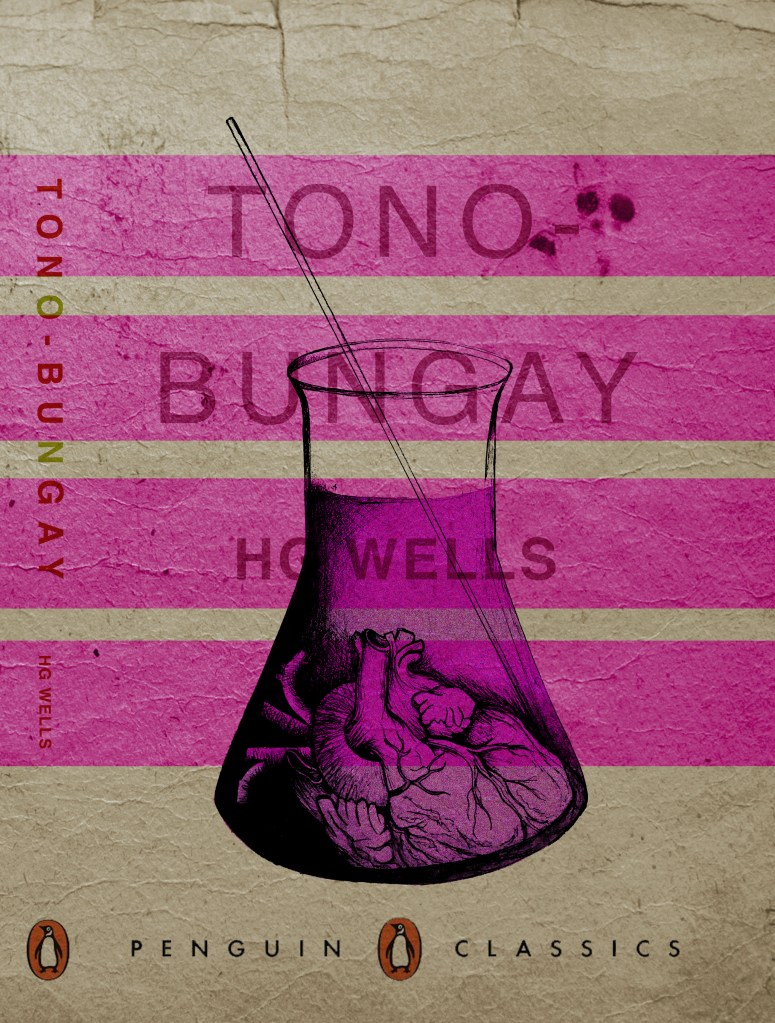
I still have adjustments to make; the illegible type, the hyphen in Tono – Bungay, the bars so that they all line up, the spine to design, bring everything together to create the final cover and then make mockups on actual books but at the moment I am pleased!