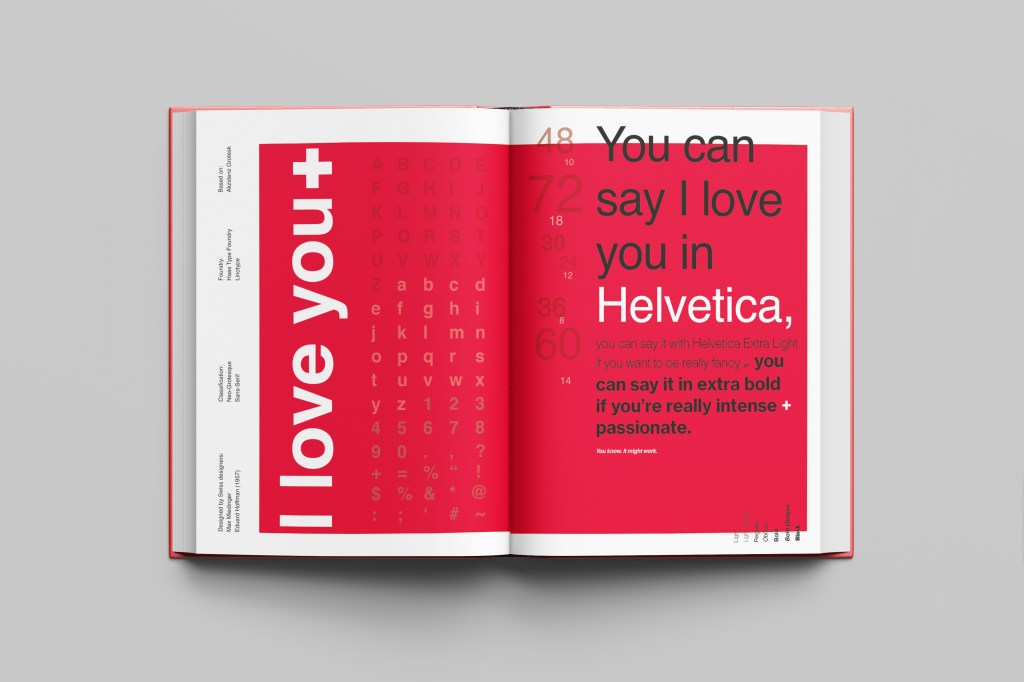
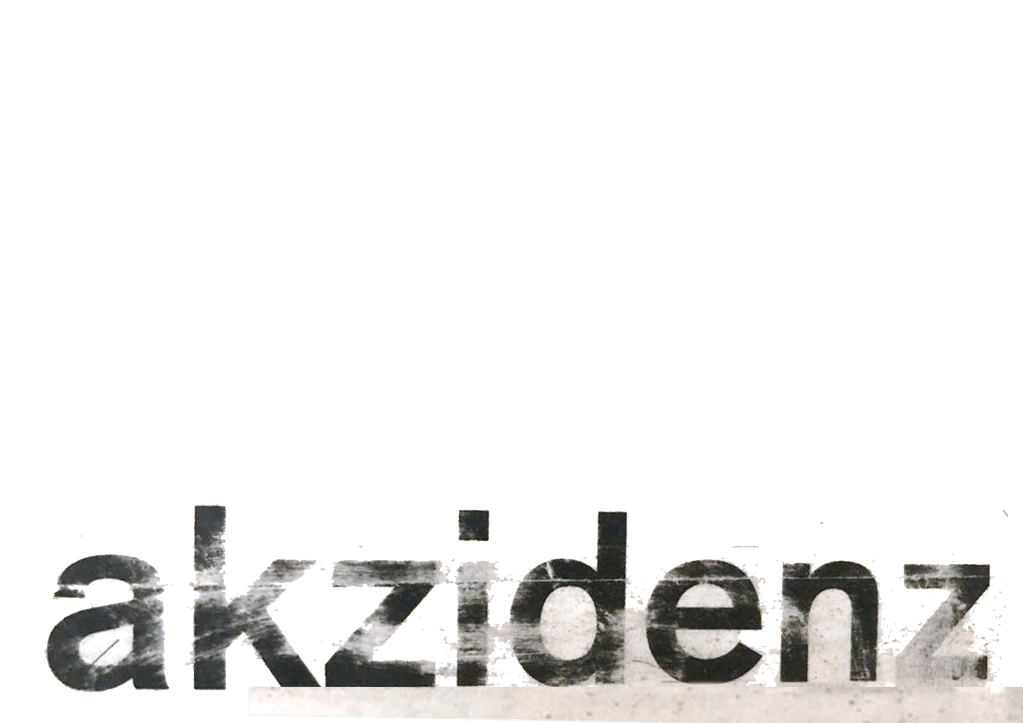
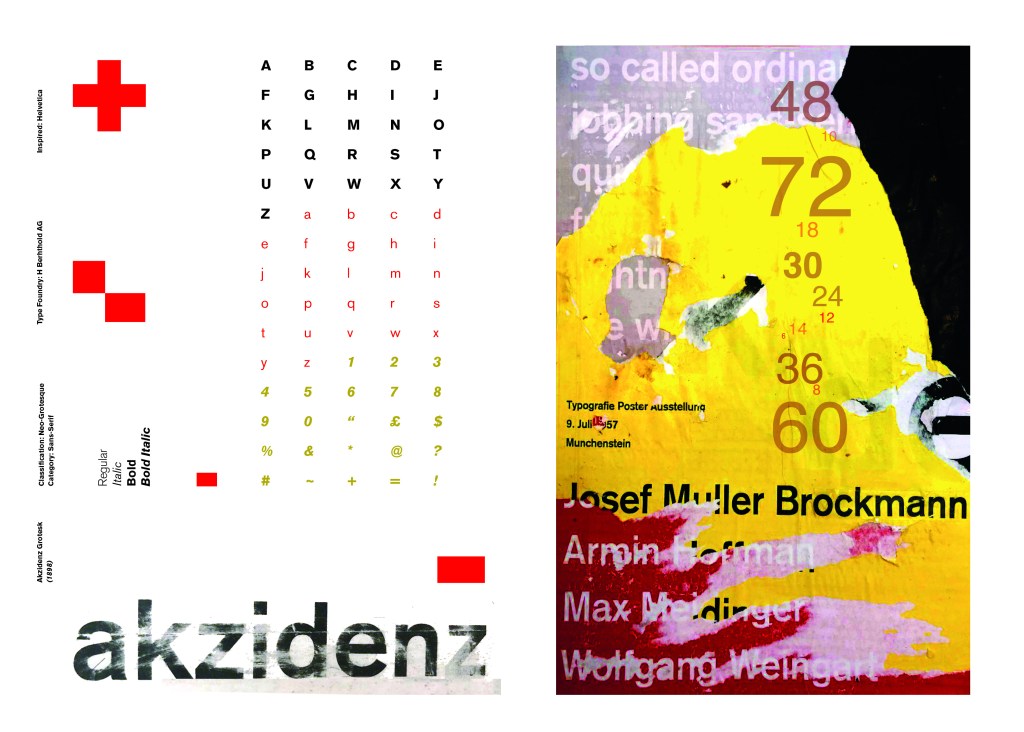
Pages 2-3: Akzidenz Grotesk (Sans-Serif)
I wanted to carry on down a similar path for my next typeface, Akzidenz Grotesk was the next best Sans-Serif to choose. Akzidenz Grotesk’s history goes back further than Helvetica’s but despite this, they are still closely related. Akzidenz Grotesk was the inspiration behind the design of Helvetica.
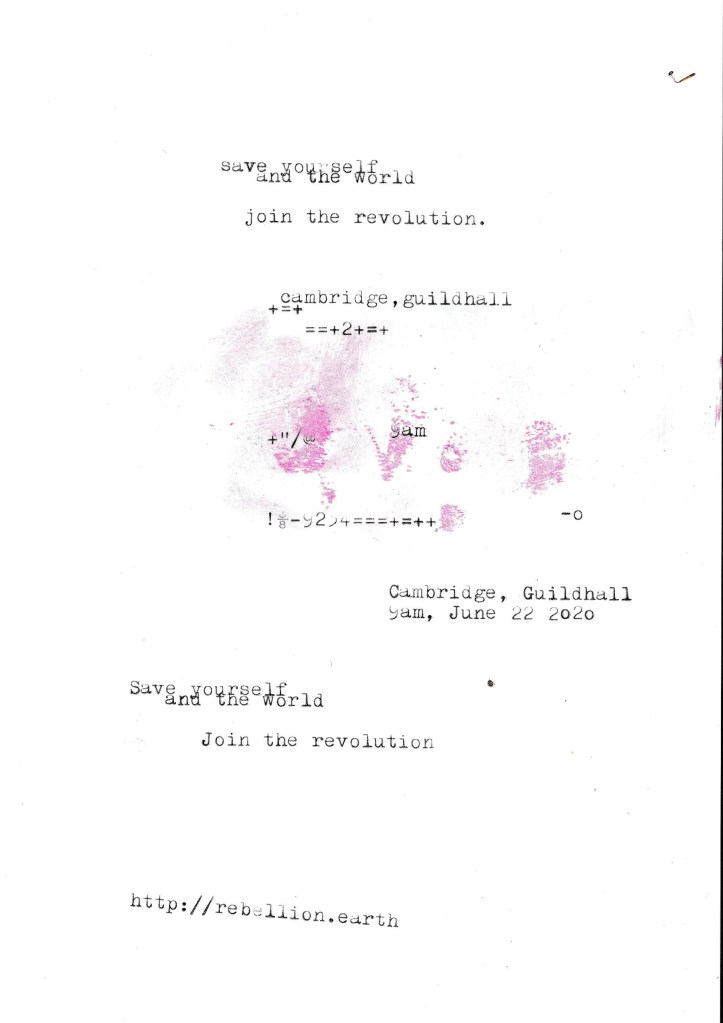
Akzidenz Grotesk was known as the “jobbing” typeface; what this means is that it was heavily used in trade printing, advertising and forms that were made at the time. The typeface was designed to be seen from a distance. “Akzidenz” comes from the German language and means trade printing for an occasion or event. The latin term refers to it as “that which happens, a casual event, a chance”. I liked this saying and used it further in my design (I will come to that later!)
Keeping in mind that Akzidenz Grotesk was used predominantly in advertising and posters I decided to base my design around this, researching further I also found that Josef Muller Brockmann heavily used Akzidenz Grotesk in his poster designs.
Josef Muller Brockmann
Brockmann was a Swiss Graphic Designer but also the pioneer of the International Typographic Style which tied in brilliantly with this typeface. He was recognised for his clean use of typography, shapes and colours in his designs. His work mainly consisted of poster design. I bought a book about him and studied his posters to see how I could get a similar style for my own design. I also did some in depth research on Pinterest again to get some ideas and a feel for his style.
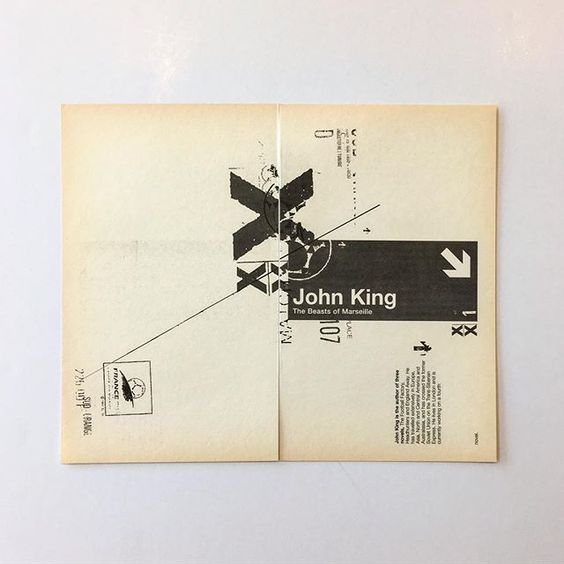
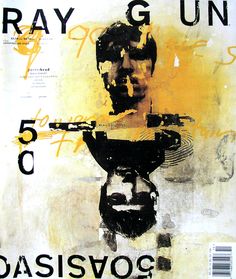
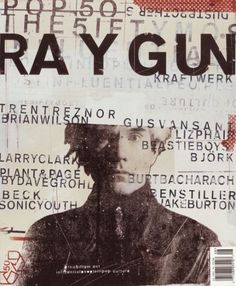
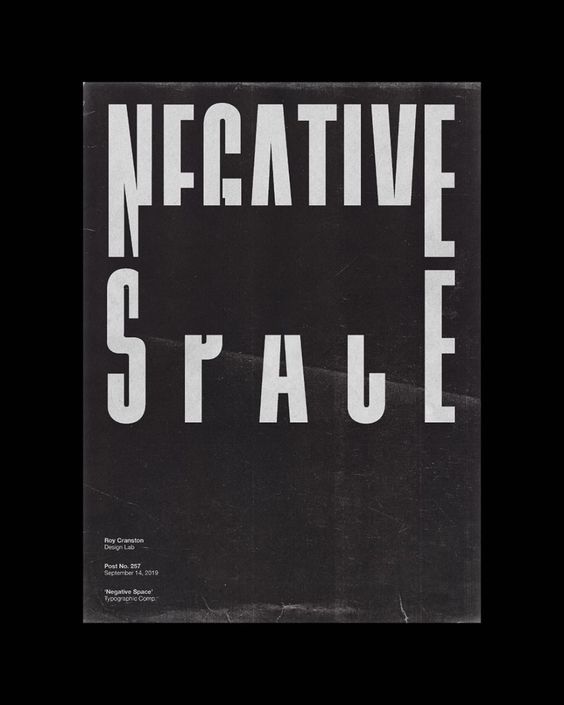
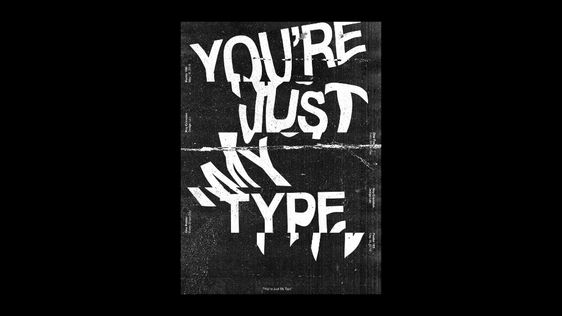
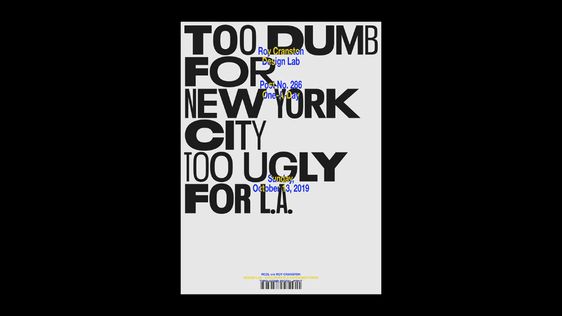
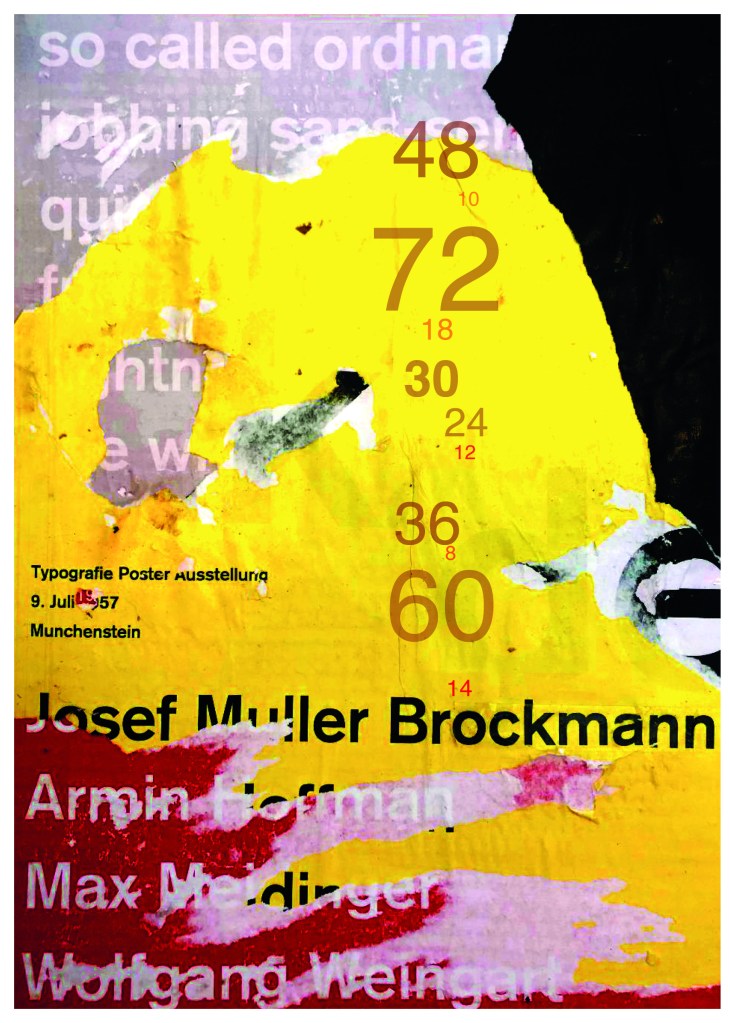
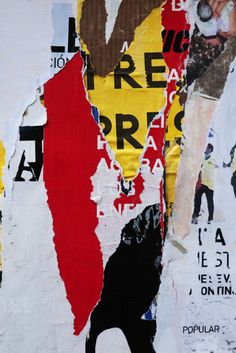
I found an image on Pinterest which caught my attention and gave me an idea for my design:

I liked the way the colours pop and contrast each other and the different styles/weights and sizes of the text also work together to create contrast. I felt I could create something like this using Akzidenz Grotesk, the Bauhaus colours and make it look like “trade printing or advertising with the modern influence of “Swiss Grit”.
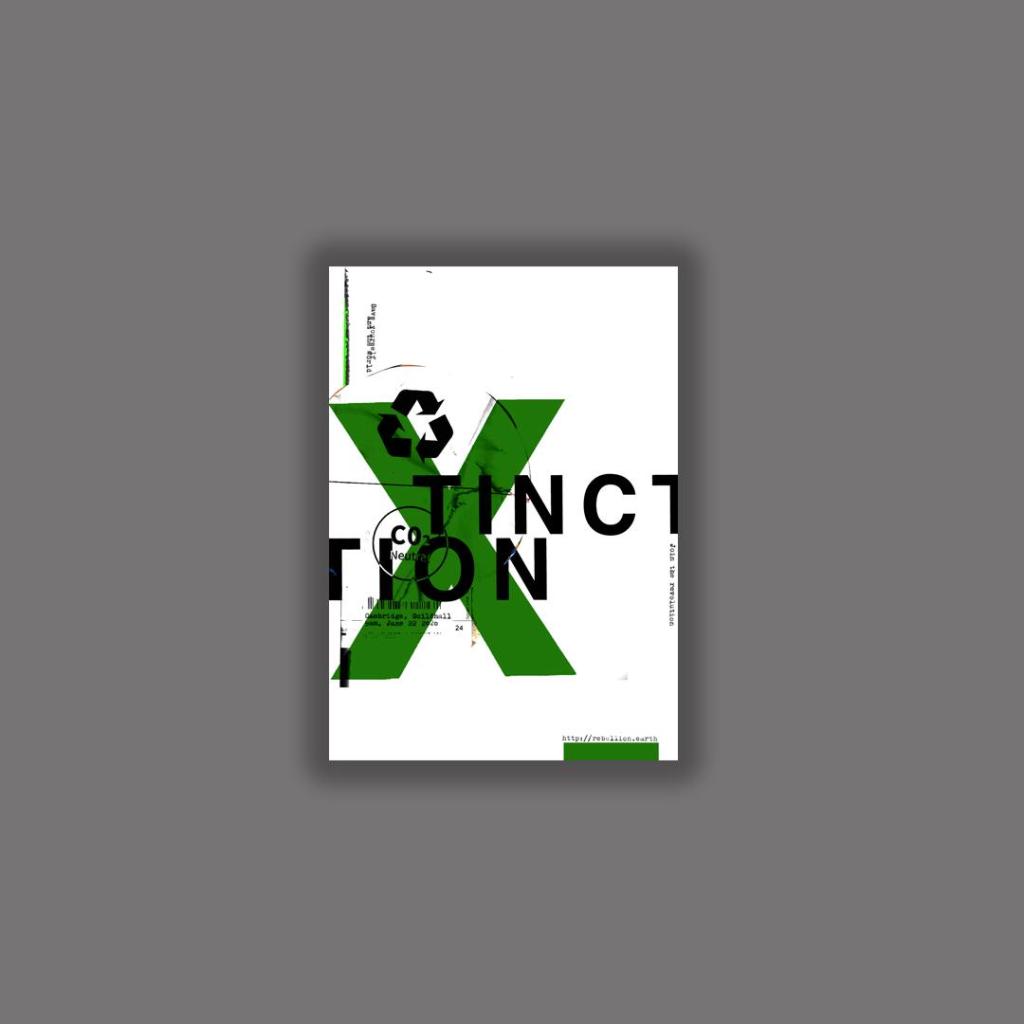
I wanted to create the poster layout for my type specimen pages but just didn’t know how to do it…yet.
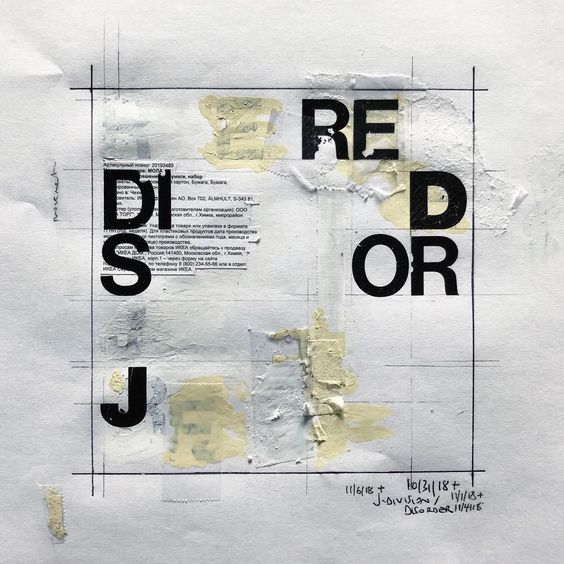
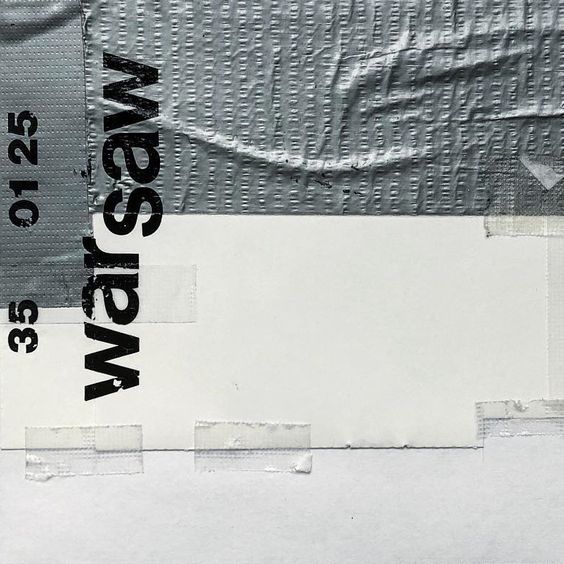
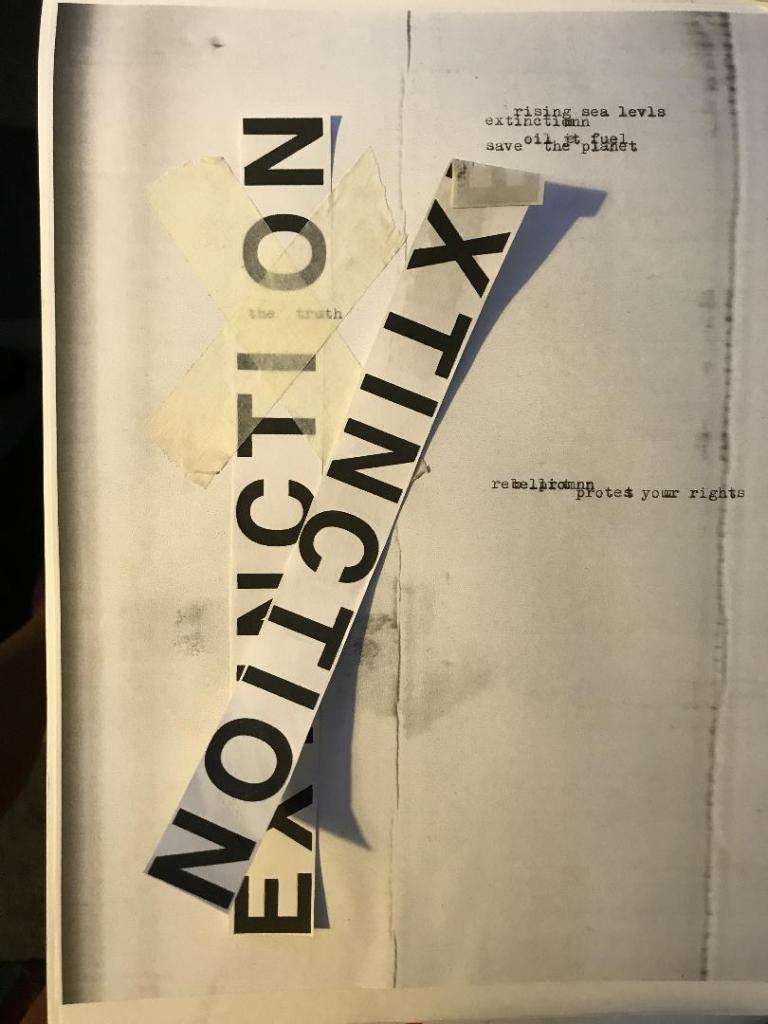
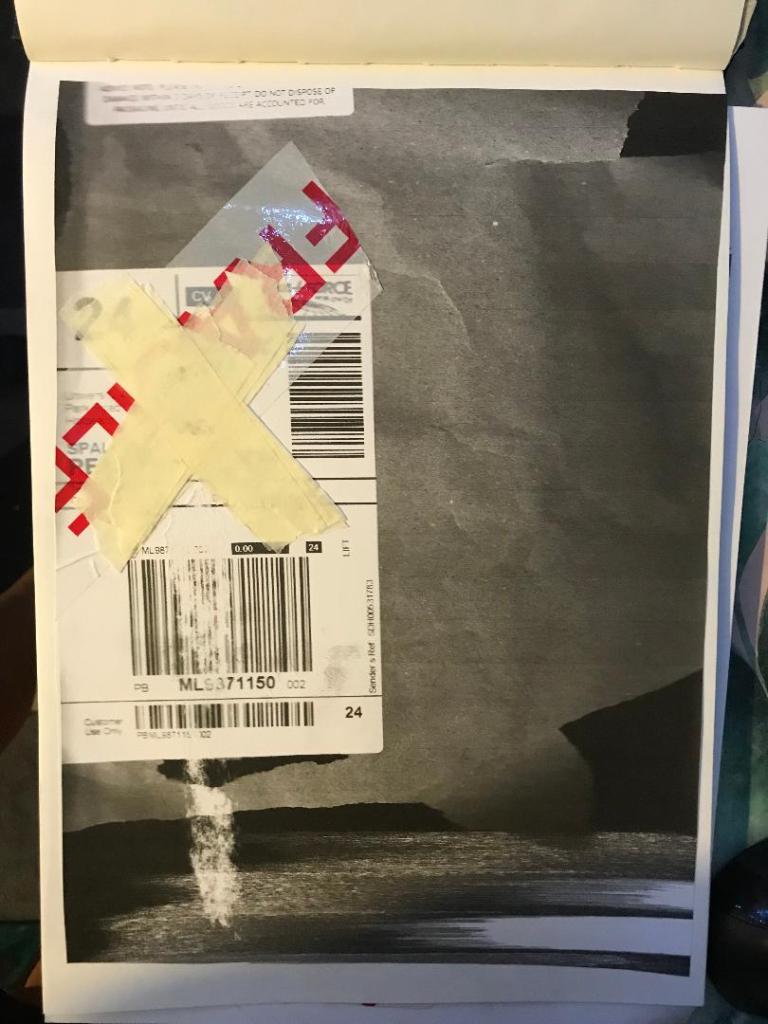
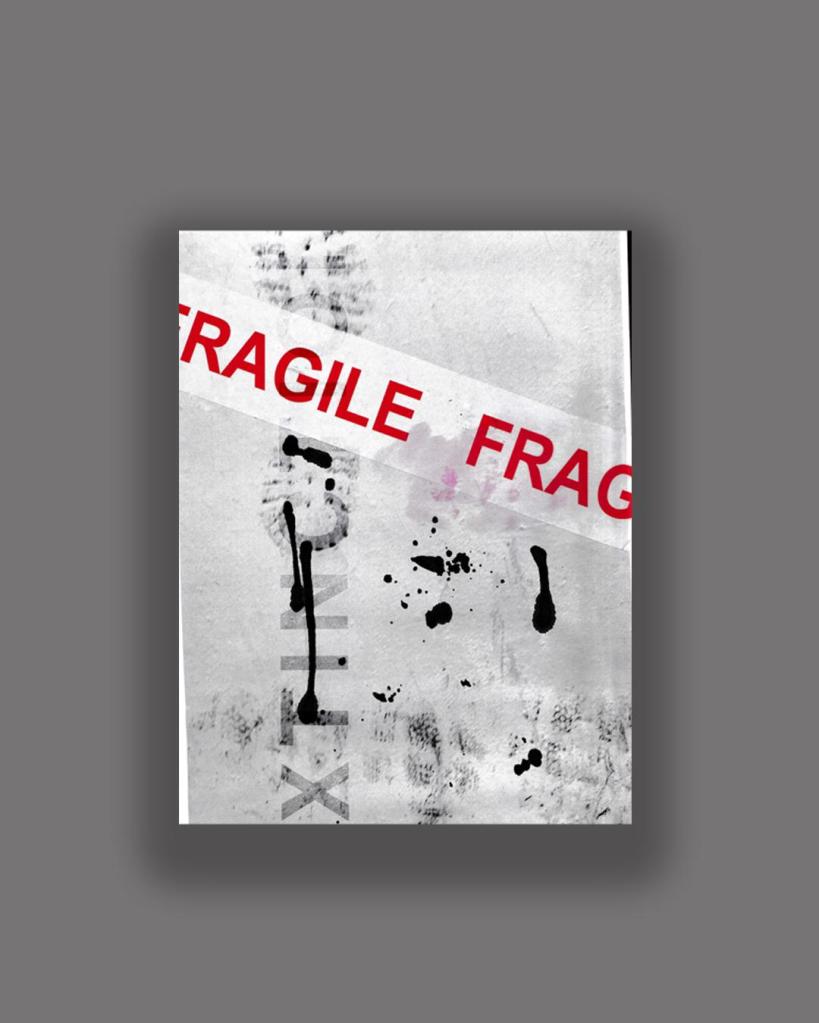
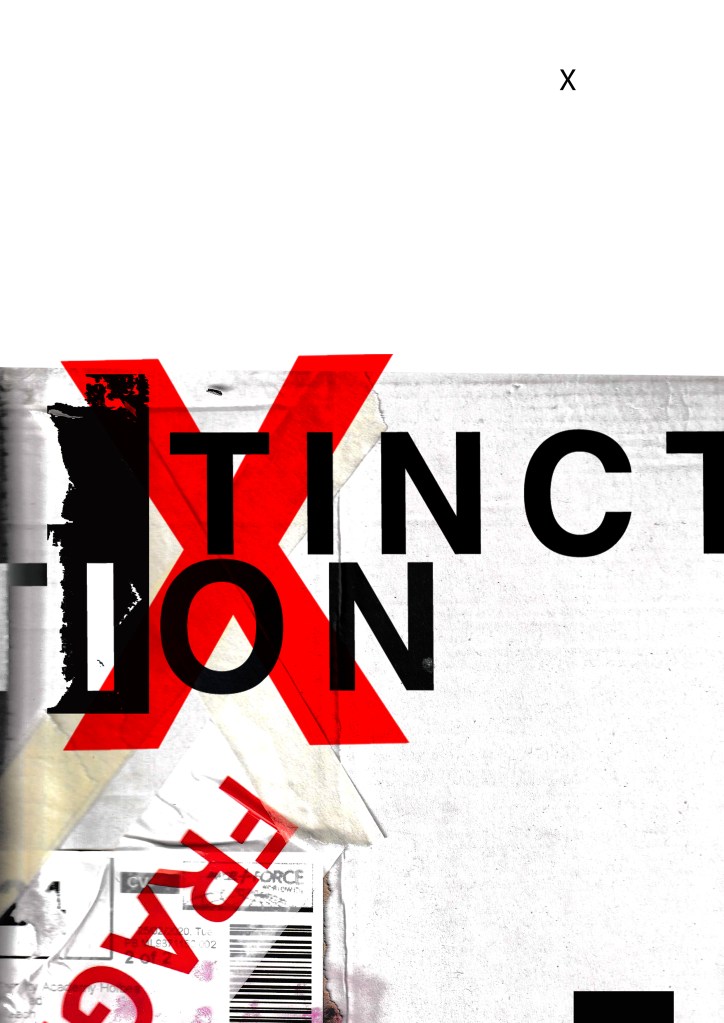
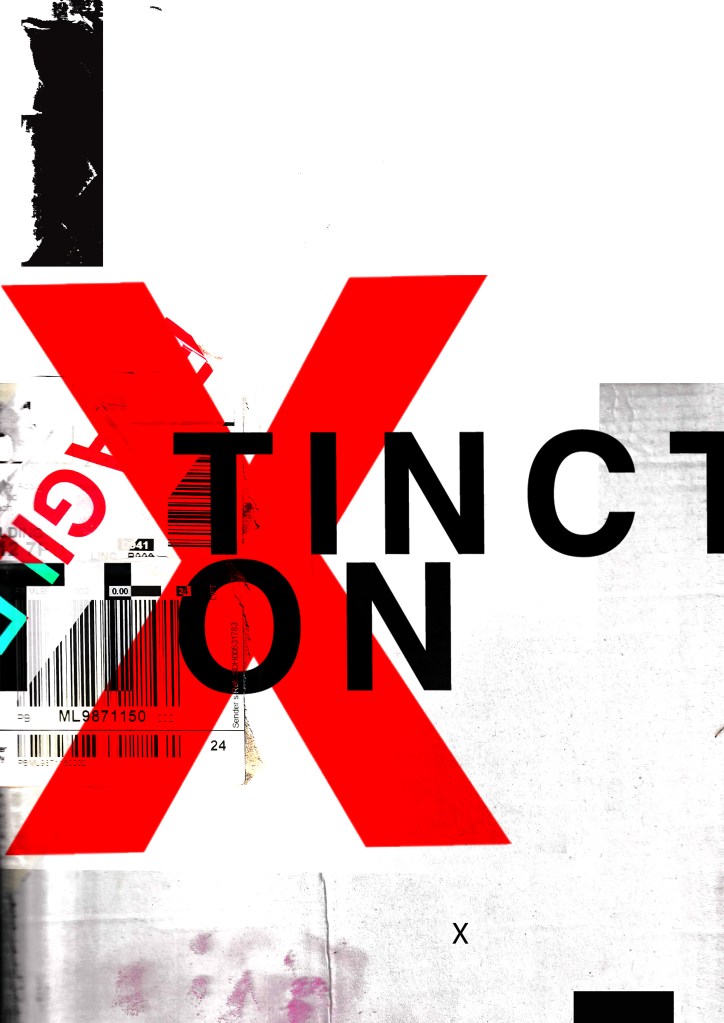
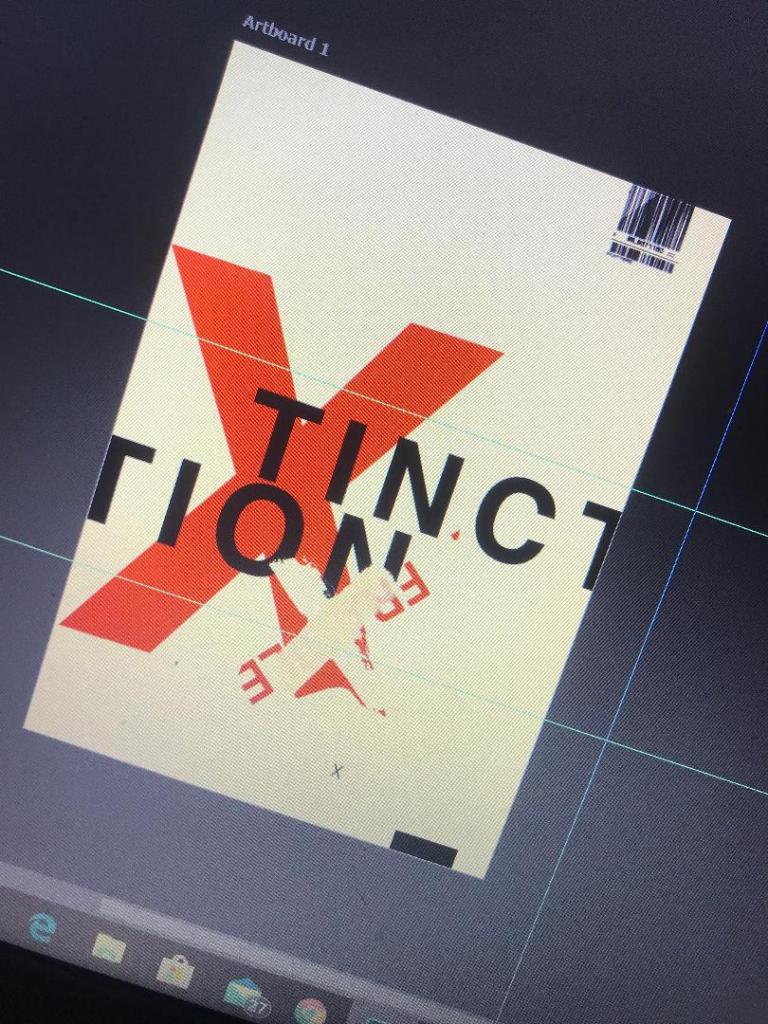
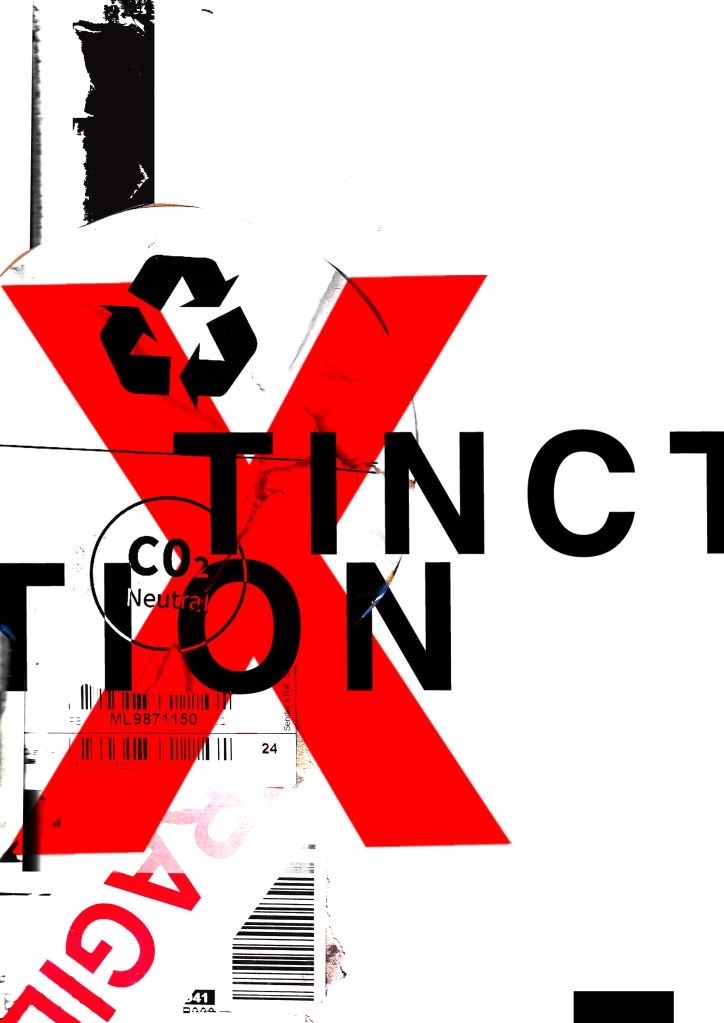
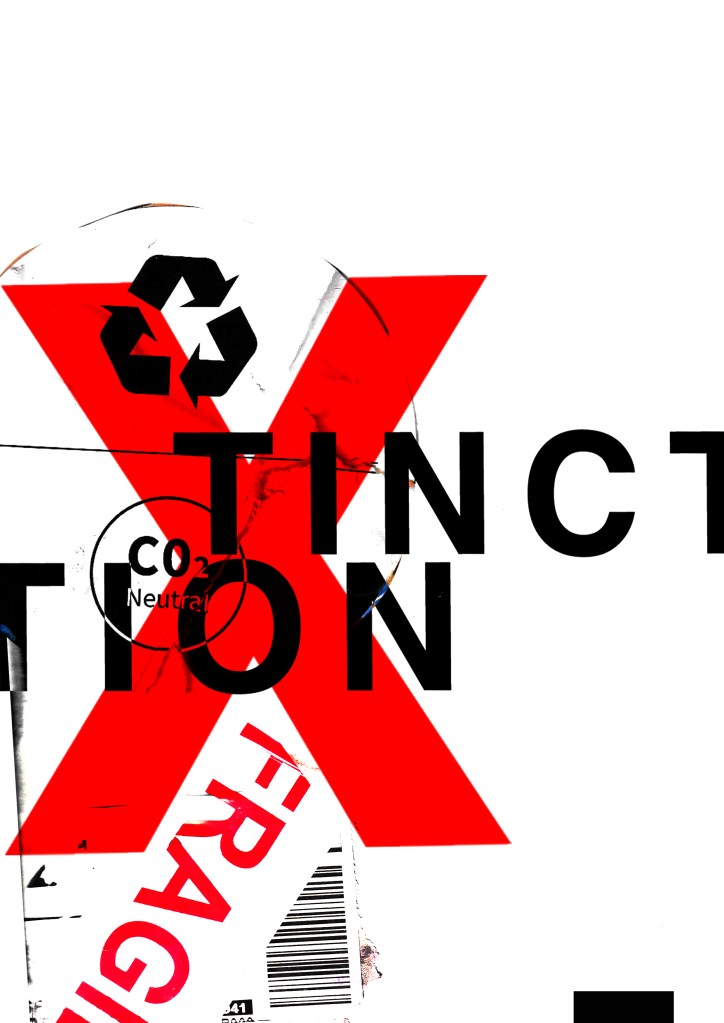
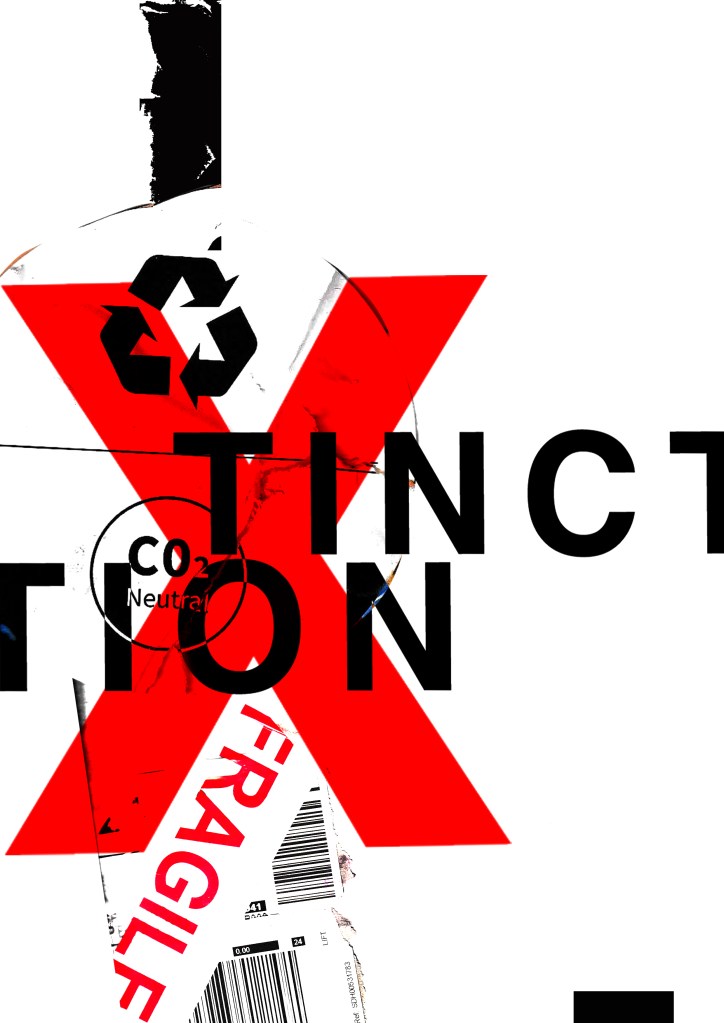
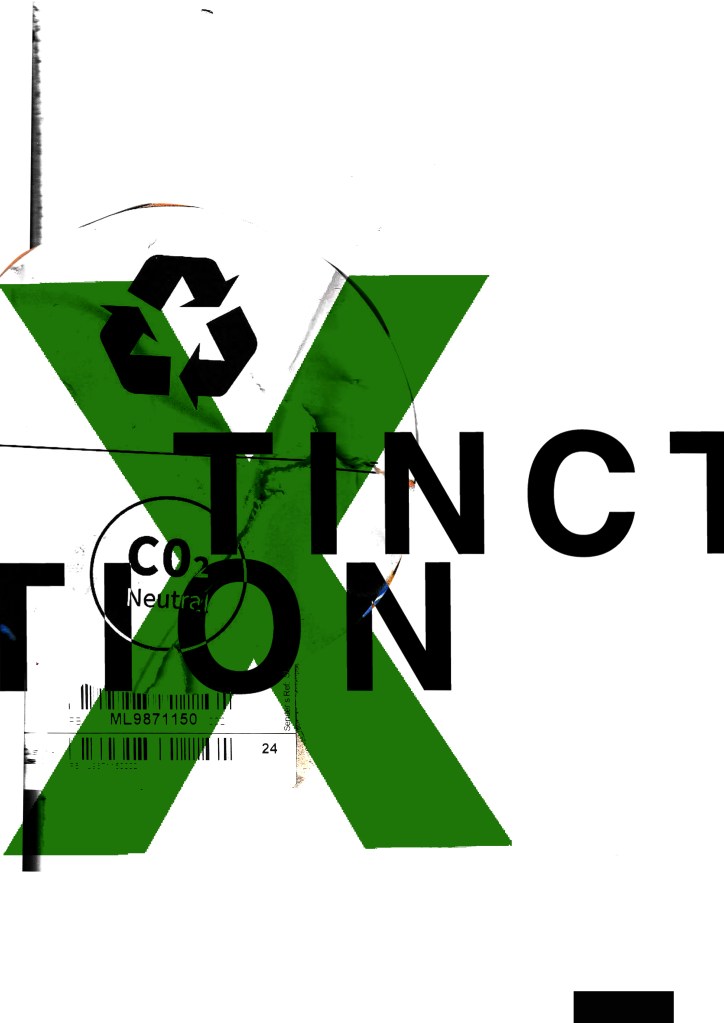
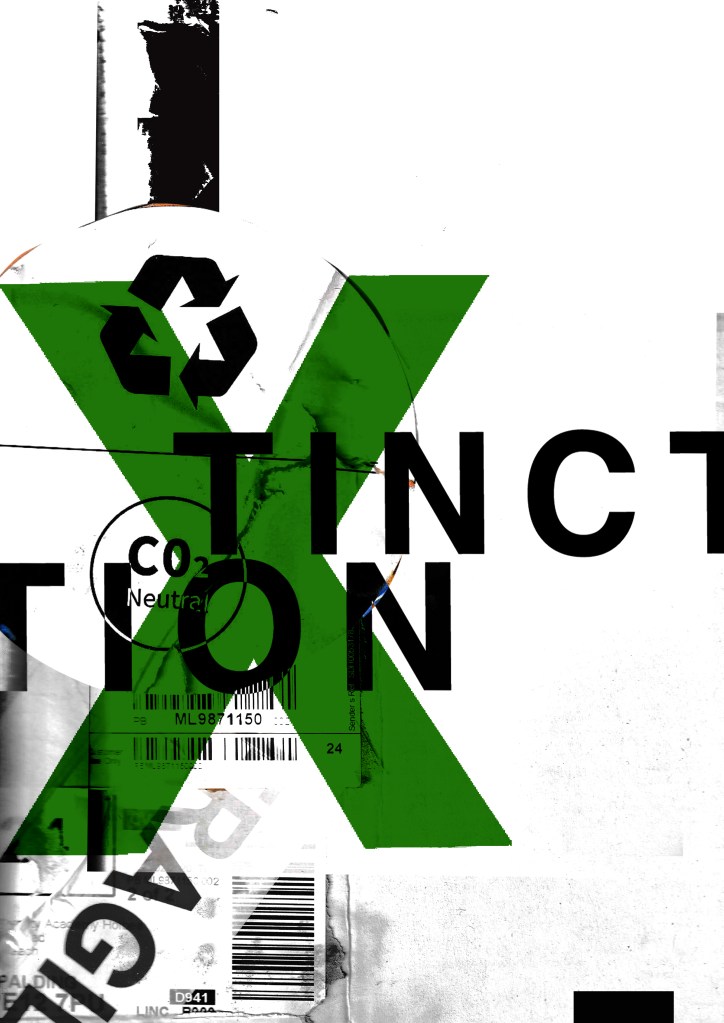
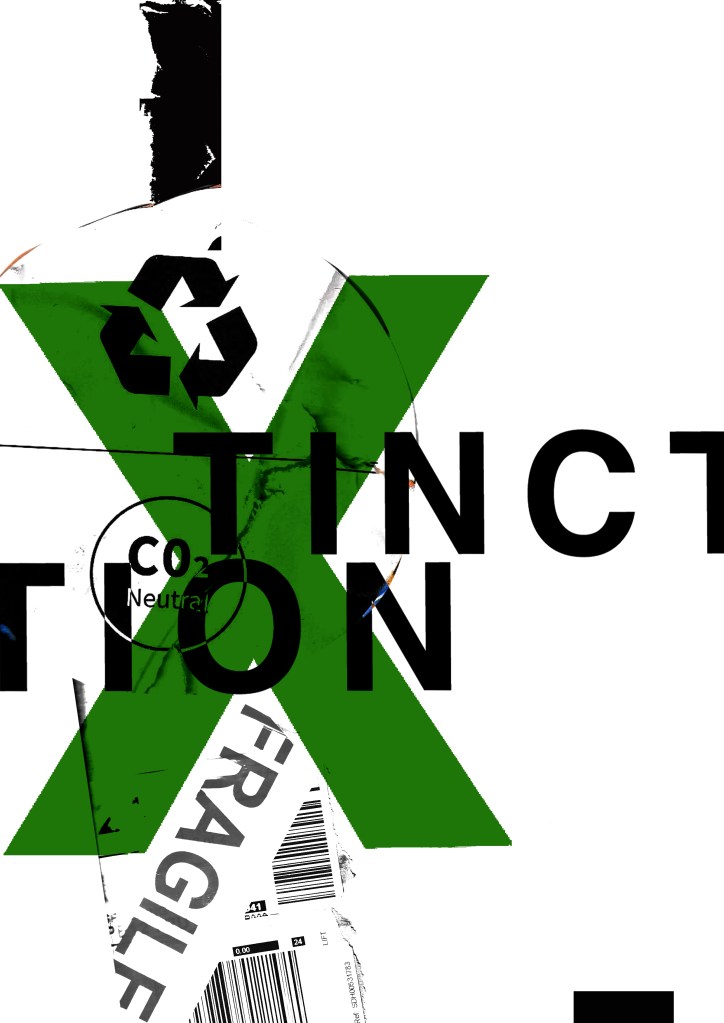
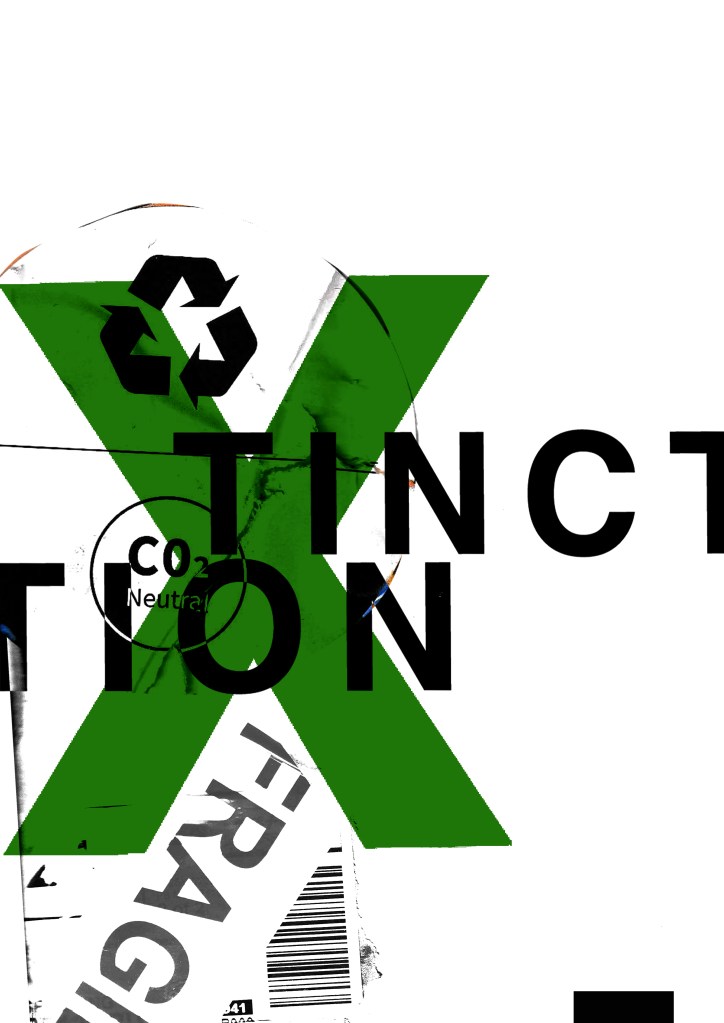
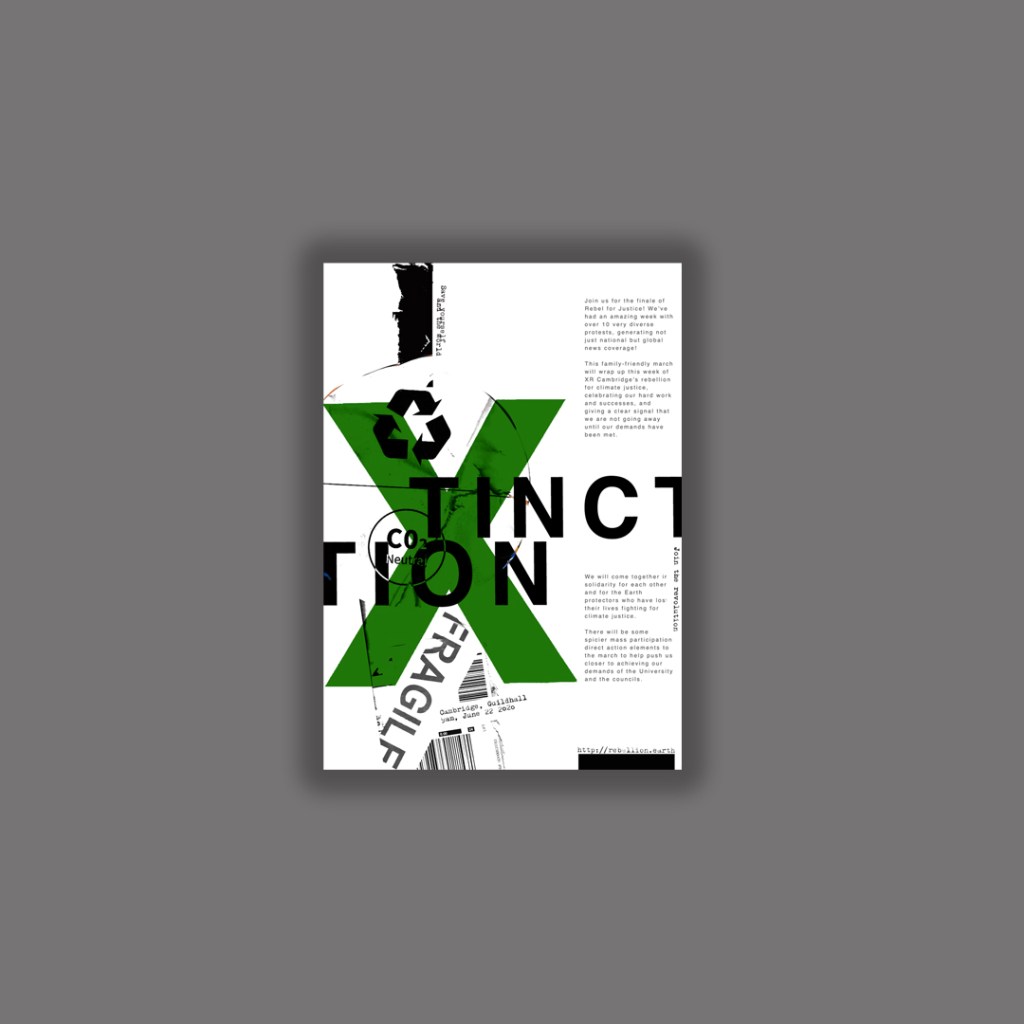
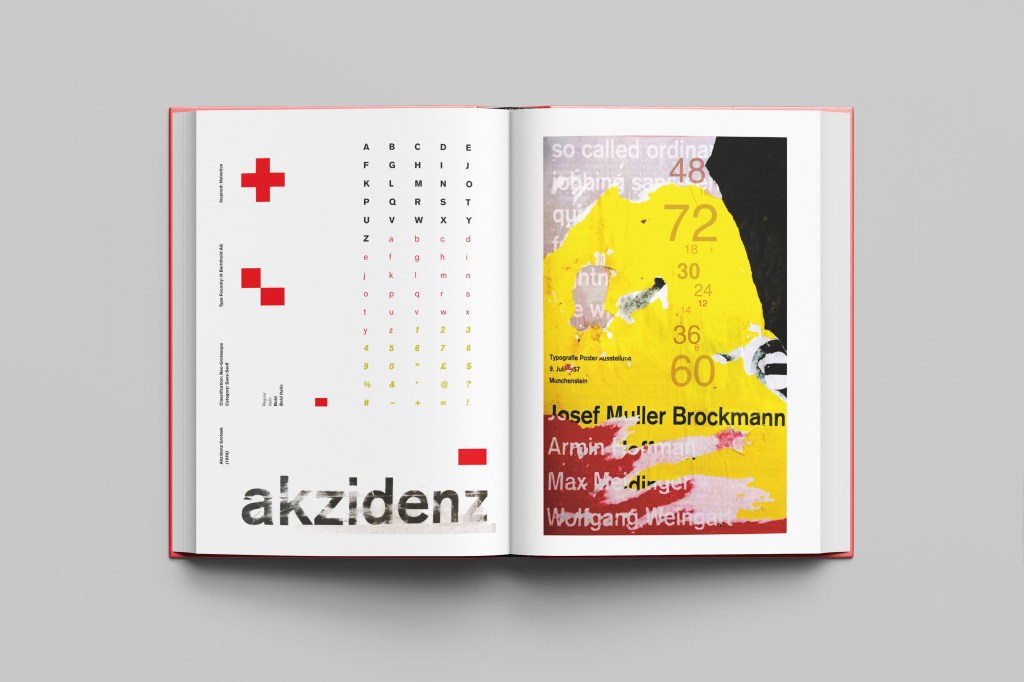
Using the image from Pinterest to vaguely copy, I knew I had to layer up and collage different posters to recreate that torn and ripped look. I decided to create a poster with a made up event (A typography exhibition in honour of Josef Muller Brockmann) then layer up behind it contrasting colours and different type relating to Akzidenz Grotesk. The only implication was that I wanted to actually create my poster on a real wall and photograph it and then import it into Photoshop to do any adjustments etc.. The issue was where would I find an urban wall when I live in the country? and how would I even get out to photograph one during lockdown?.. I then looked no further than home because we are currently renovating our house and the upstairs second bedroom wall is being ripped out and is covered in plaster, paint ripped off.. ideal for the urban look! I created a few A3 pages with different colours and pages filled with Akzidenz Grotesk type and then printed them off to later PVA glue onto the wall with a roller which I hoped would give a wrinkled, worn feel.
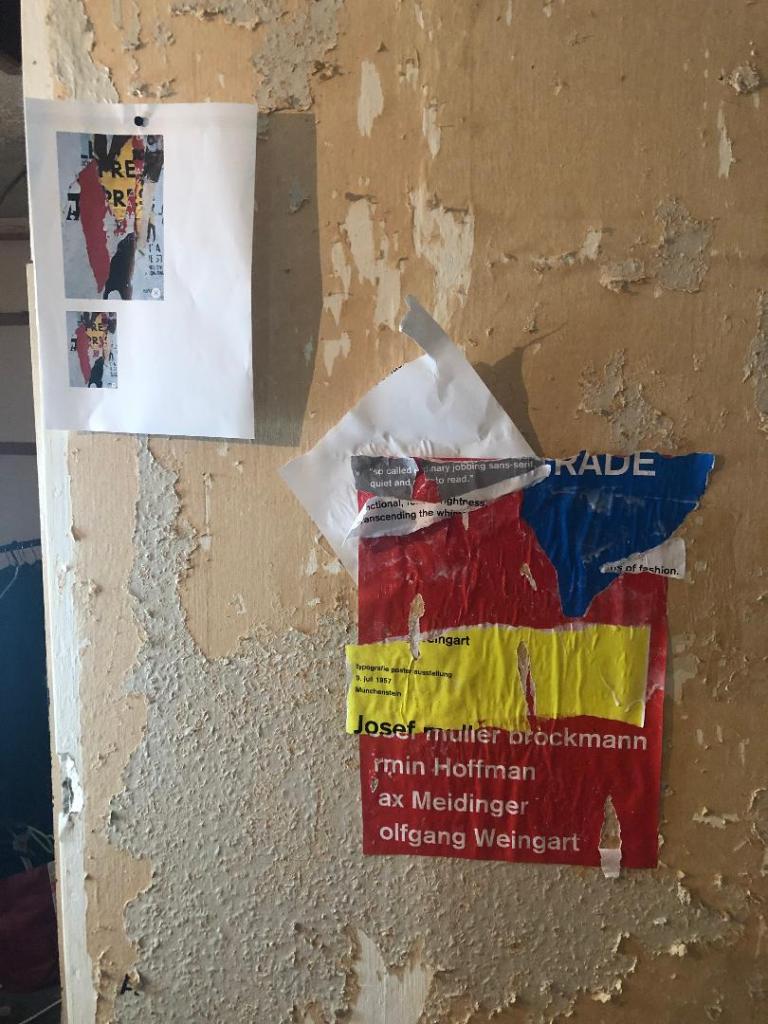
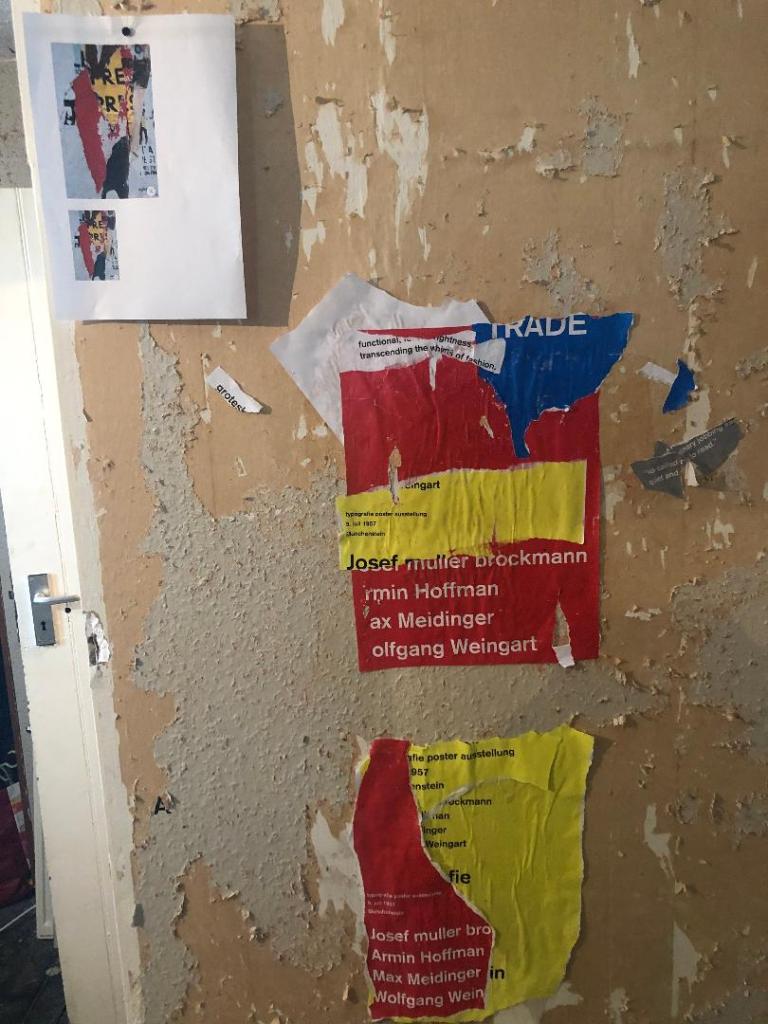

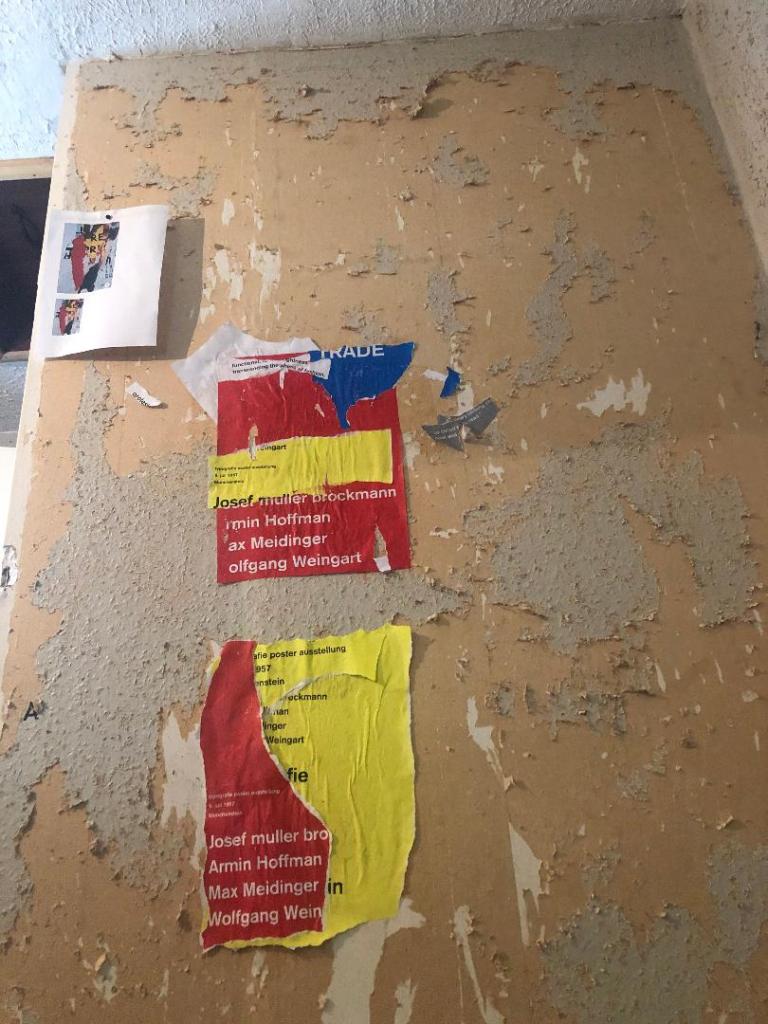

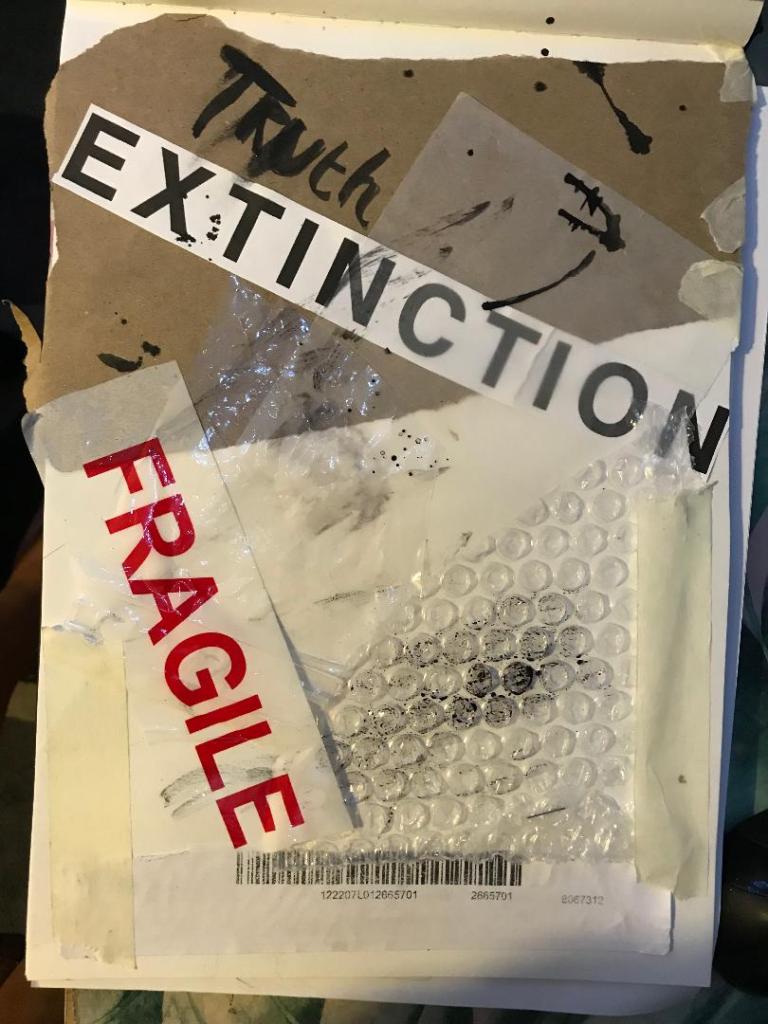
The next day in my lunchbreak at work I decided to trial a test piece on some card I ripped off a cardboard box; it was rough in texture so I thought it would have the same similar feel to a wall. It turned out to be perfect! I scrapped the wall idea totally and used this as my final piece for my design.

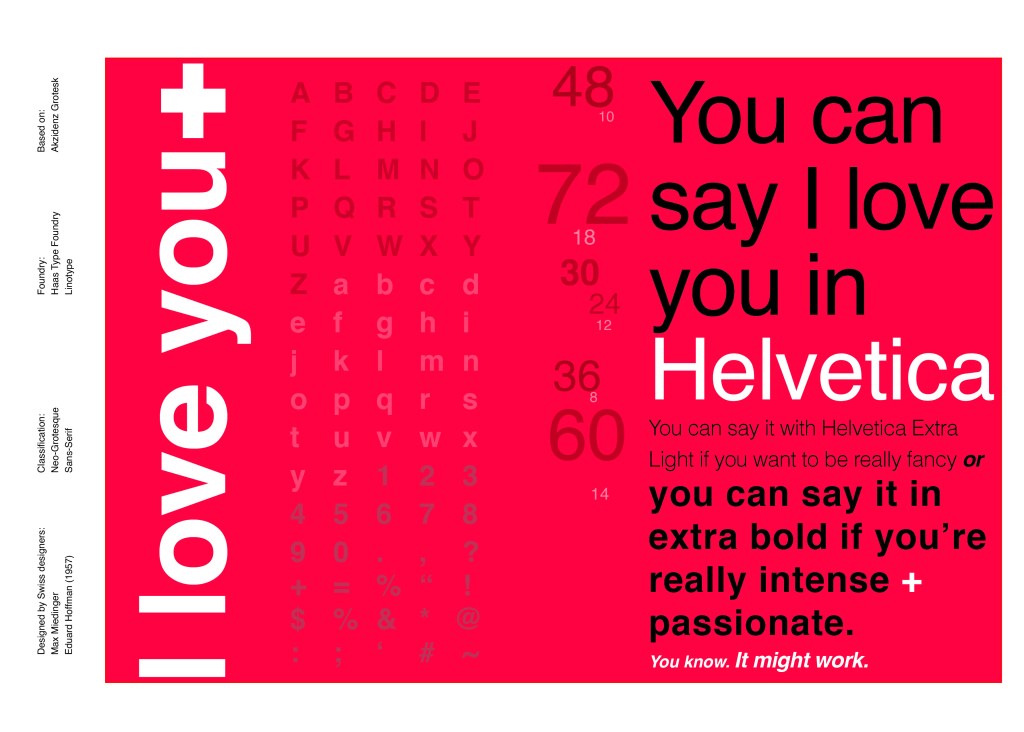
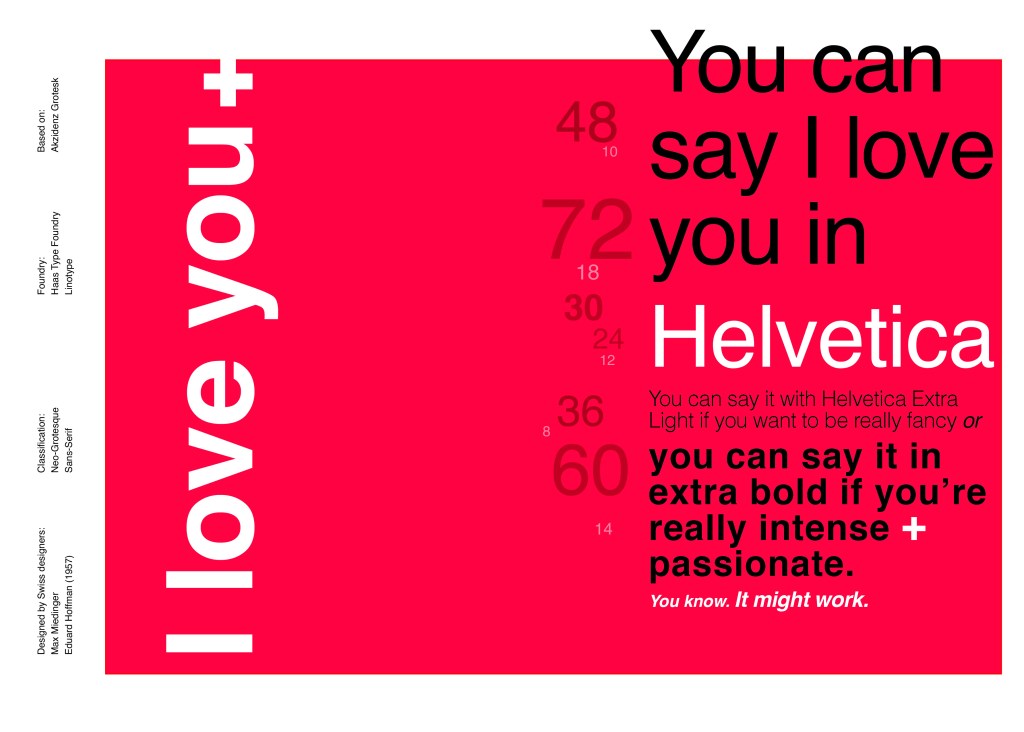
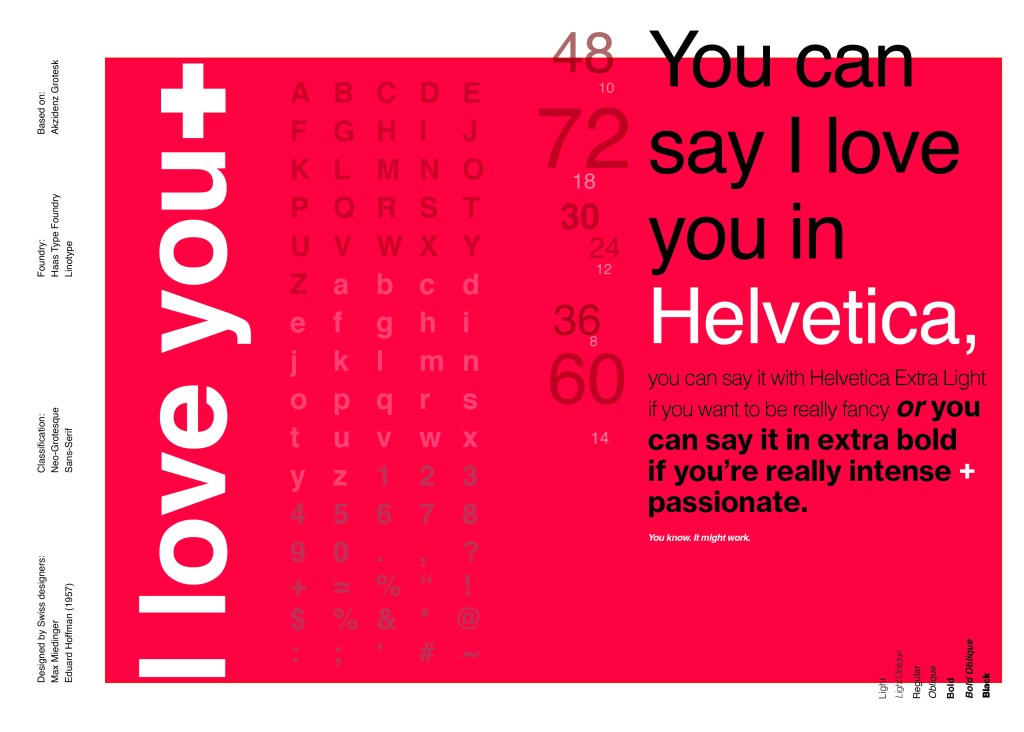
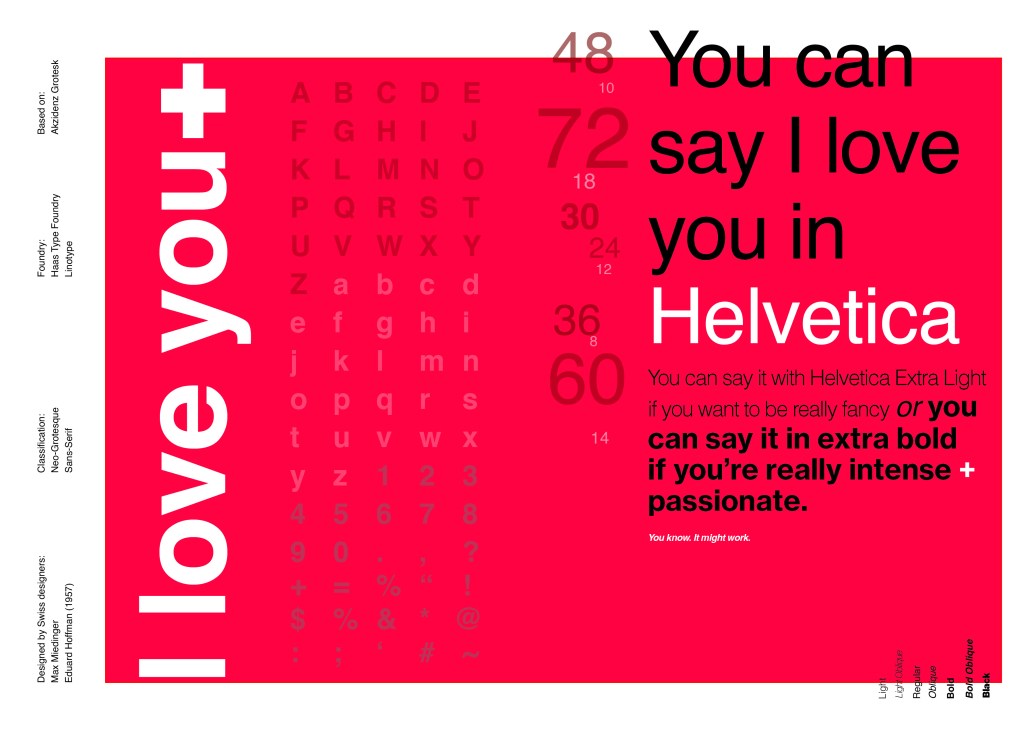
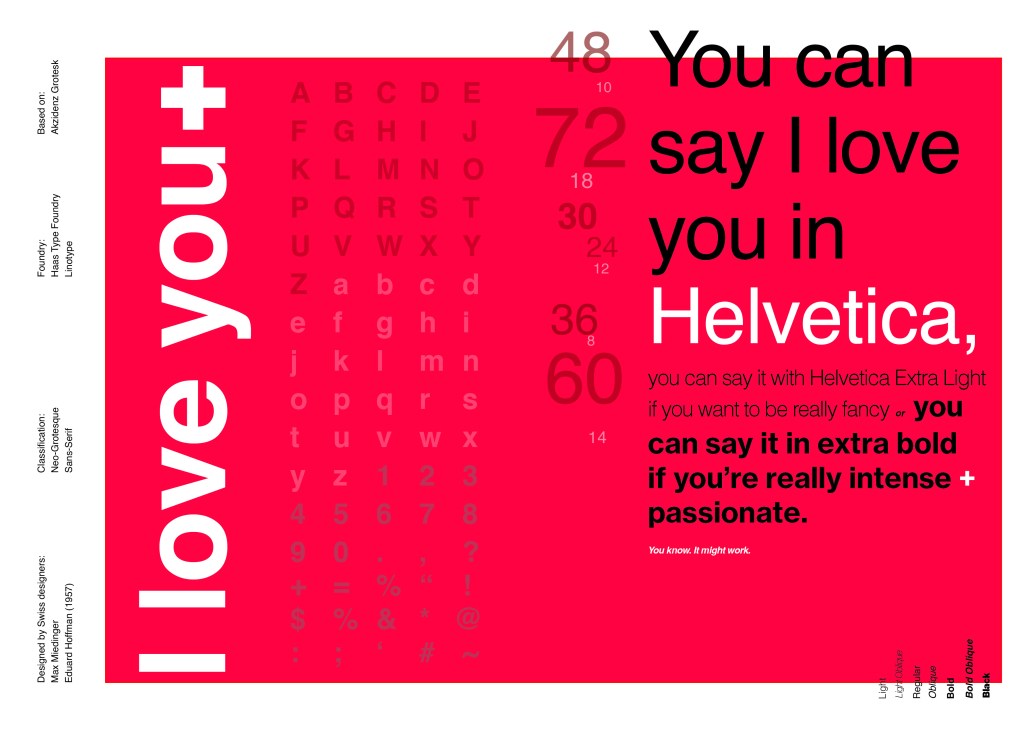
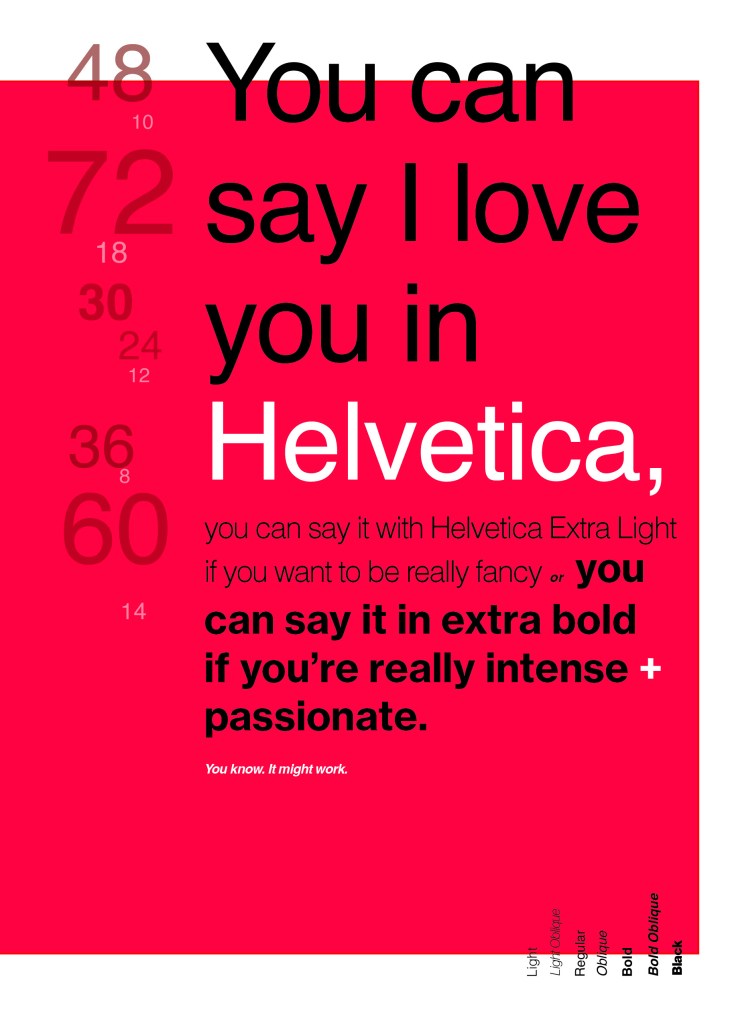
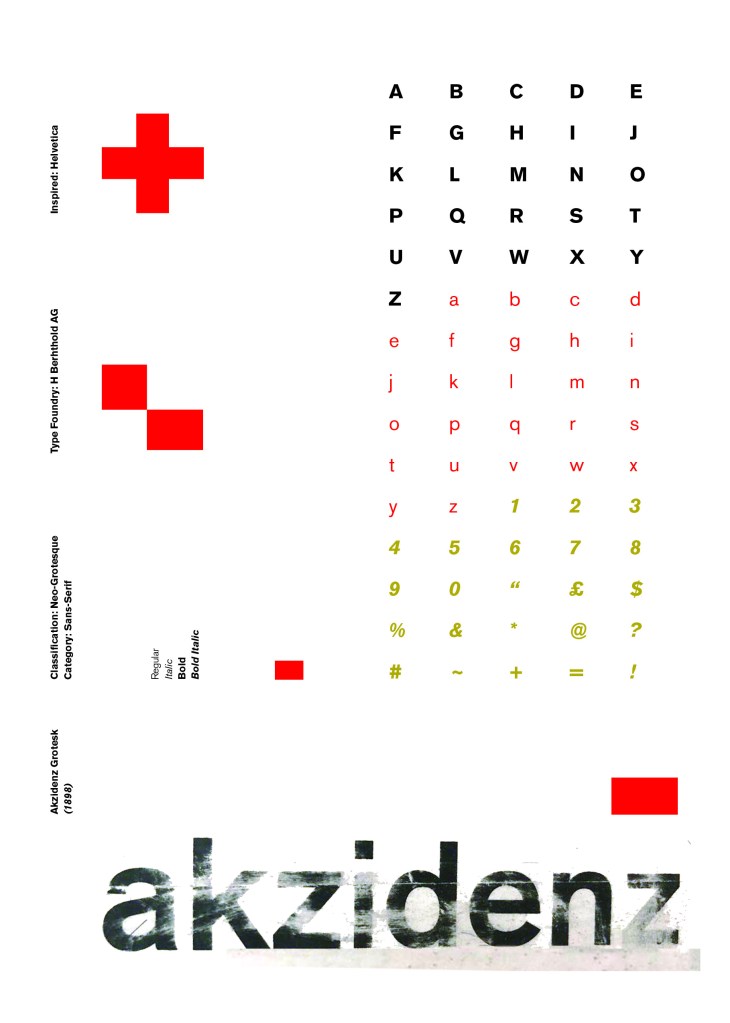
I then imported it into Photoshop and made some minor adjustments like changing the brightness/contrast etc. I also added the type point sizes onto the side of it to show what the type looks like at different sizes. I created 2 more pages on my Indesign document below my Helvetica pages and imported my collage poster into Indesign to start my final layout!
Digital Development
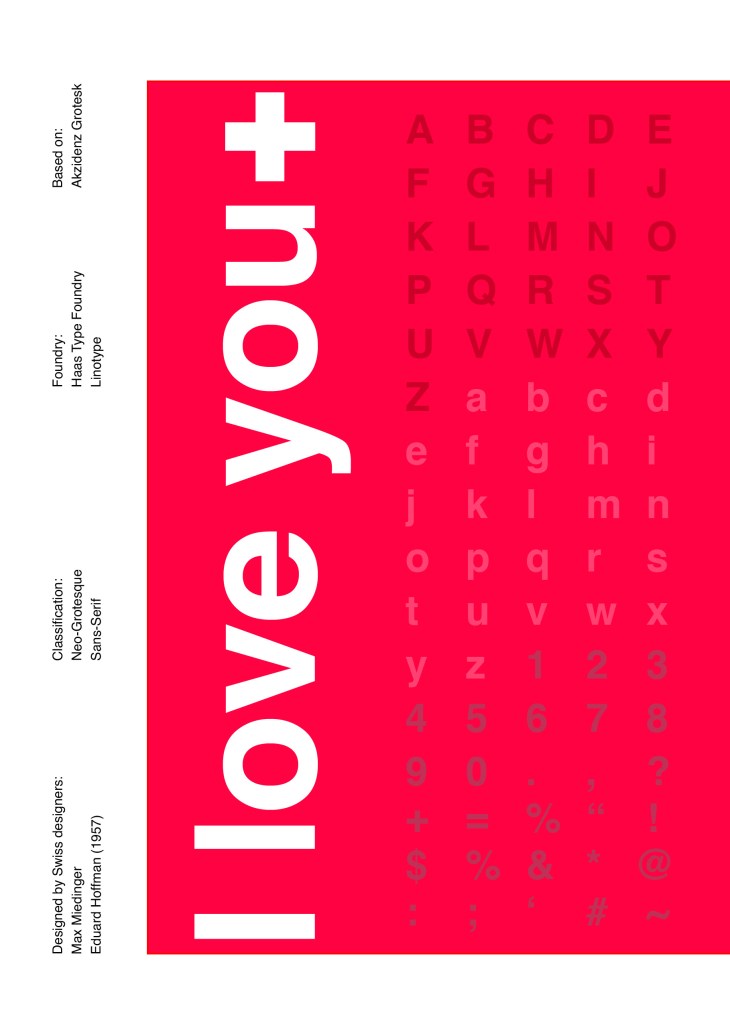
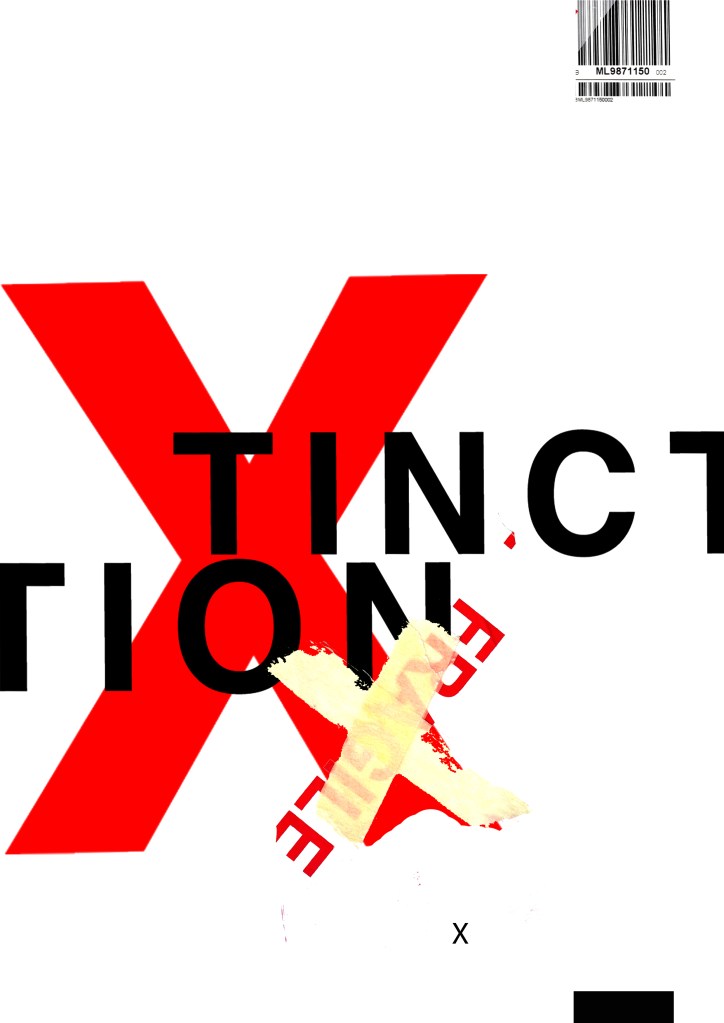
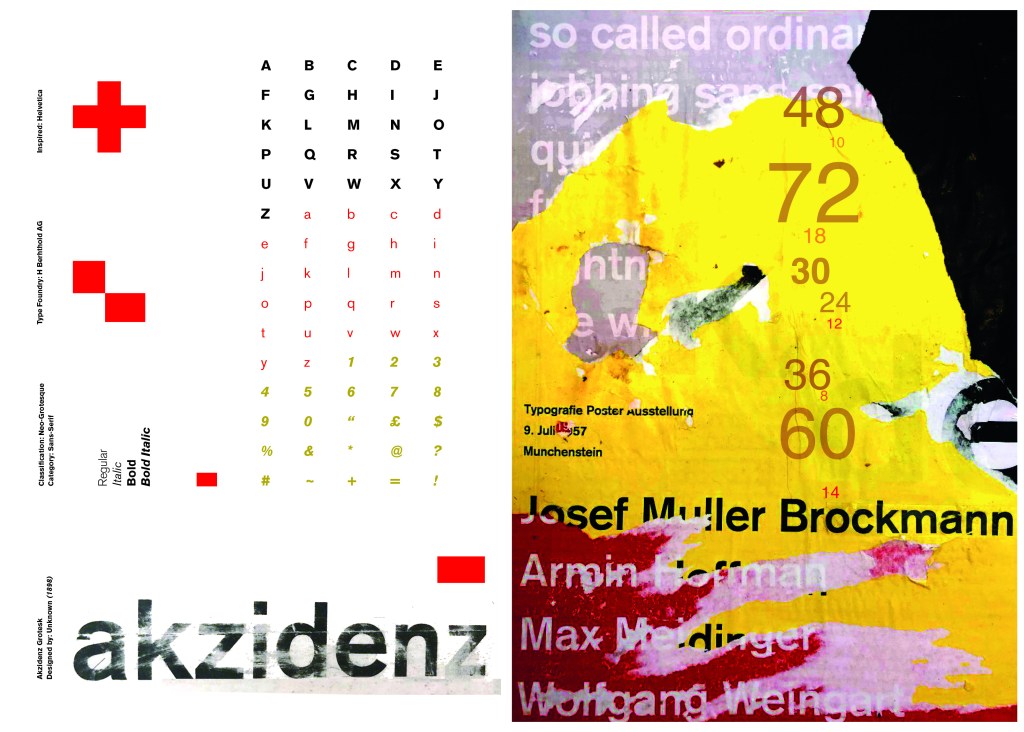
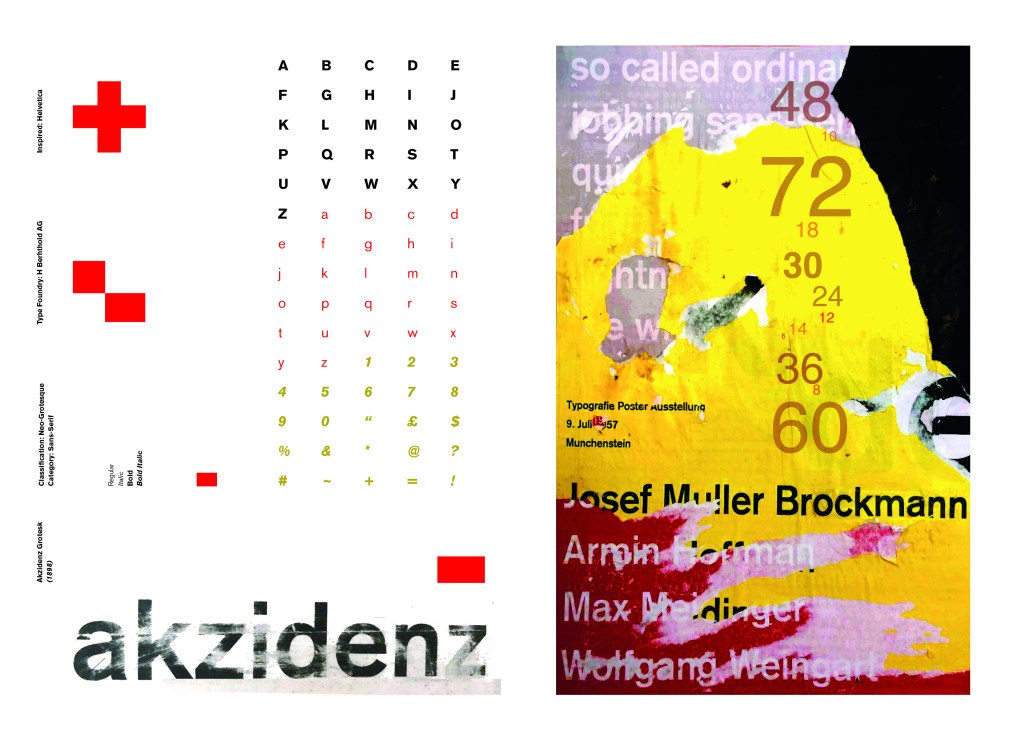
Again, I wanted a layout that was minimalistic and clean with lots of negative space. I decided to place the poster on the right hand side page and place the character alphabet of Akzidenz Grotesk on the left side.
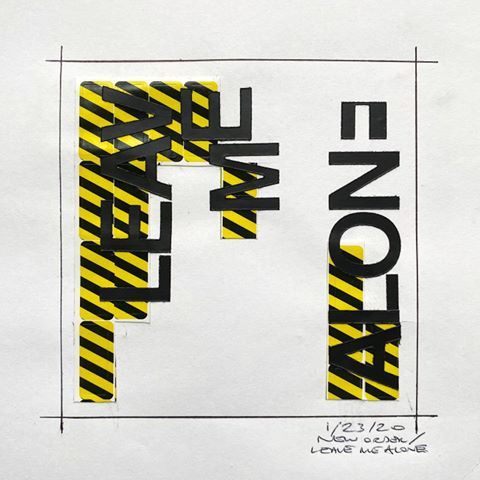
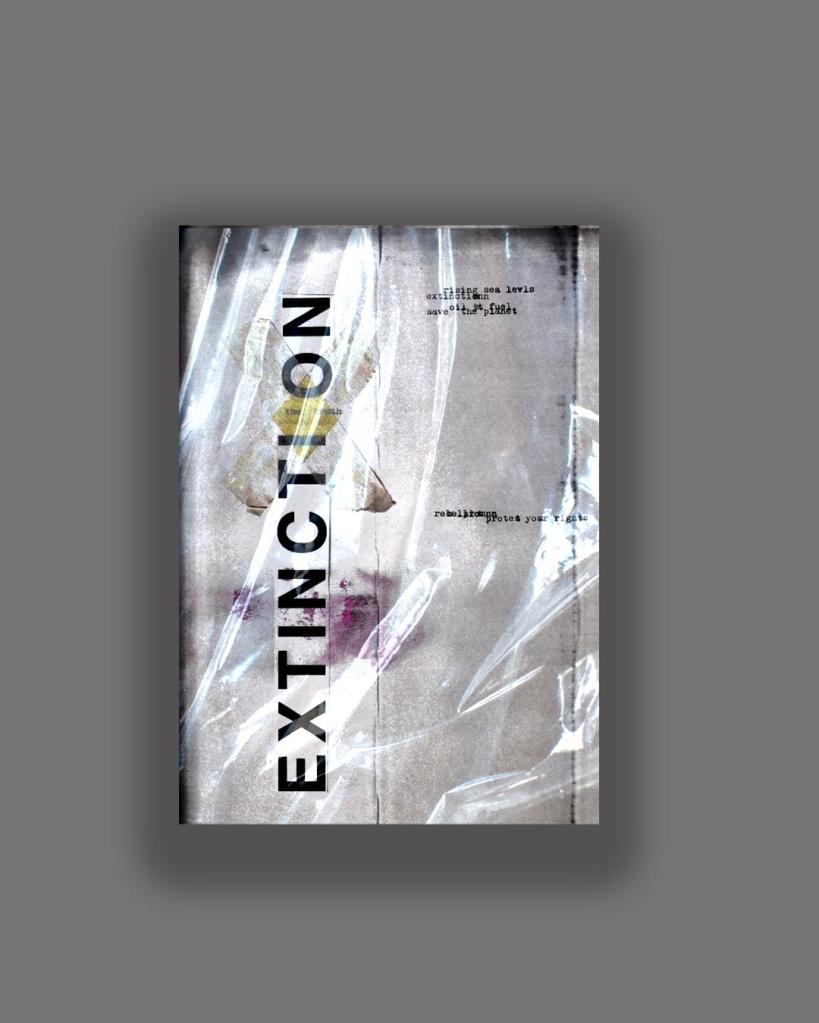
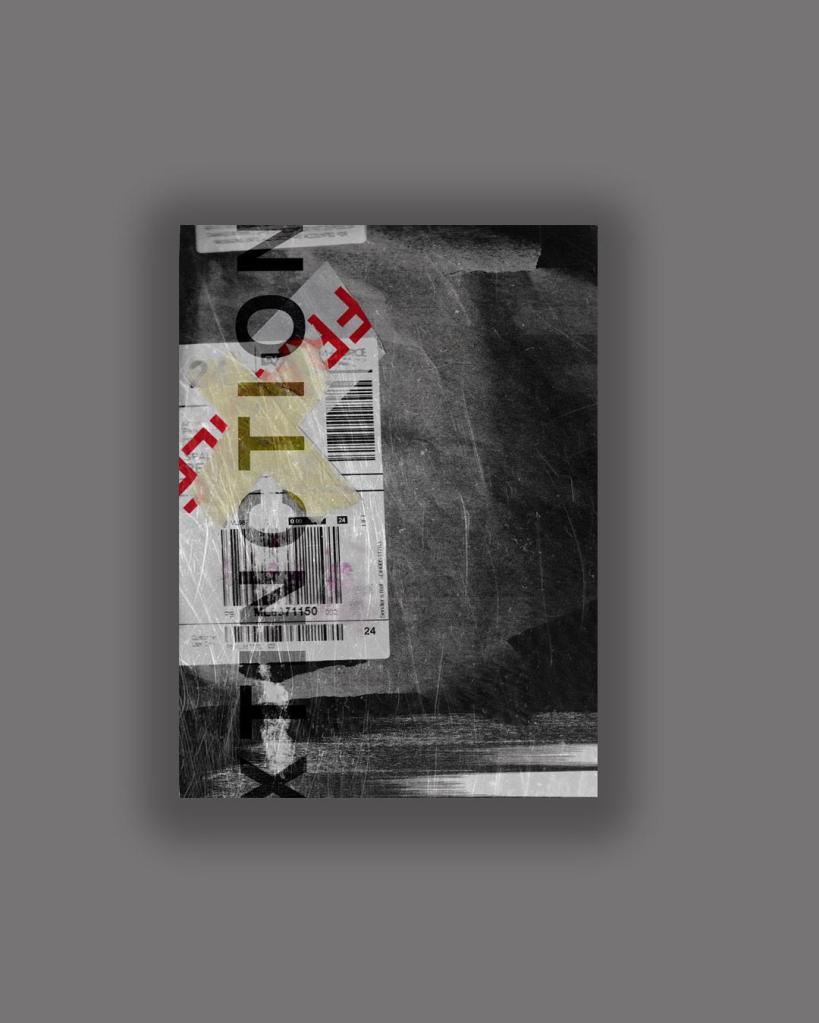
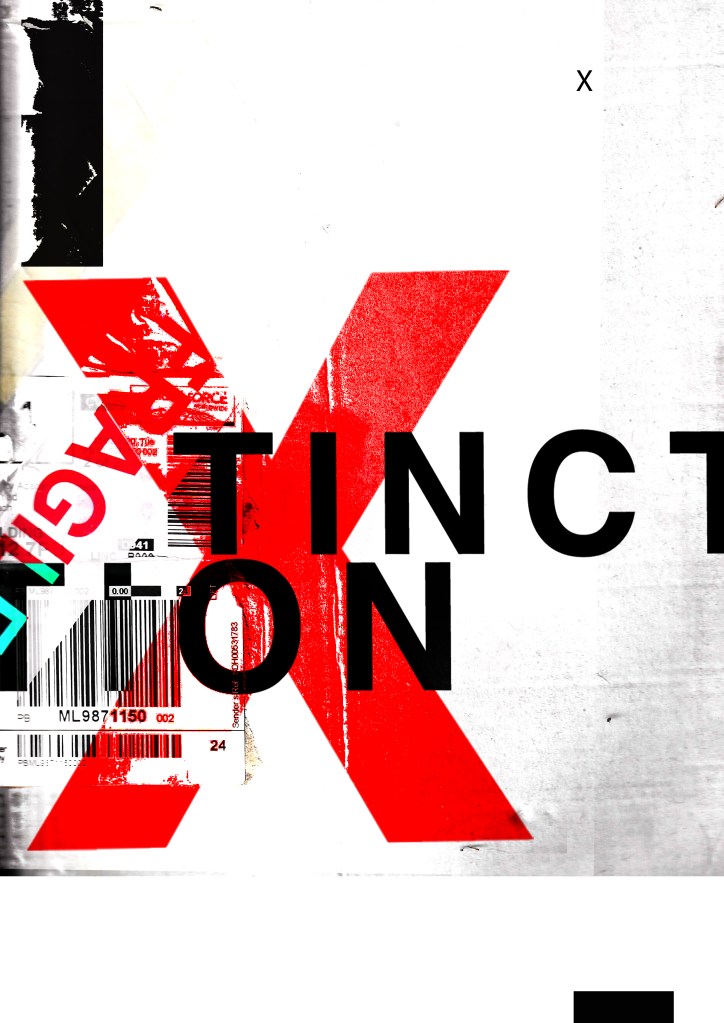
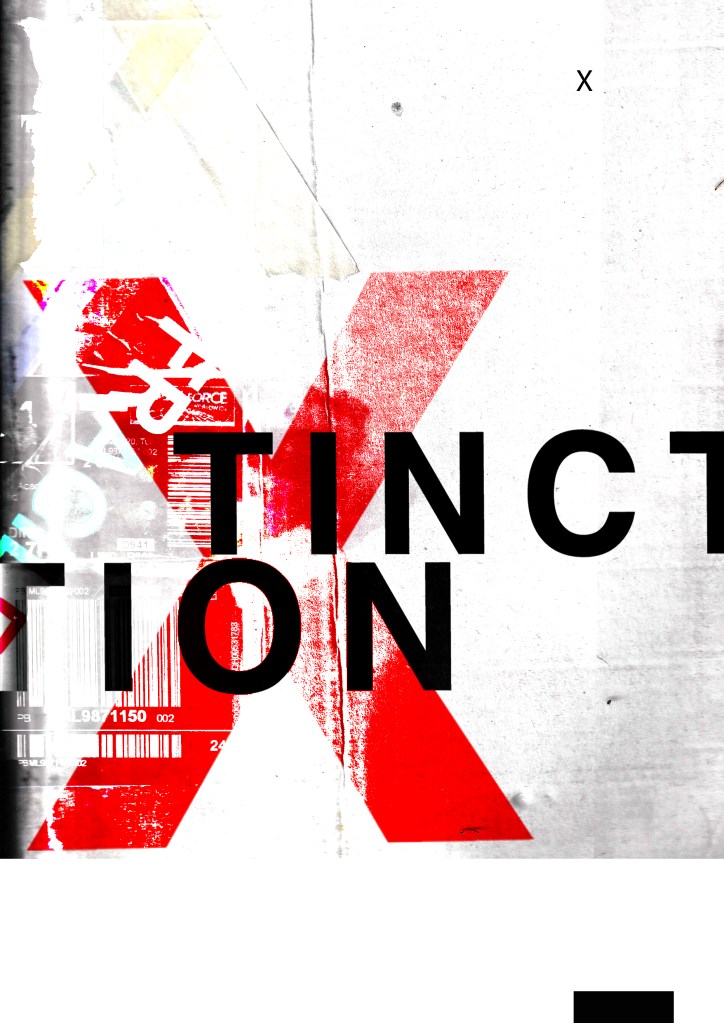
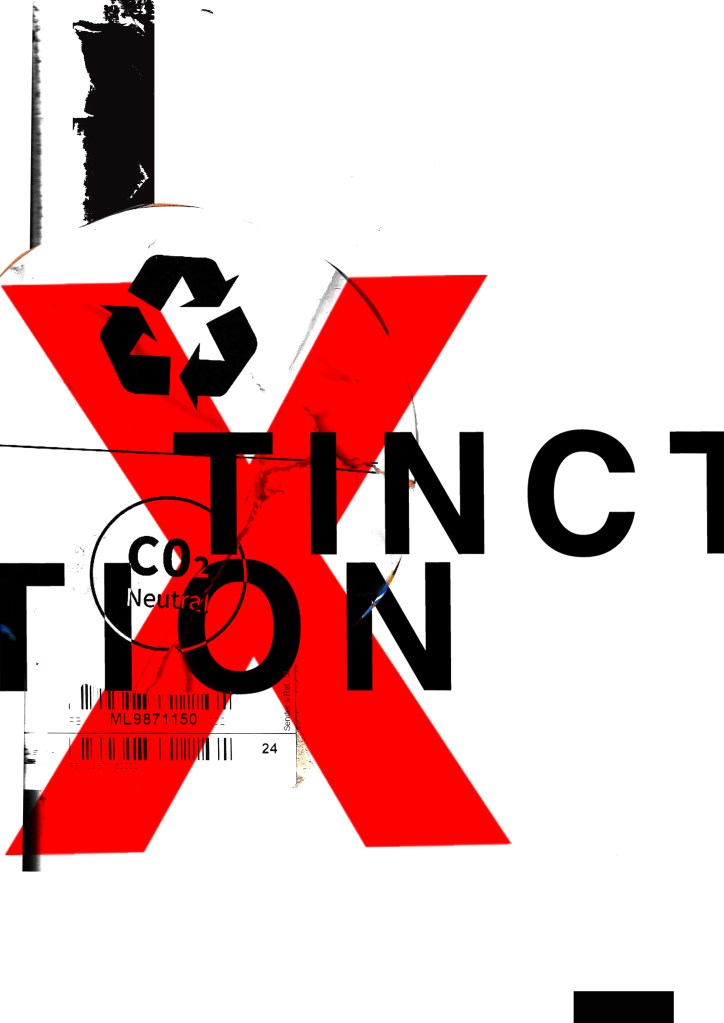
I wanted to use Red as a predominant colour again as it represents Swiss design and also the Bauhaus influence. I wanted to be in keeping with the “Swiss Grit” style of the poster though with the “Akzidenz Grotesk” heading and decided to try something experimental and different… I watched an interview with Chris Ashworth about a year ago where he explained what sort of experimental “grit” typography he does such as sticking type to the bottom of his twin girls school shoes so that when they return back from school in the evening the type is all ragged to give that worn down texture. He then uses this in his pieces rather than using digital textures. I wanted to do something similar for the type on my page. I decided though to try the cellotape method… I made friends with a Graphic Design student on Instagram who is also into Swiss Grit and he did a demo on his page of how he created his “gritty” type. He printed his type out using a laser/inkjet printer and then covered the text with cellotape and gradually pulled away at it to rip the ink off the page onto the cellotape. It worked! It gave a great gritty texture to my type which I then imported in and tweaked to become part of my layout.

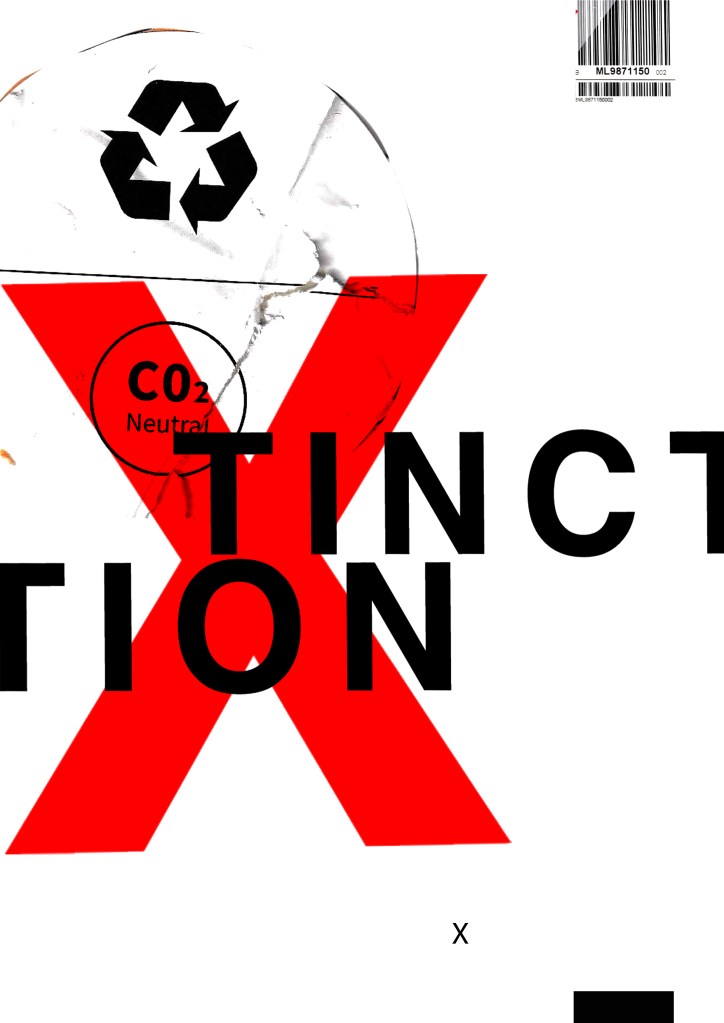
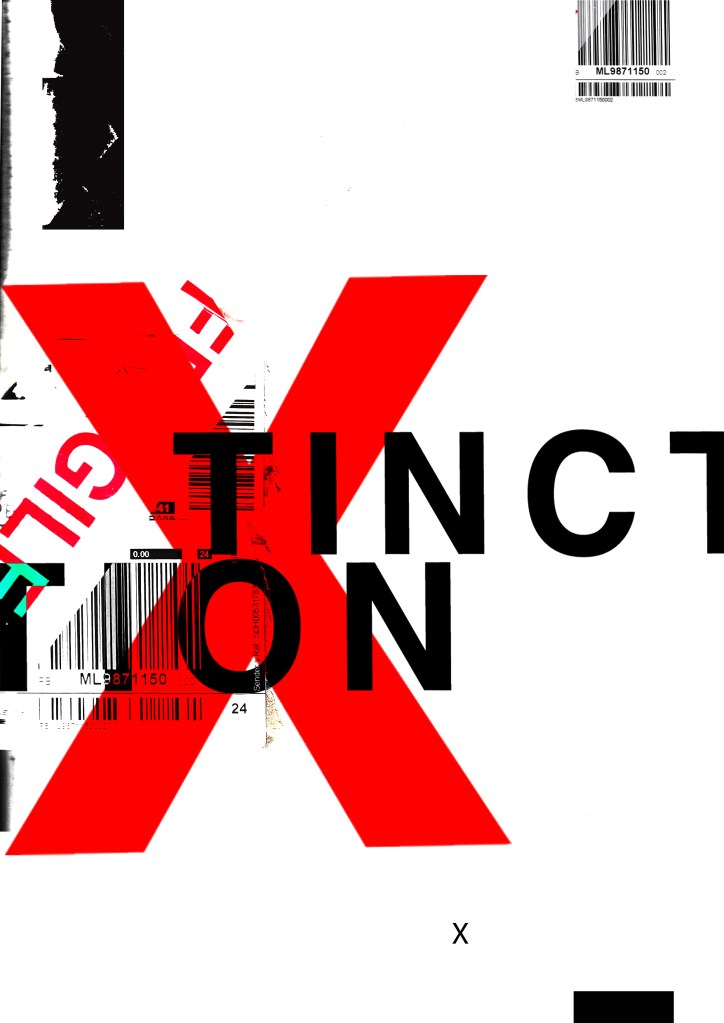
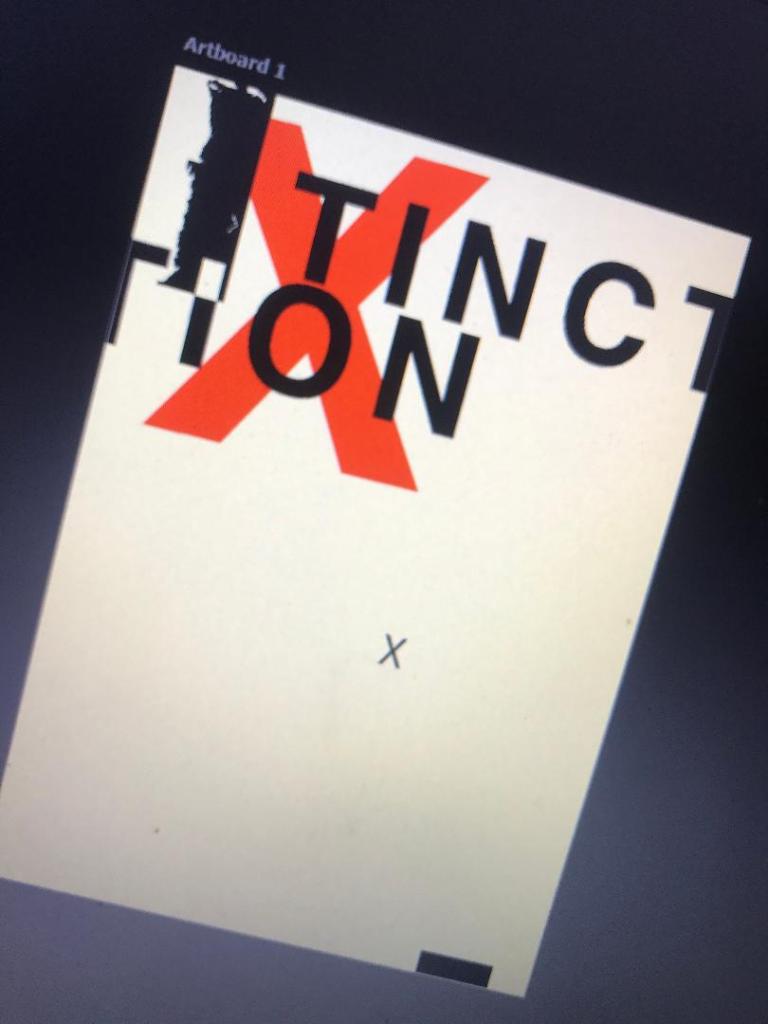
Design Development – The stages of reaching my final design and layout!


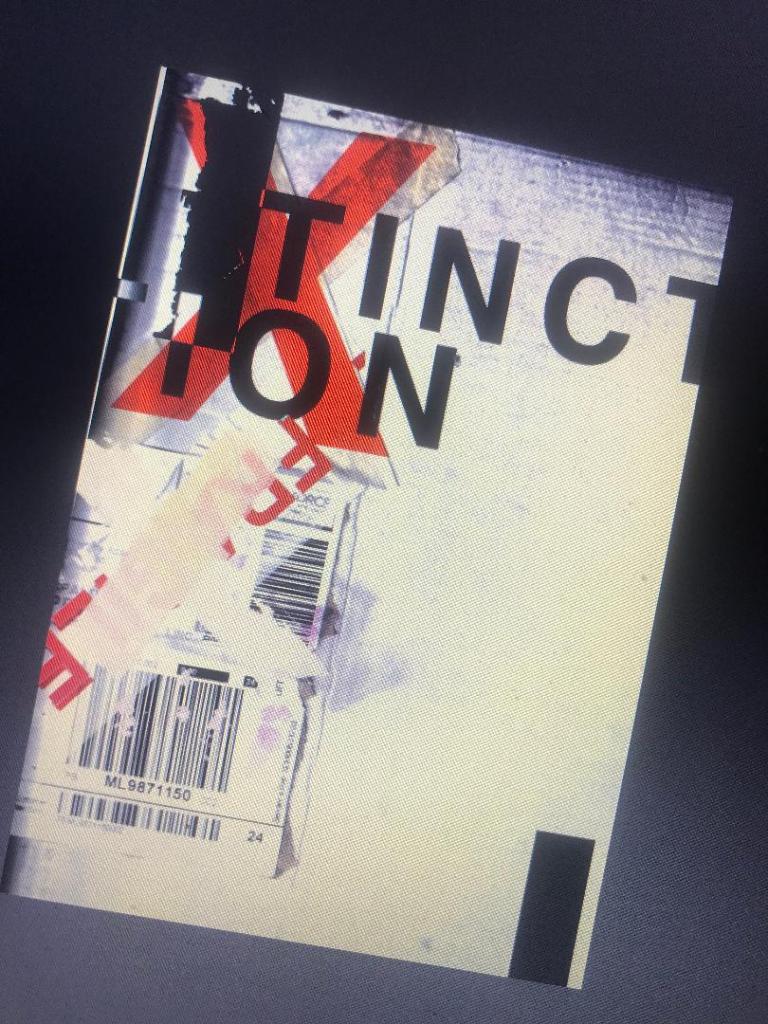
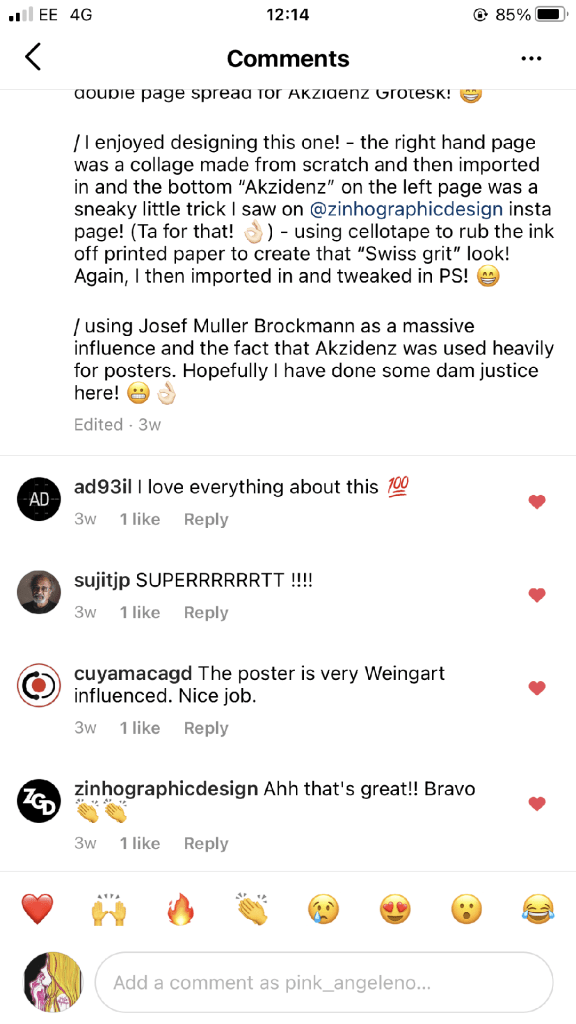
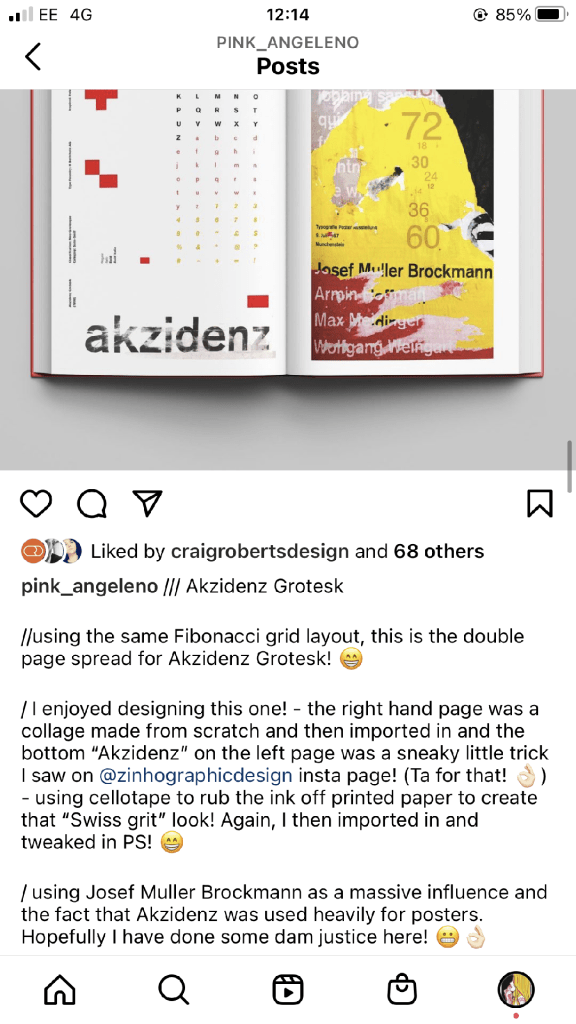
The final layouts were received VERY well when I uploaded them onto Instagram. It got the most likes my page has ever got and everyone seemed to love it! I felt very proud of this piece when it was done!
The final design pages and final mock up


Responding to Tutor feedback…
“The sketchbooks evidence in between stages, idea development and layout/mark
making: do you have any evidence of the planning for the laying for the Aksidenz
poster?
Is this a place where you could experiment with textures and layering with
surfaces and drawing media?“
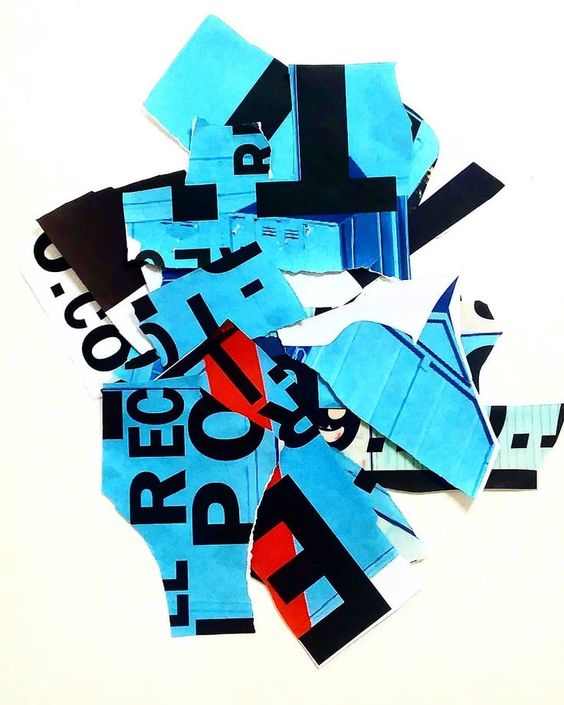
I have sketches in my sketchbook and images that I found on Pinterest that inspire the collage that I did for the Akzidenz Grotesk poster:
I agree with the feedback that I didn’t document the Akzidenz Grotesk collage all too well… but it was created entirely how it is pronounced!.. a complete happy AKZIDENT!
I had no idea really how to put the collage together for Akzidenz Grotesk. I tried first on the wall of my house PVA glueing different sheets of coloured paper that I printed out from my printer at work and this just did not work. I tried rubbing Letraset on the walls too, My plan originally was to create the poster on the wall using Letraset letters or printed type on sheets of paper that I would dampen and then rub off onto the wall!
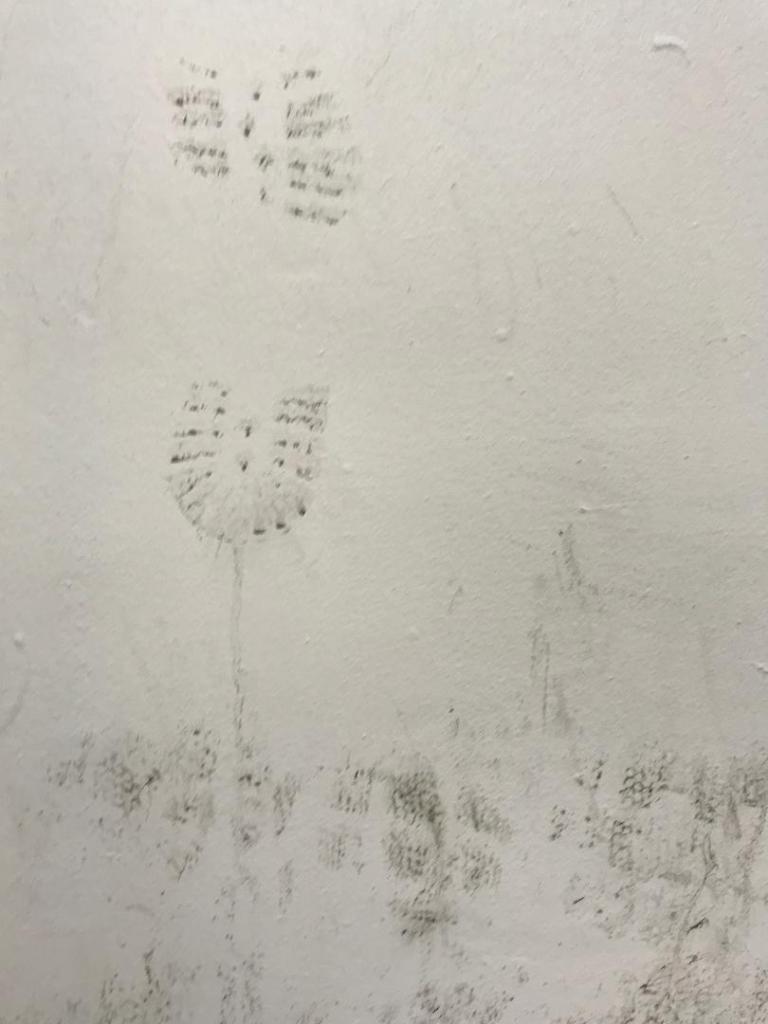
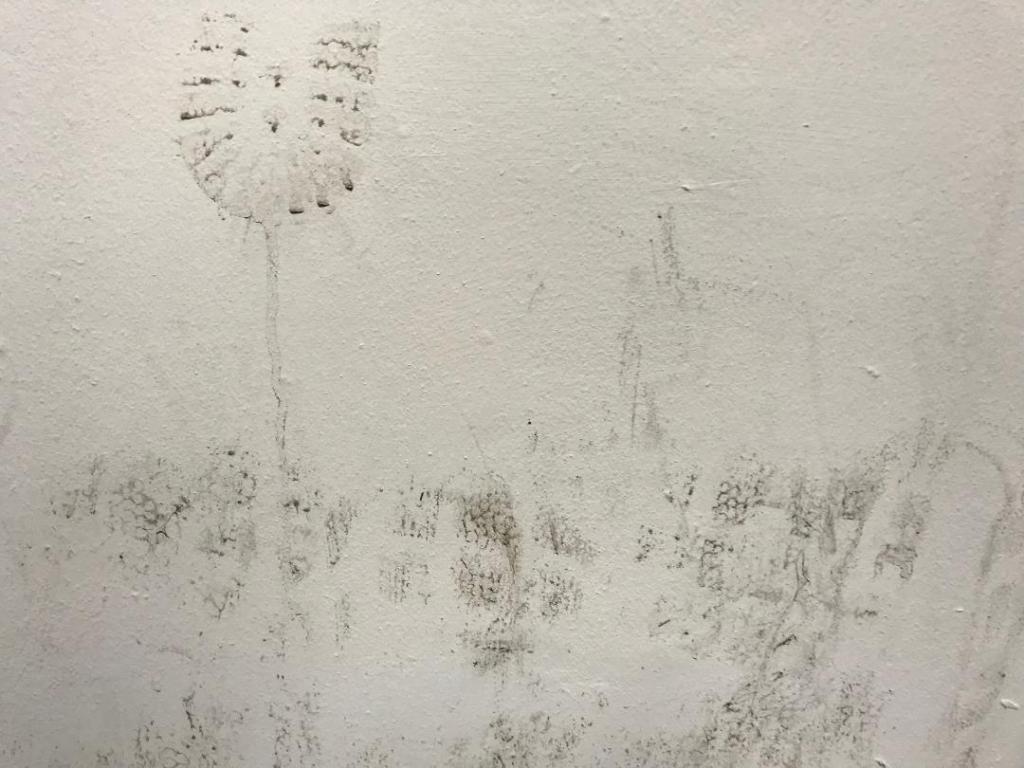
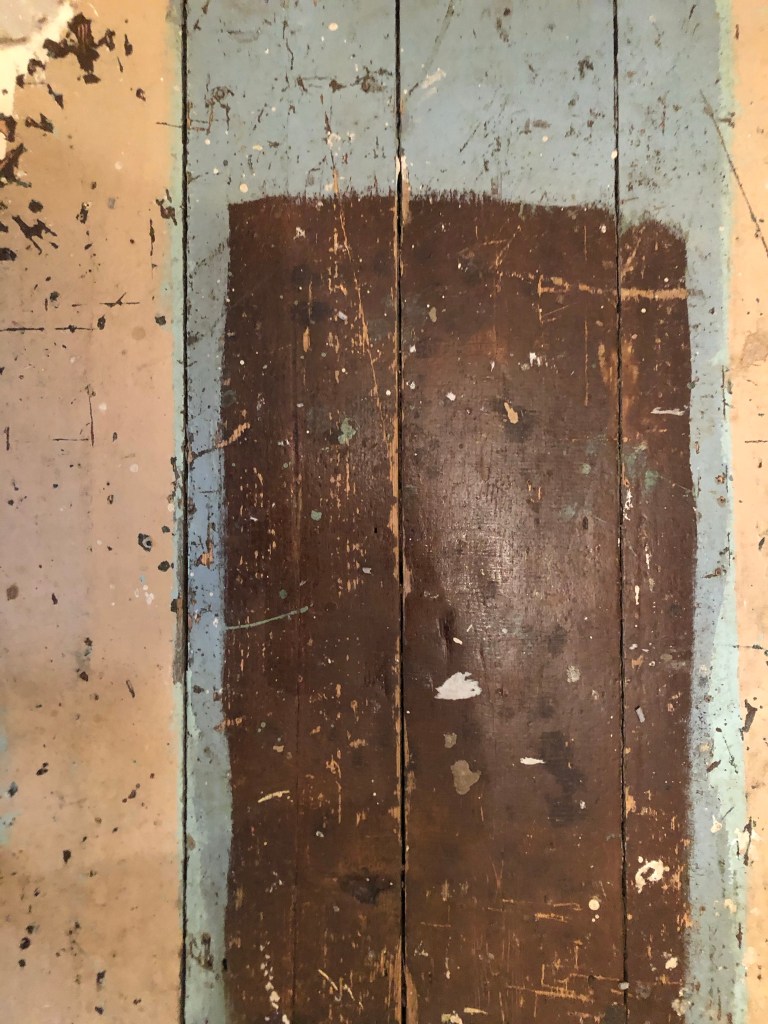
Another thing that inspired me was a few photographs I took of the side of my old cooker… When I moved house in October 2020 I rented my house and inside it I had an awful, old cooker (possibly from the 1970s!!) when I moved it out to clean it I noticed some markings on the side of it. It was quite cool and I took the photos to bank in my resources for any future projects:


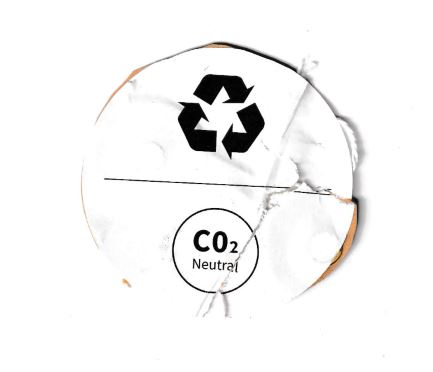
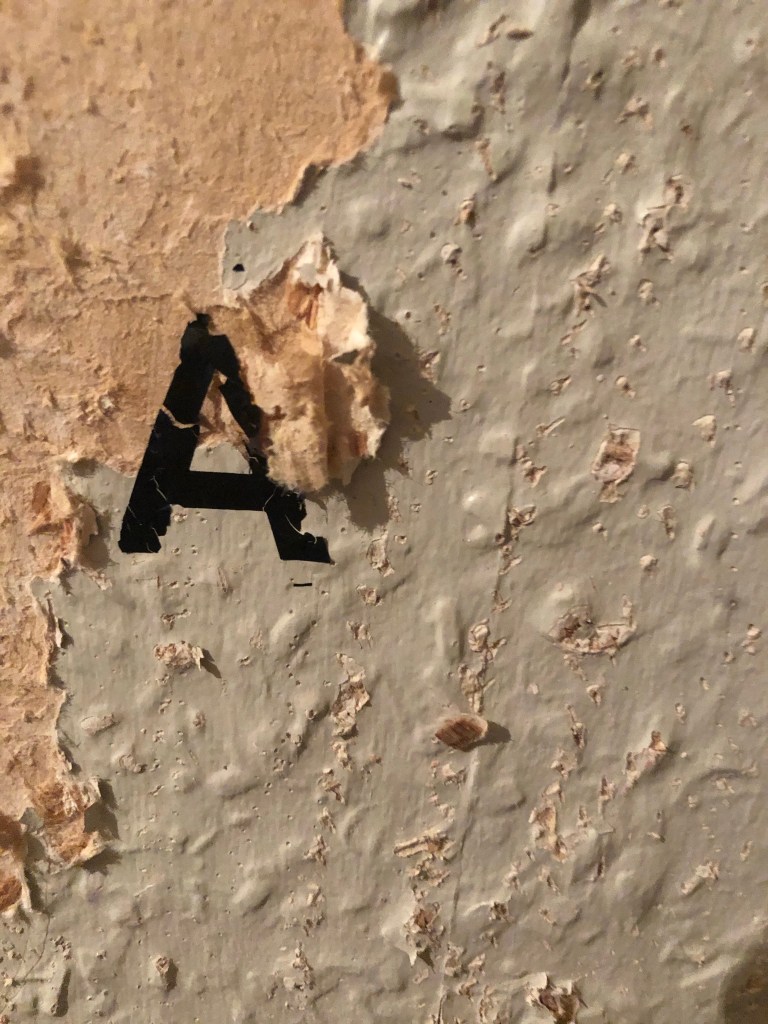
I knew I wanted to create this kind of effect but I was struggling as to know how…I then had the idea of photographing some different textures and then importing them into Photoshop to play around with for my poster. These were some of the textures I found, (again, they were all from the upstairs of my house which is currently now only starting to be renovated!)

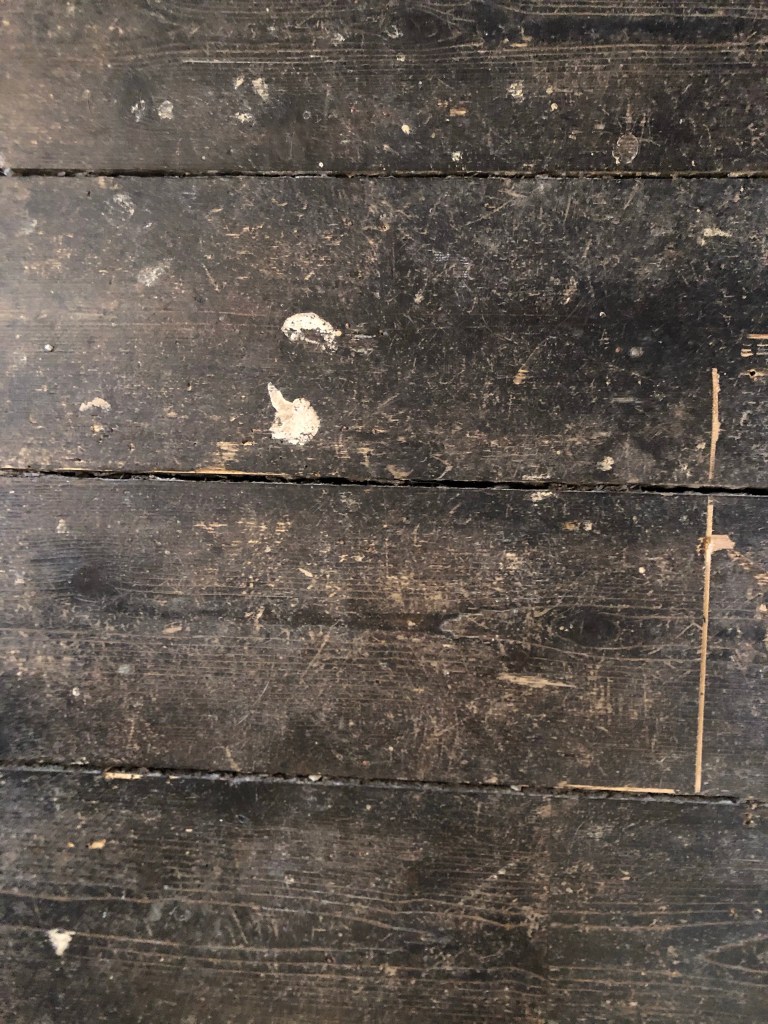
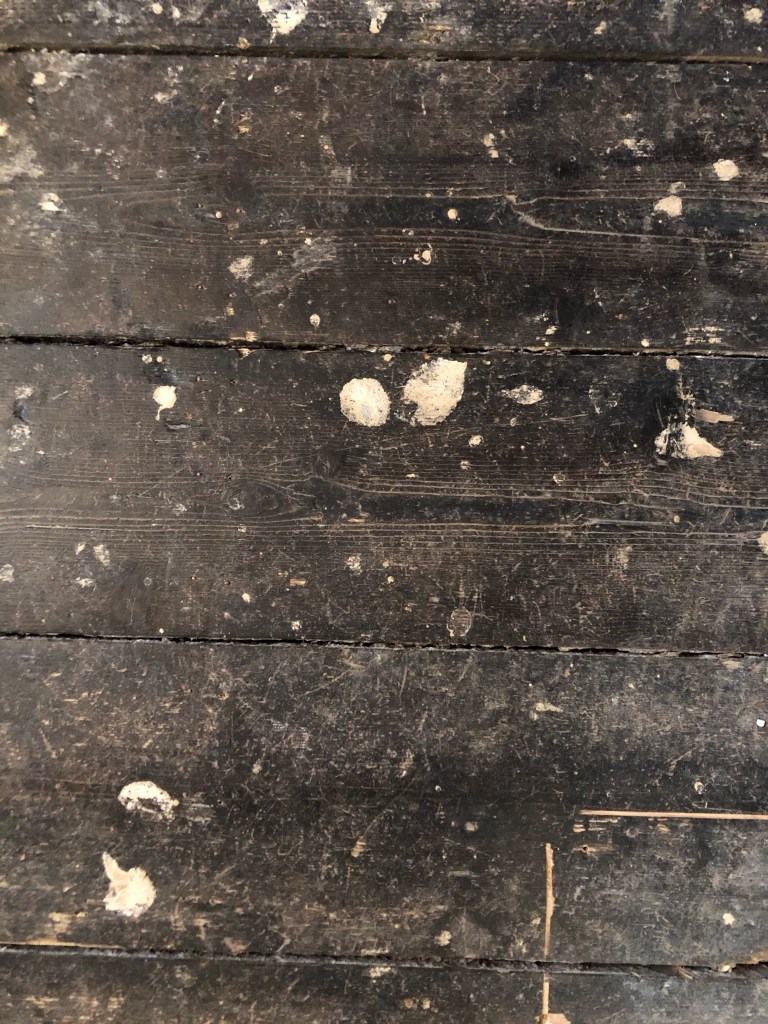
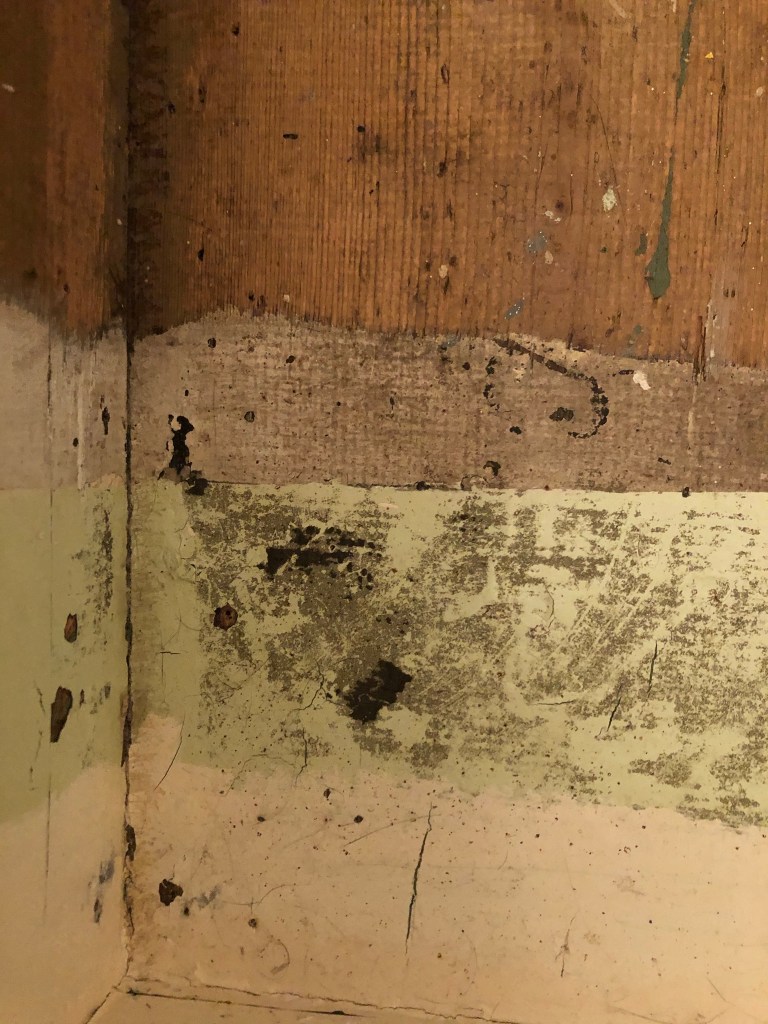

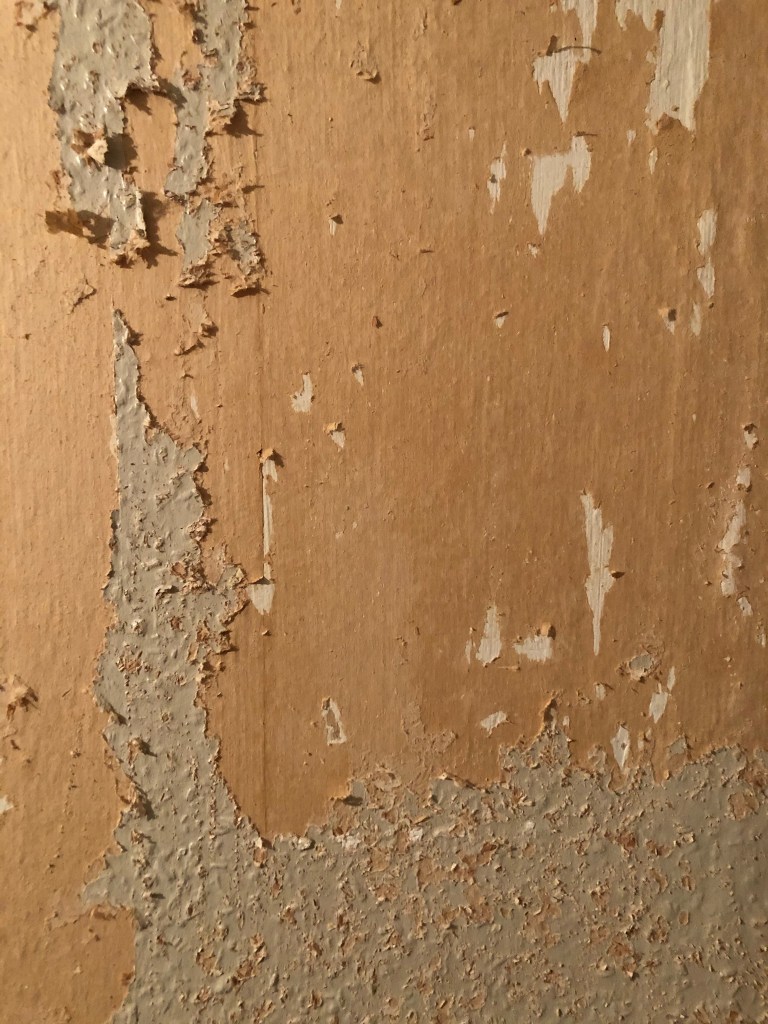
The textures idea just wasn’t gritty enough for me though… This is where I went to work the next day feeling really frustrated at the fact that I didn’t know how best to create the idea I had in my head!!
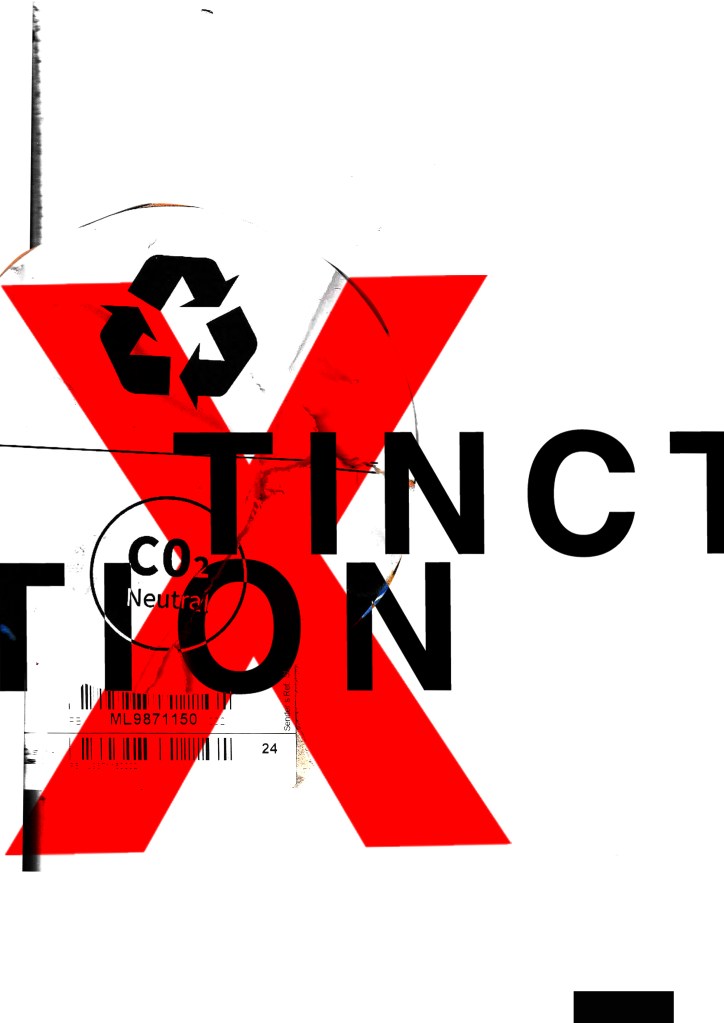
I have a very rigid “Neat” approach to my work, everything I do is very structured and organised and I couldn’t quite get myself to create something “messy” enough!- I needed to switch off and just become careless and wreckless to see what I could create!! I had another go on my lunch break when I had the classroom to myself; I filled a paint palette up with PVA, found a screen printing roller to layer it on smooth and what I ended up with was the unexpected, perfect finished piece! I have photos that I have found in my design archive of me creating this final piece but other than me being really inspired by some collage work I found on Pinterest it happened without any prior planning or any planned sketchbook experimental work.. it was completely by accident! A really happy accident! I literally just created pages in Microsoft Word (my work laptop did not have Adobe at the time!) of block coloured pages and pages with some type using Akzidenz Grotesk, I printed them out using the laser printer and then layered them up on top of each other using PVA glue. Carelessly I just ripped sections away to reveal layers underneath. The idea was to create the feel of a really old billboard that has had hundreds of posters ripped off and layered on in its time in a really rural area of a city..
The final piece was perfect for me! In fact it seems such a shame to pack it away with all my Core Concepts work that I have thought about framing it as a showpiece!