The last Serif typeface I chose was Mrs Eaves. I like the story behind this typeface and it also ties in nicely with Baskerville.
Mrs Eaves was designed in 2006 by Zuzana Licko in 1996. It is a variant of Baskerville. Baskerville is known for being absolutely perfect, stark and sometimes hard to read and Licko went out to create a version that was softer and more feminine in approach.
Mrs Eaves was named after Sarah Eaves; Baskervilles live in housekeeper who would later become his mistress and eventual wife. It was the story that drew me in to this typeface.. Sarah Eaves was John Baskervilles live in house keeper whose husband went on to leave her and her 5 children. Sarah in time became Baskervilles creative assistant and mistress and then when Sarah’s estranged husband died, they were married. Sarah Eaves was very much the woman forgotten in typography.
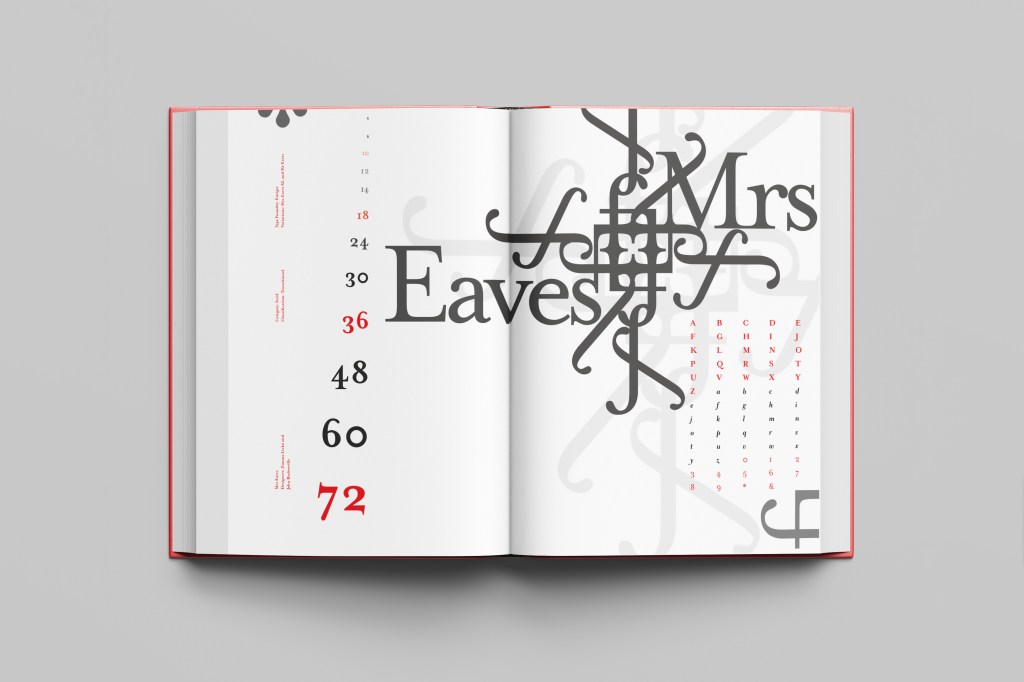
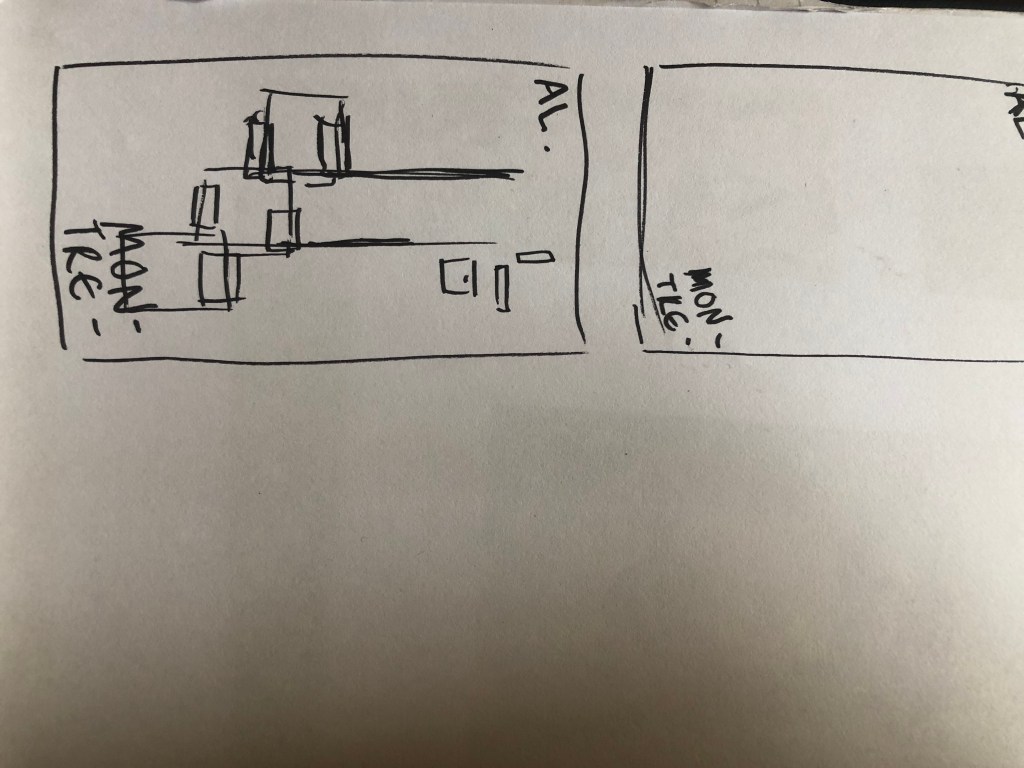
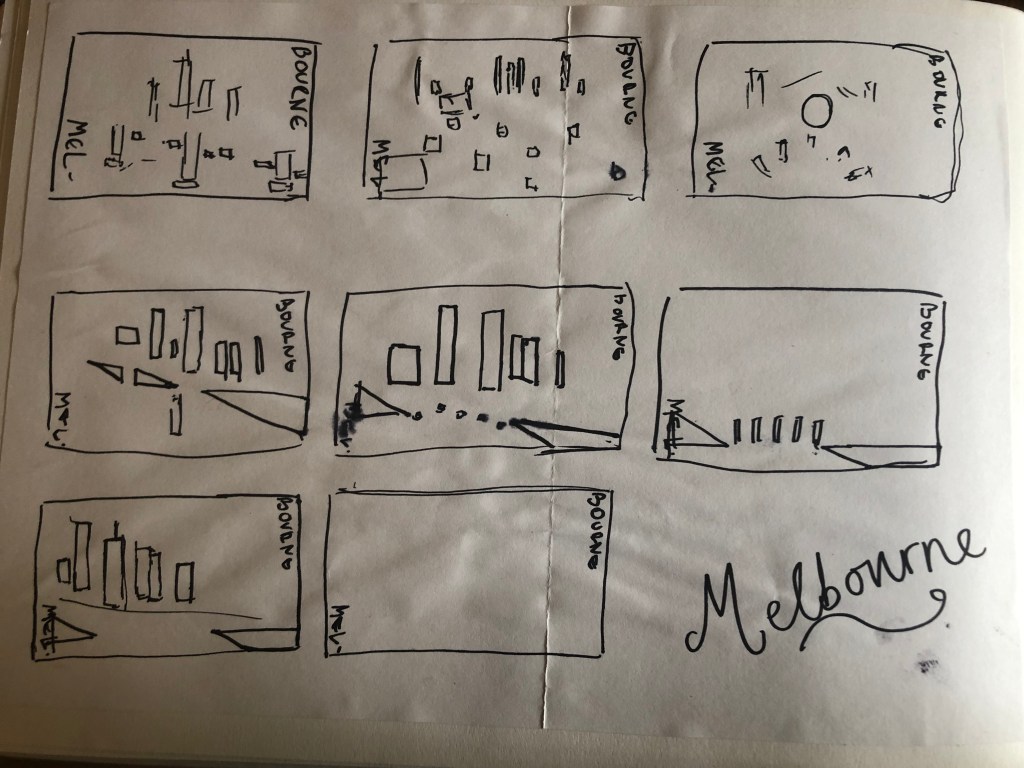
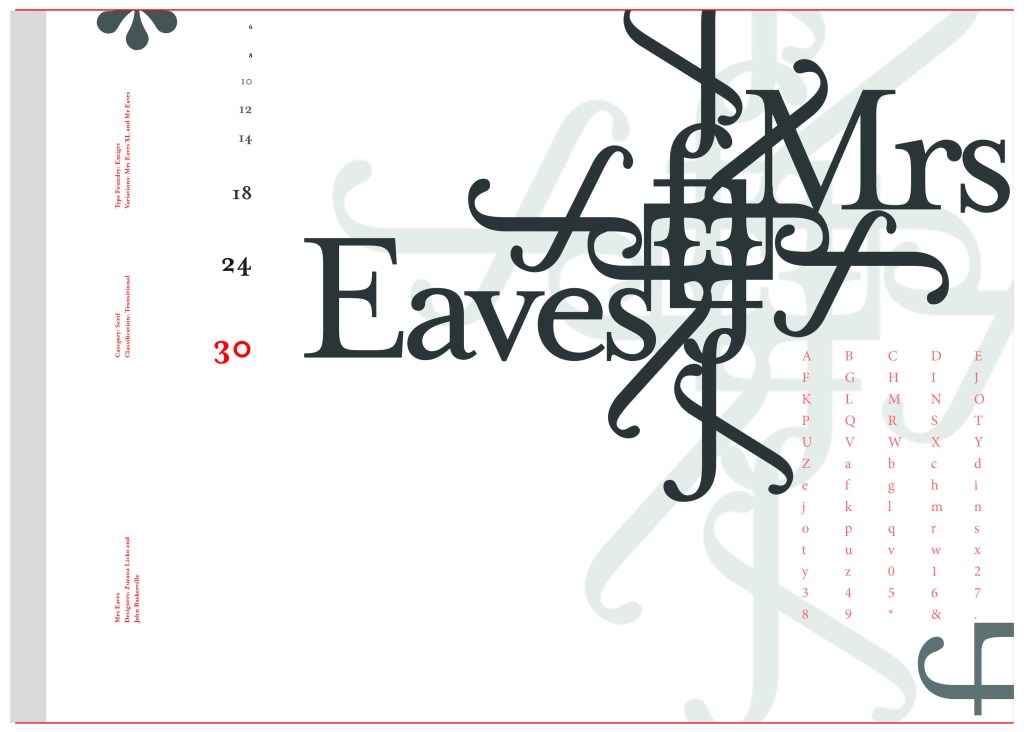
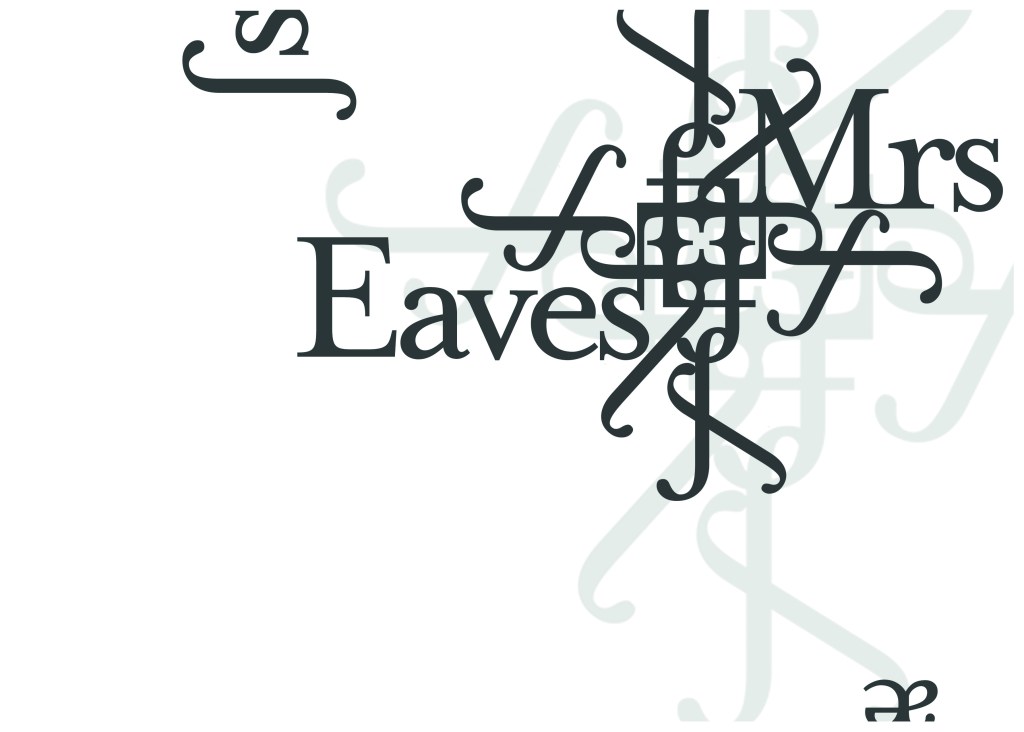
I wanted to bring an element of this story into the design; again, similar to Baskerville I had the idea to create a book design for the layout and tell the story of Mrs Eaves but then I saw that Mrs Eaves has the most beautiful ligatures and I wanted to do something with this. At college when I was 17 we had a project (similarly worded to this exercise actually!) called “create a type-FACE” or something similar where I had to create an actual face out of typefaces. I thought about creating a similar thing on my layout using just ligatures. I had the idea of a very feminine pattern and then possibly repeat printing it across the page. What I ended up with though was slightly different; I am a little bit disappointed because this is one of my least favourites looking back on it and it seemed to have so much more potential at the beginning but time was very much against me in this exercise.
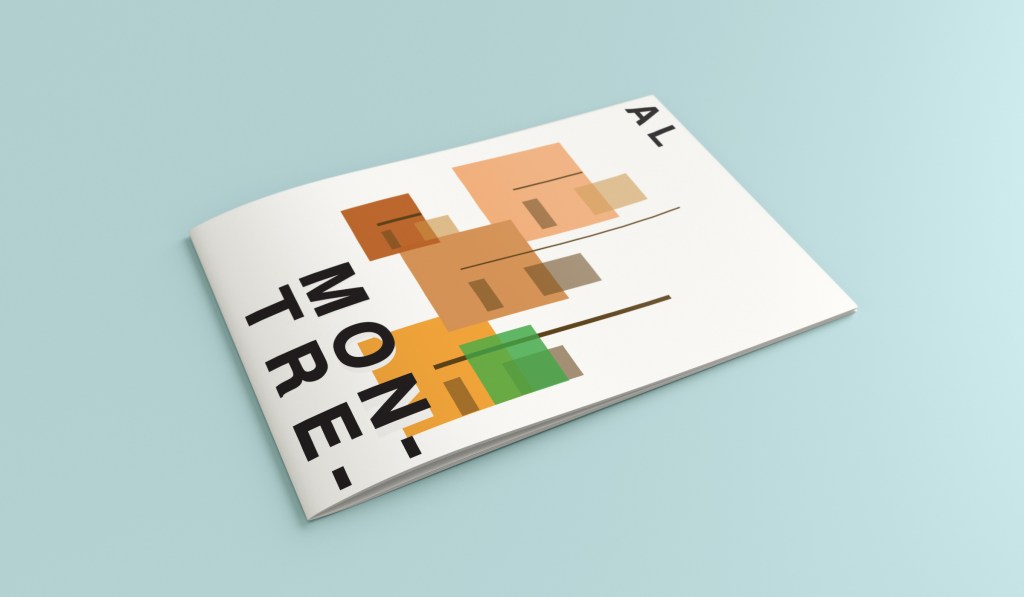
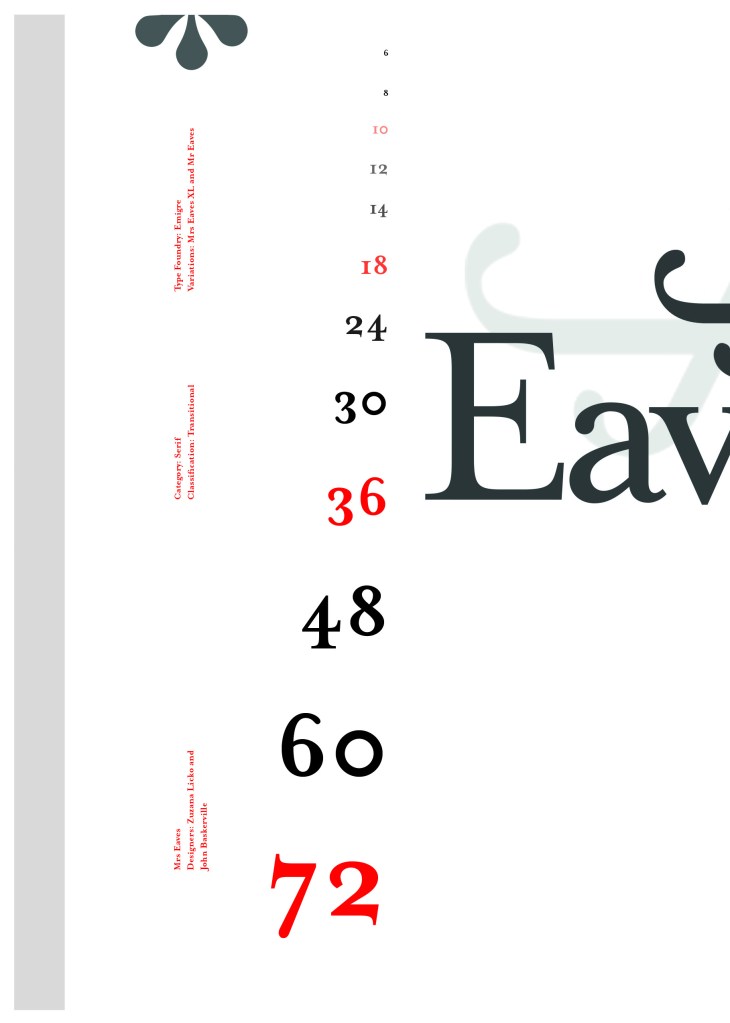
I created a very similar layout to Baskerville as the 2 are related back to each other and then started messing around with the ligatures to make a feminine looking pattern. The pattern I created looks a bit like a Celtic cross, it reminds me of something that would appear in a stained glass window. It has a traditional yet modern feel to it. I tried to turn the opacity down on the design as I still think it looks a bit harsh but tuning it down just made it disappear into the backdrop.
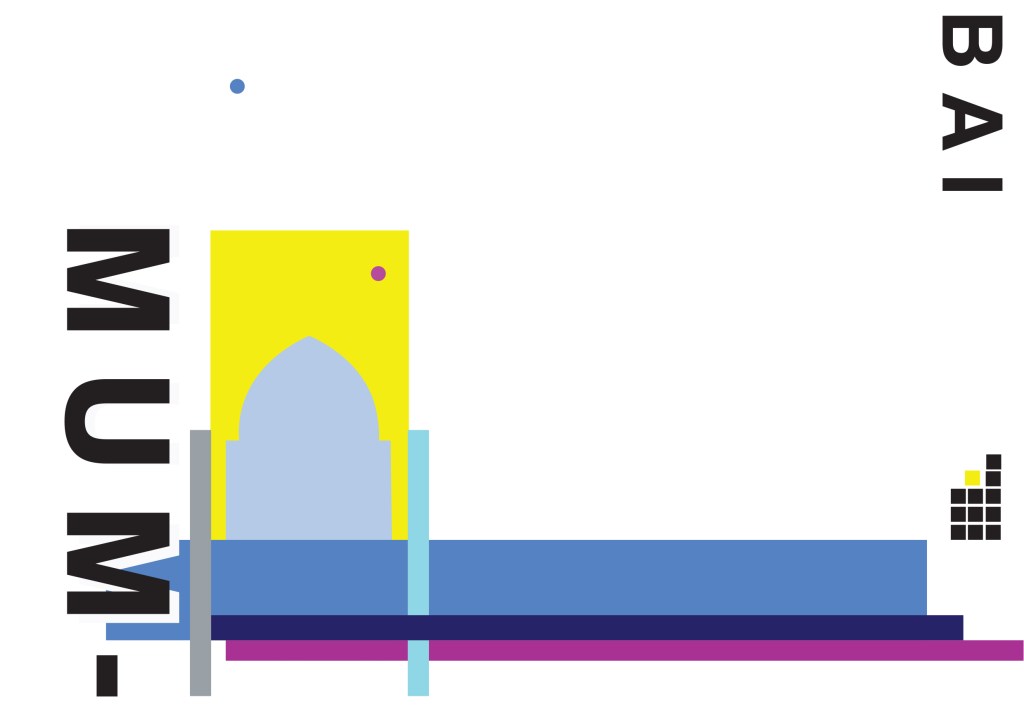
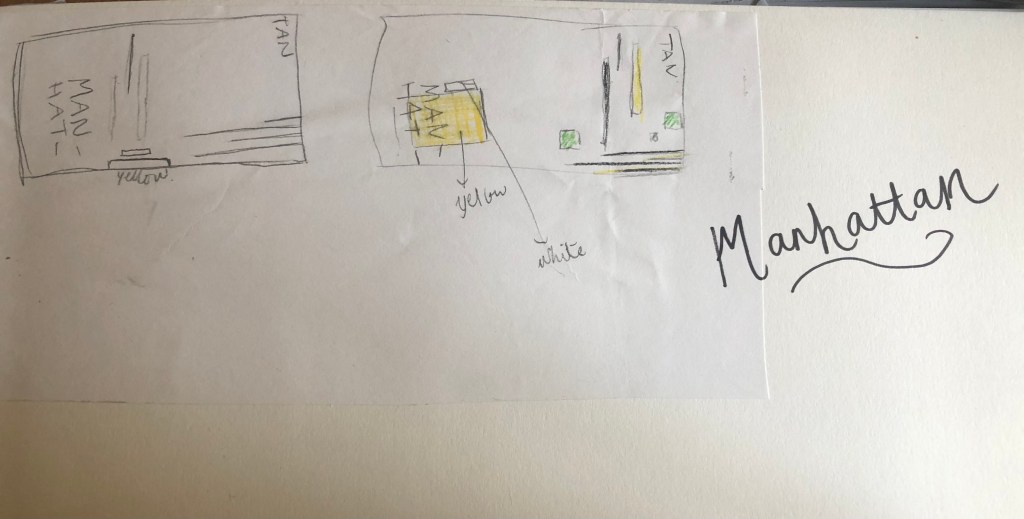
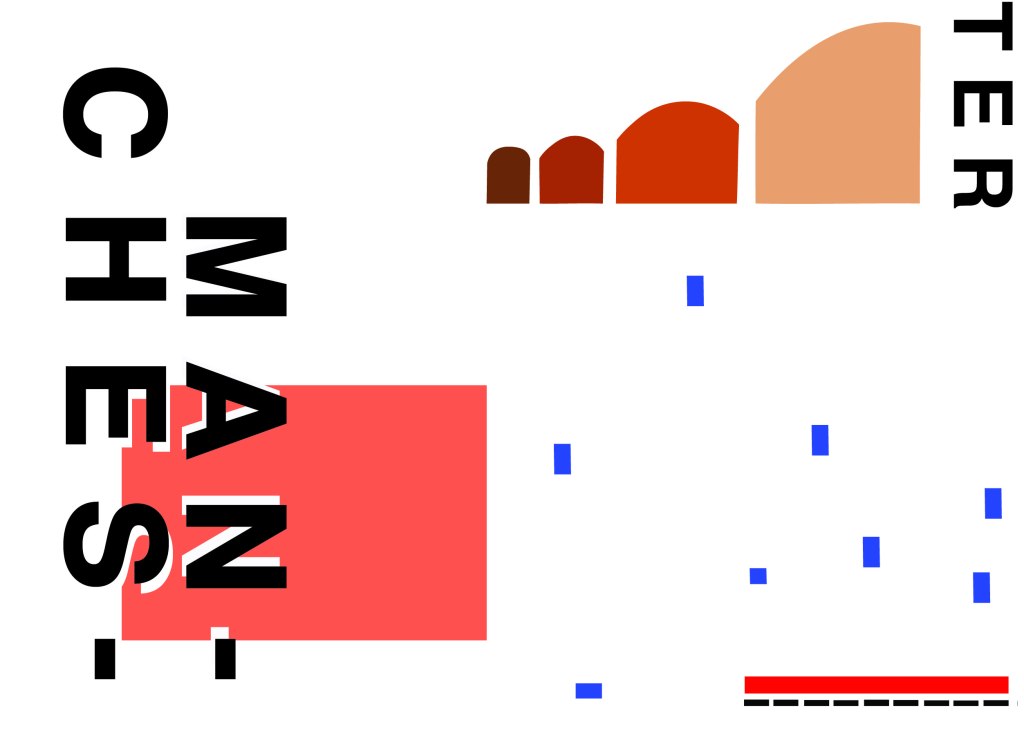
Digital Development

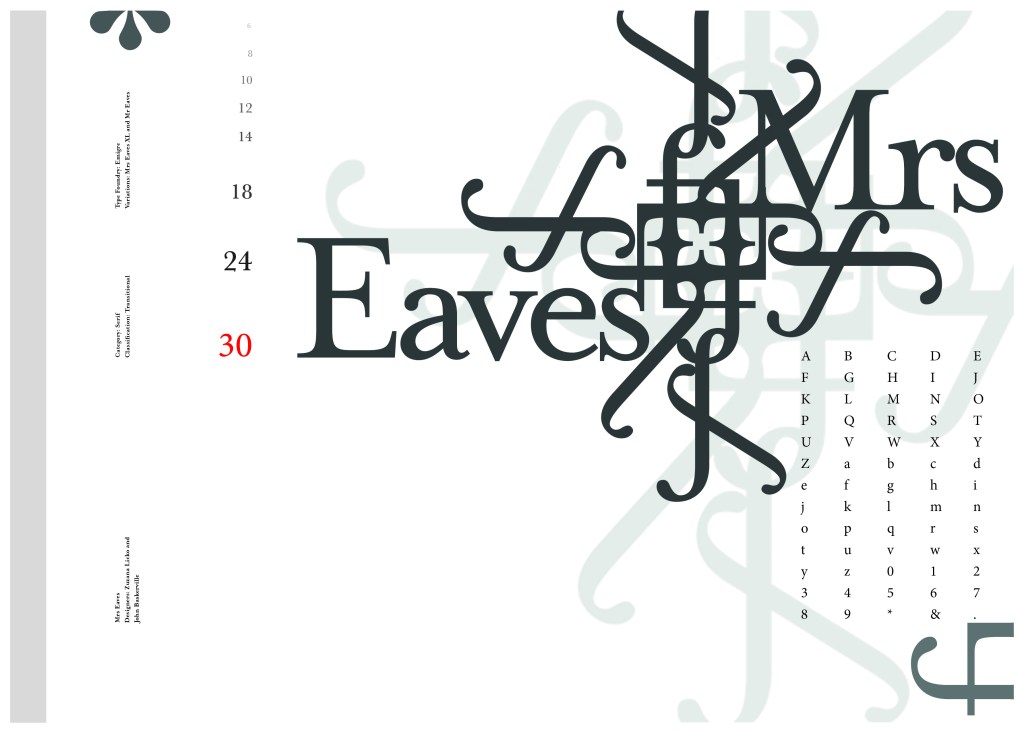
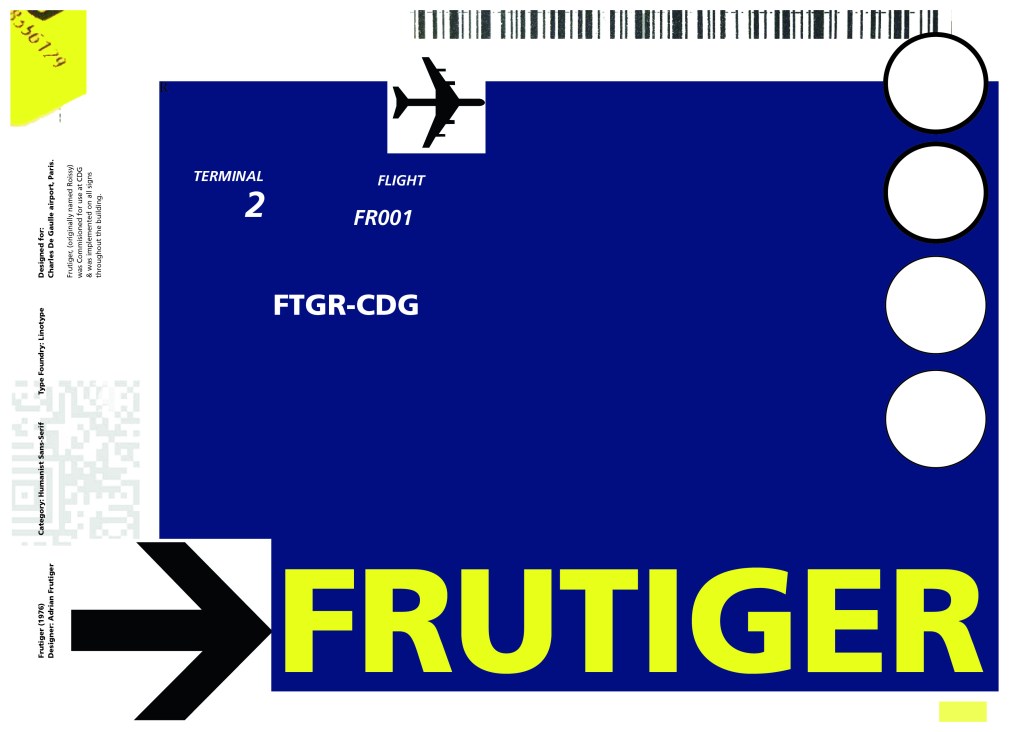
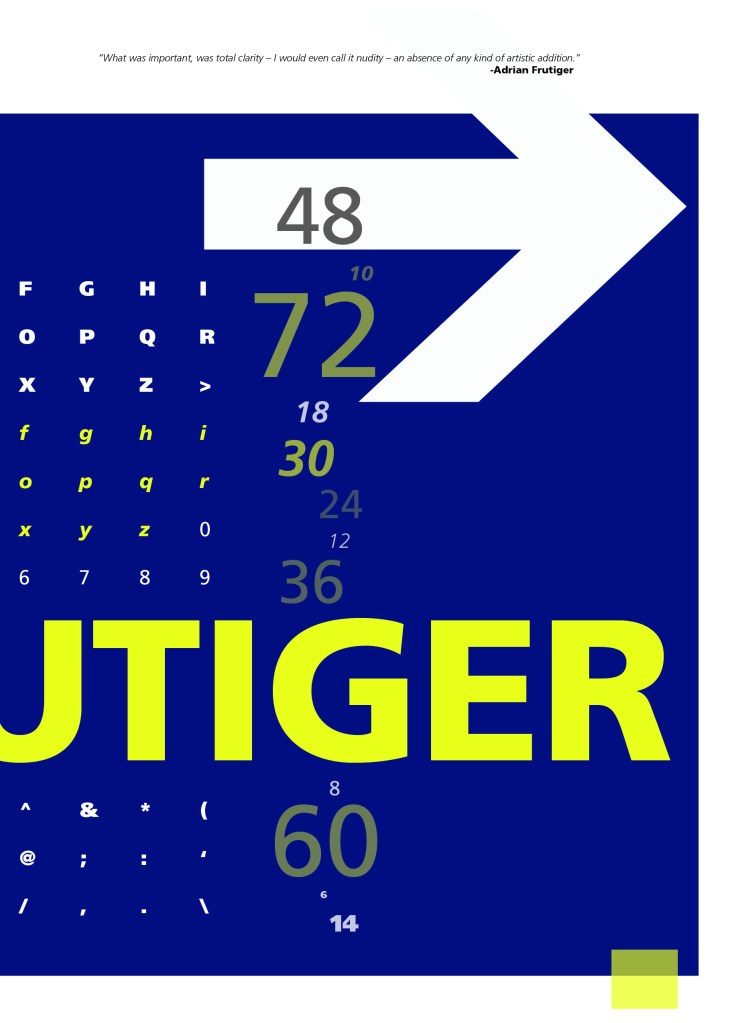
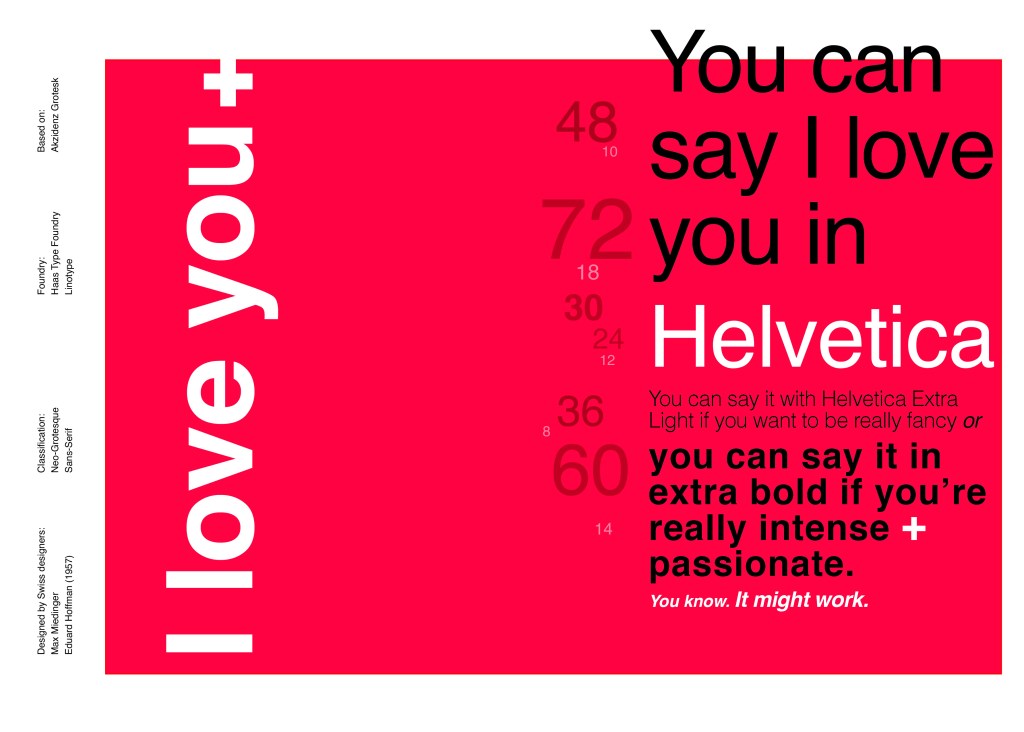
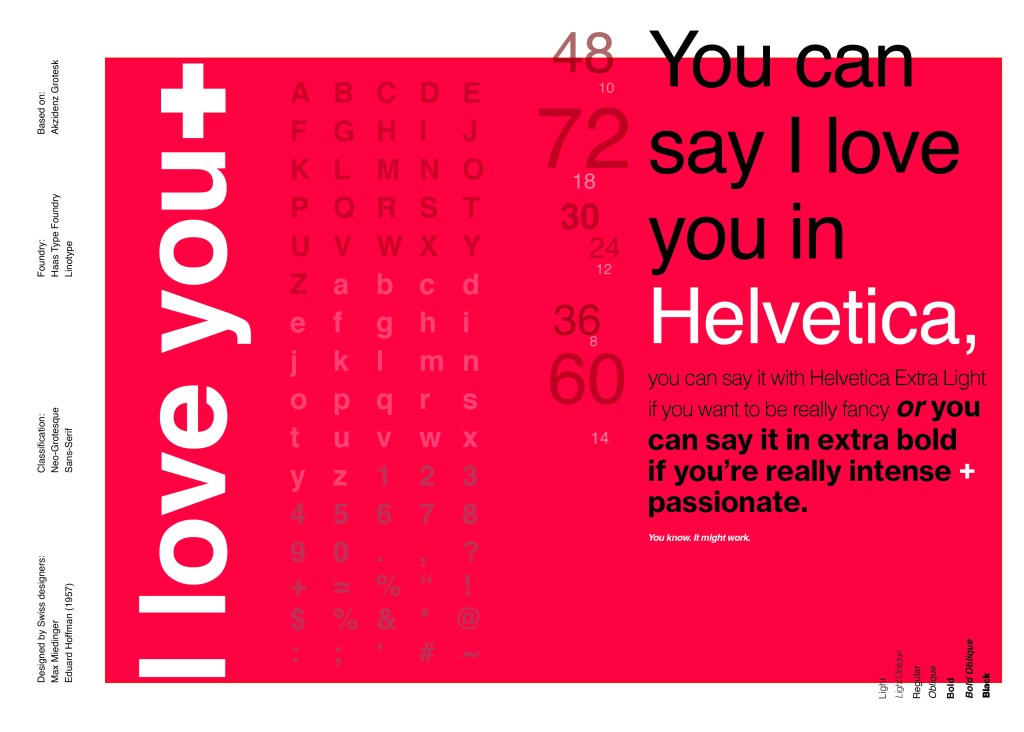
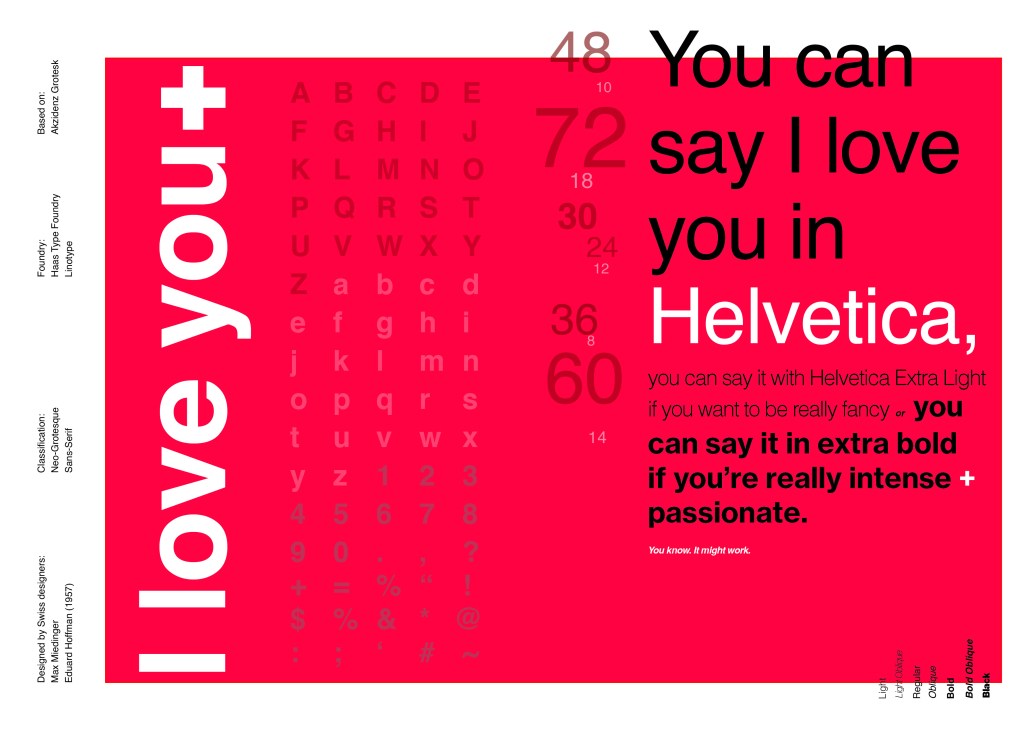
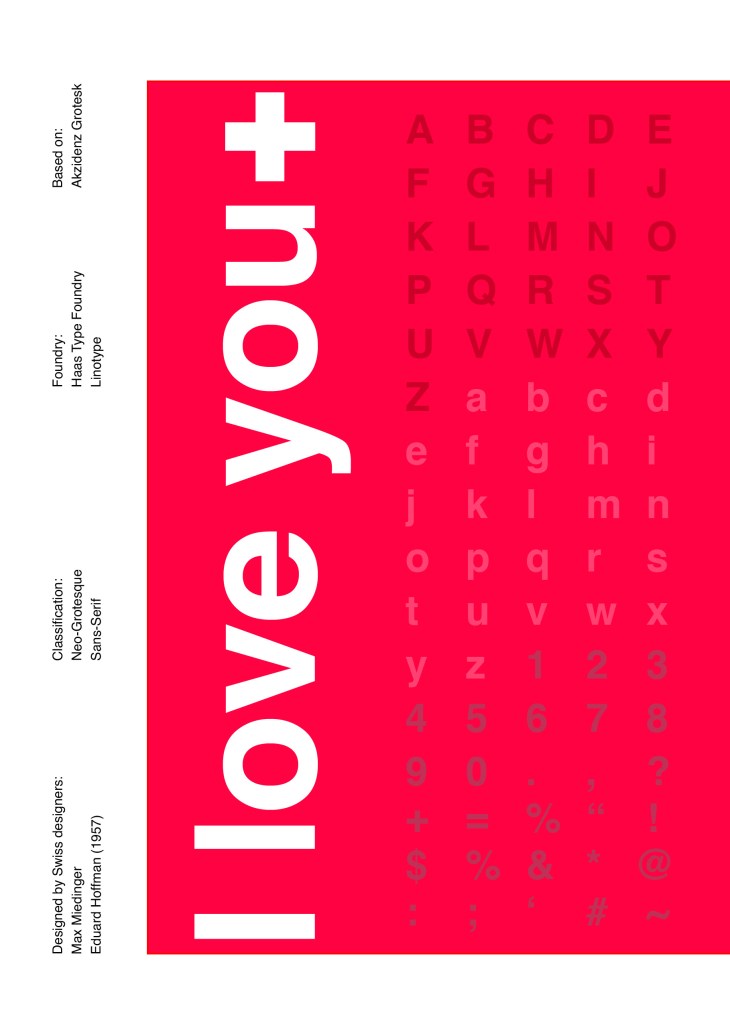
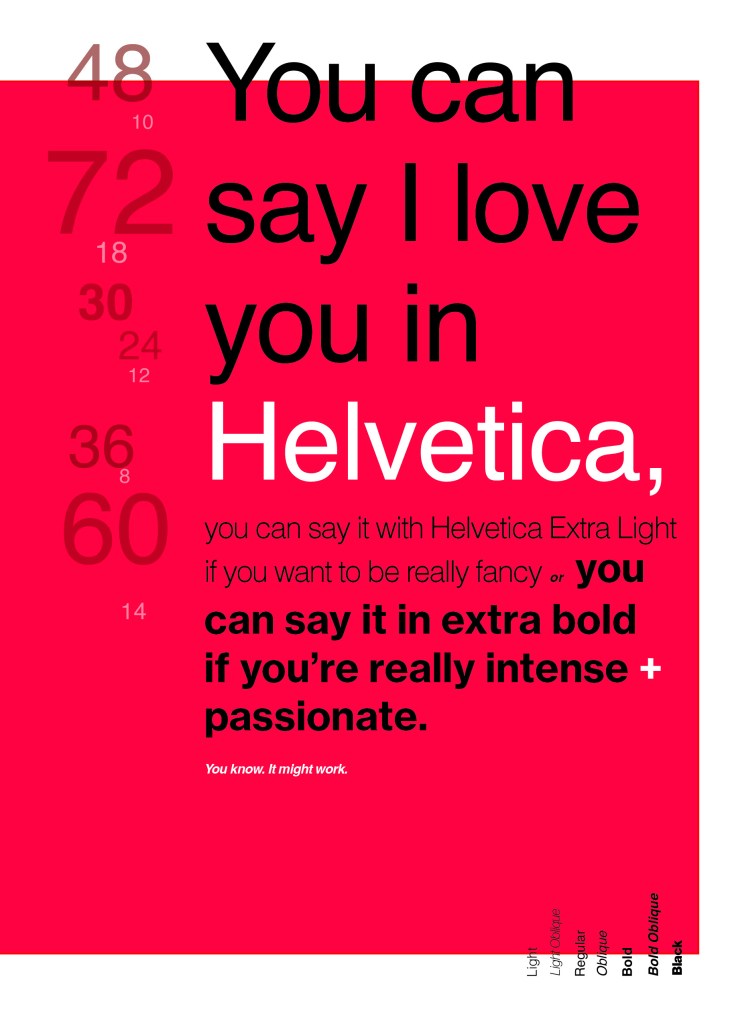
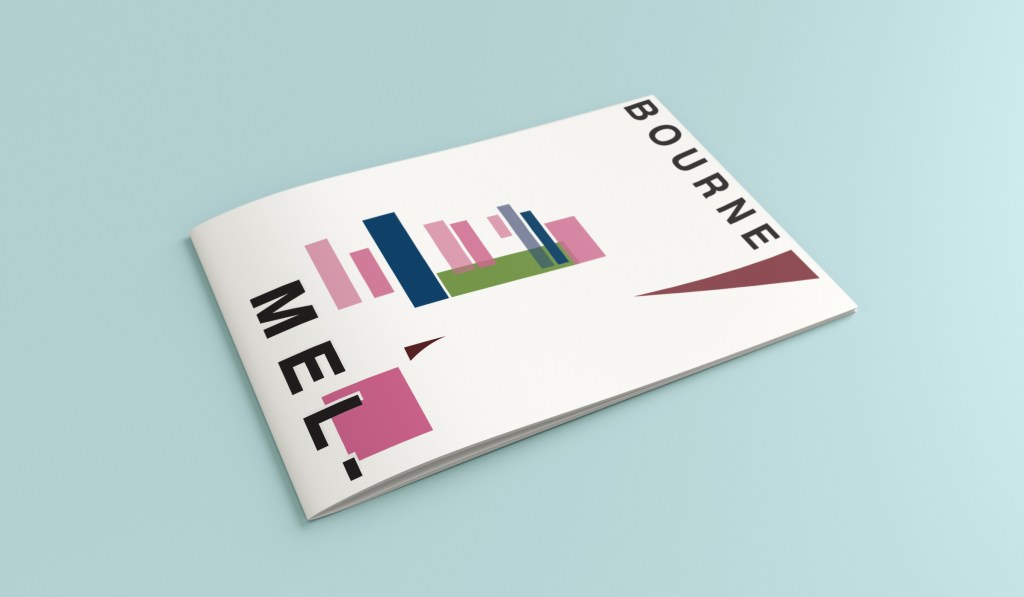
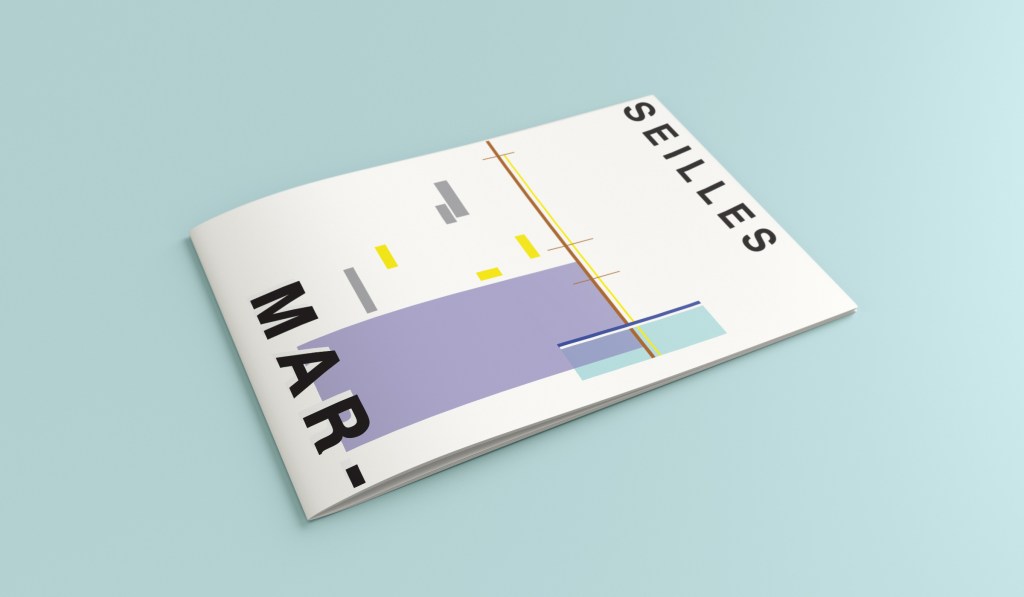
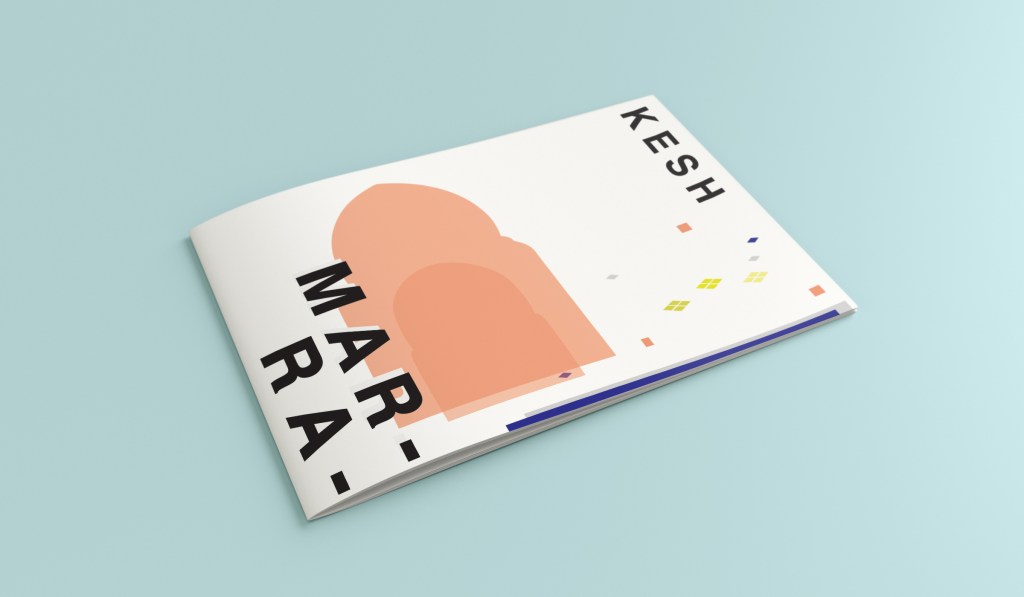
The final layout

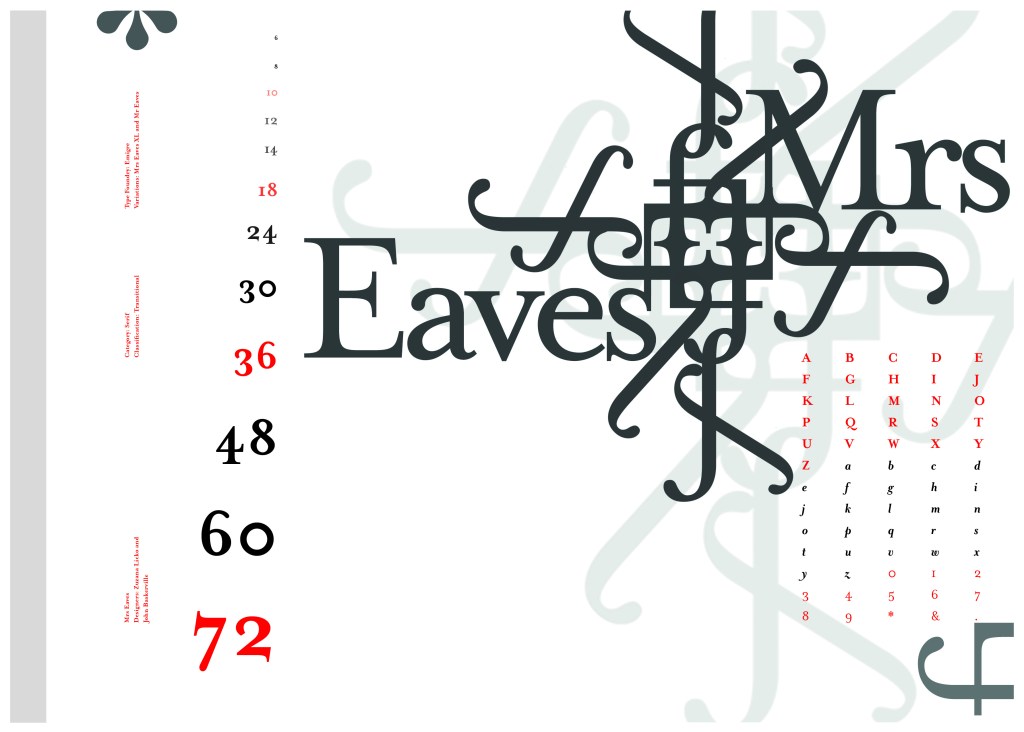
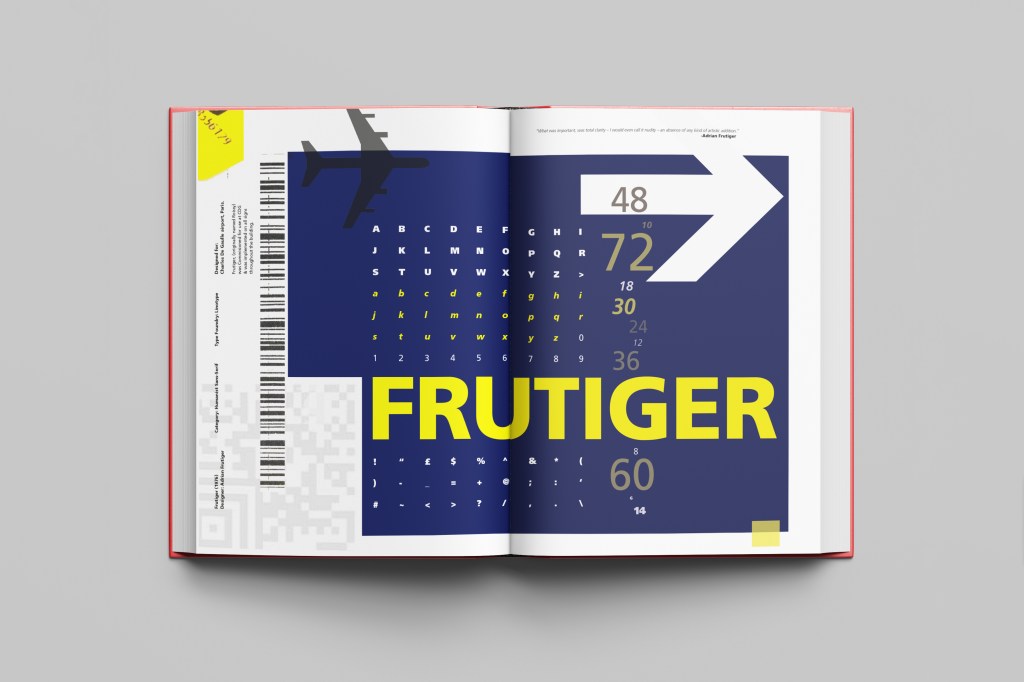
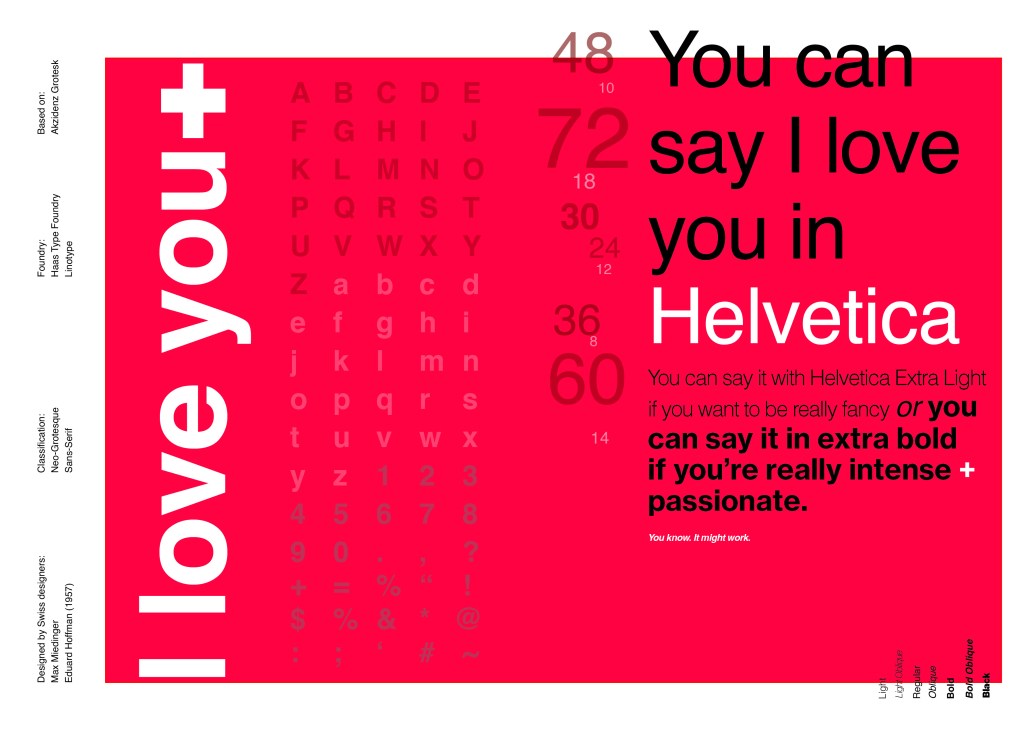
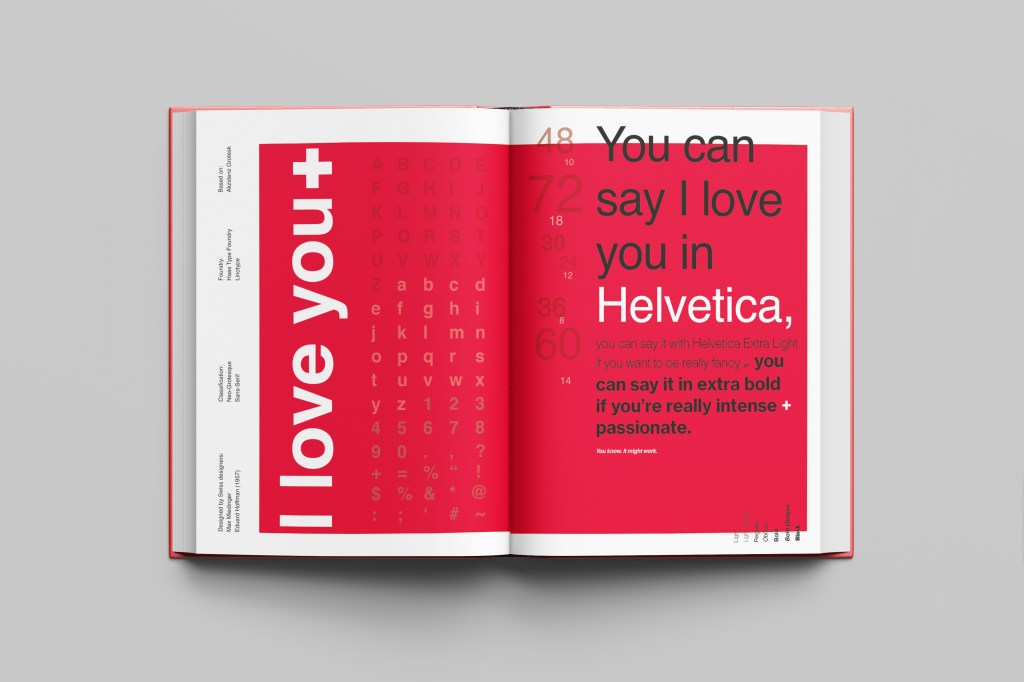
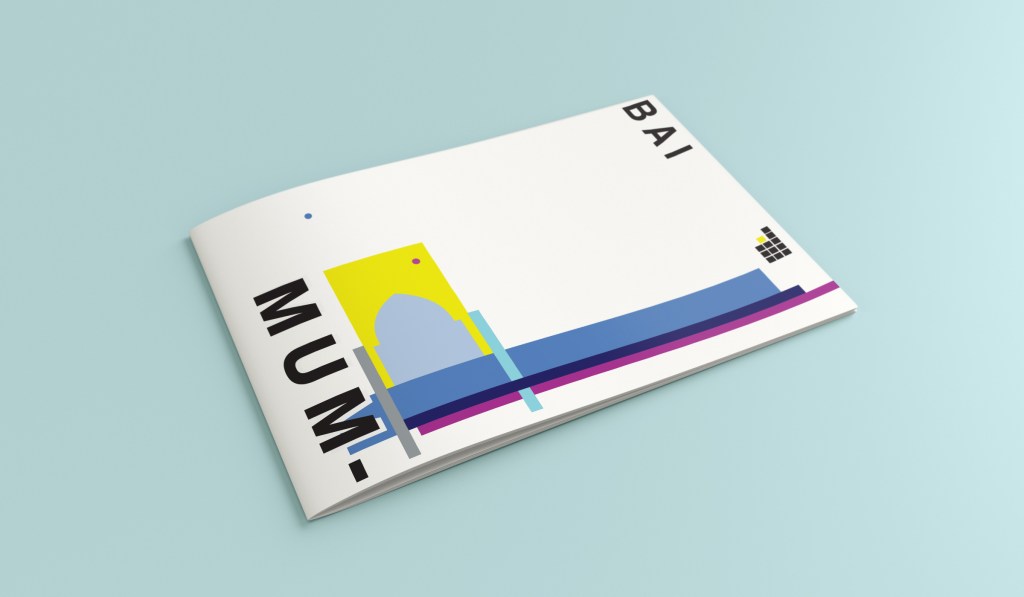
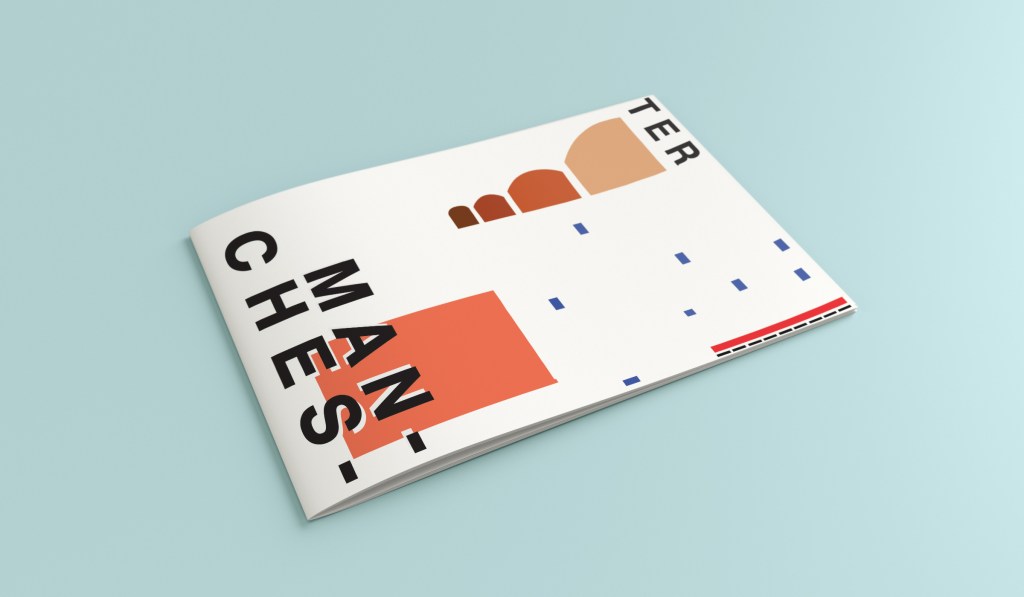
The final mockup