The Brief:
“A rat in a maze is free to go anywhere, as long as it stays inside the maze.”
Margaret Atwood, The Handmaid’s Tale, 1985
Following on from the discussion of George Orwell’s novel 1984, look at the covers for Margaret Atwood’s equally dystopian novel The Handmaid’s Tale (1985), in which a woman finds herself surviving inside a harsh American fundamentalist society that sees women’s roles as subservient cooks, matrons, and mothers. Alternatively, you can pick a different book to respond to but it needs to be one with more than one cover design so avoid recently published books.
Are there key conceptual motifs being used over and over again within different cover treatments?
Can you identify more expressive versions of the covers? Check the date of each version and try to speculate about the historical, political or social context for each one. (Don’t spend long on this but it’s important to realise that creative design doesn’t happen in a vacuum.)
Using one of the main motifs you have identified (such as the uniforms that feature in the book), the title of the book, author’s name, and no more than three colours (including black and white) generate as many different layouts of the cover design as you can. Think about how you can dynamically layer, organise, frame, clash, or balance these elements. Work quickly and come up with lots of different visual possibilities.
This is a similar exercise to the Lightbulb Project in Graphic Design 1, which aims to generate quick design possibilities by arranging your typography, motif and colours in as many, and as varied, ways as possible.
Use thumbnail drawings or DTP layouts to achieve at least ten fundamentally different layouts. This is a warm-up exercise that will help you with your approach to designing a cover for assignment two.
I really liked this exercise even though I had never heard of the book before I started this brief! As always I started off by doing some research into previous covers and reading a summary of the book to get a feel for what the storyline was about. I then found out that there is a series (4 seasons) that is streaming on Amazon Prime (which now I am HOOKED on!) so I also started watching that initially for some inspiration and to try and set the mood for my designs. It is a hard hitting, scary watch!- some scenes take your breath away and make your heart and stomach leap out of your mouth!
I started to research into existing covers on Pinterest which is always one of the best sources for visual references:
I also referenced anything I saw that gave me further ideas or that I thought I could use as inspiration in my designs.
There are lots of covers that have been designed for this book; most of them reference the Handmaid with her red dress and bonnet. This was the main motif that was used but I wanted to try and come up with more expressive designs that people had not yet explored.
One of the images that gave me inspiration was this one that I found on Pinterest:
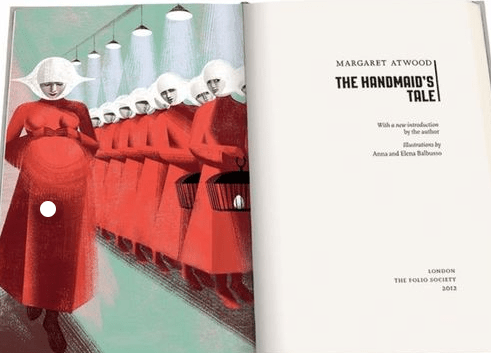
This illustration is from a 2012 copy of The Handmaid’s Tale although it reminds me of something that has come out of a Sci-fi book from the 1960’s/70’s as it feels like it has a futuristic feel to it! The illustration shows a pregnant Handmaid who is looking down at her tummy. When I saw this illustration and looked at her belly, in my head I saw a round, Red circle and I knew this is what I needed to try and use in my designs. I knew I wanted to try and depict the red Handmaid but bring in the fertility element of the storyline.
After doing research on different books in the previous exercise, I had an idea of what I liked and didn’t like and knew that I wanted a very sharp, clean, minimalist cover. The brief also asked that we used limited colours so I knew that an intricate design was out of the question. From doing the previous exercise and researching Suzanne Dean and her award winning minimalistic cover of The Handmaid’s Tale I knew I wanted to take inspiration and draw ideas from this.
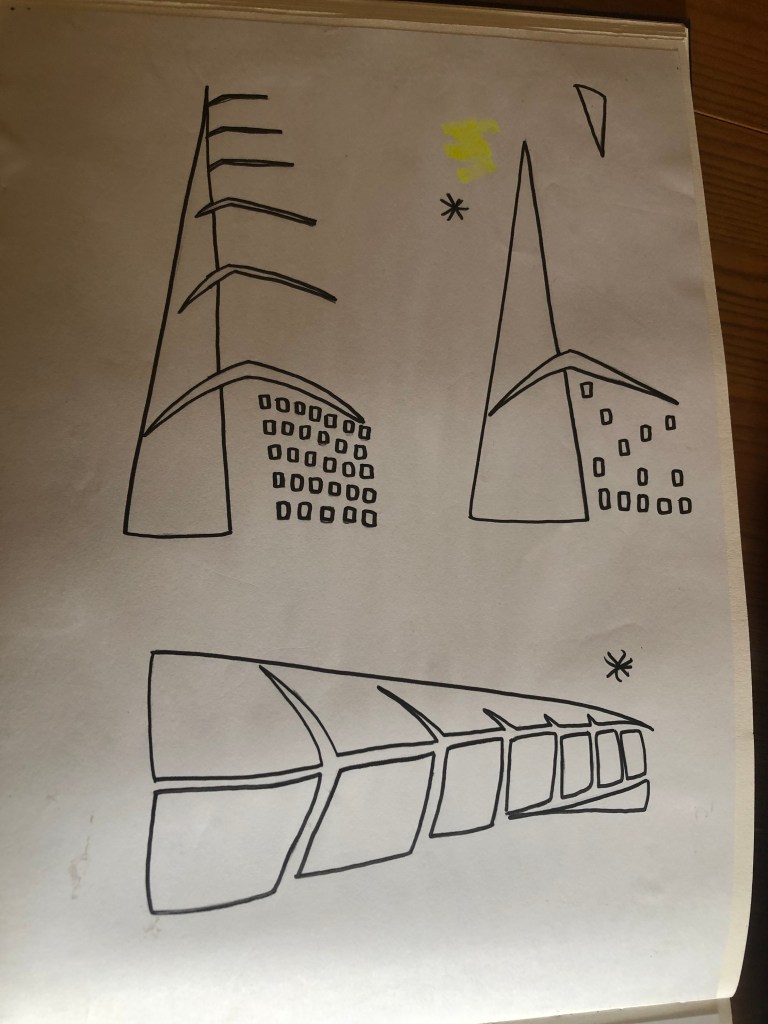
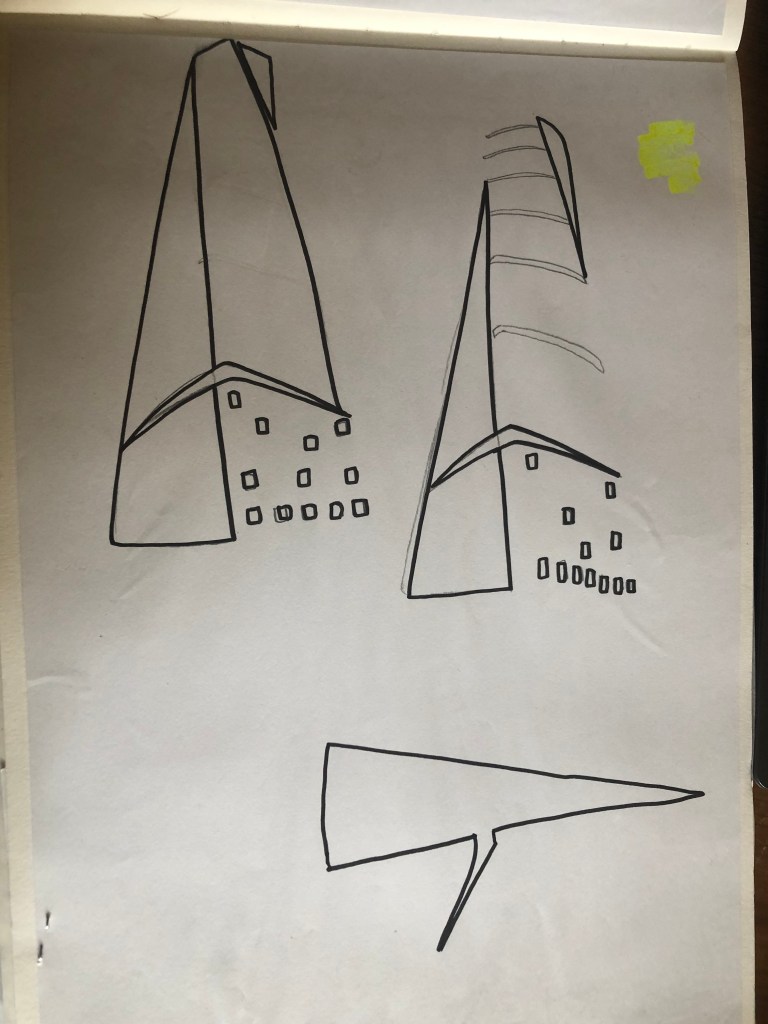
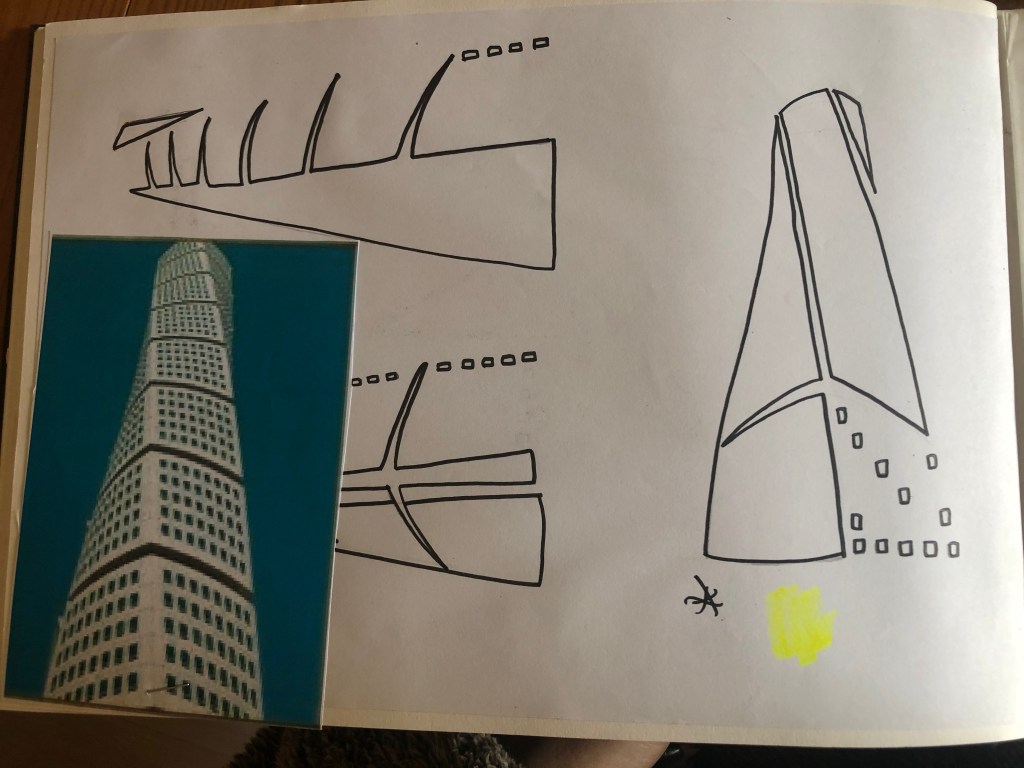
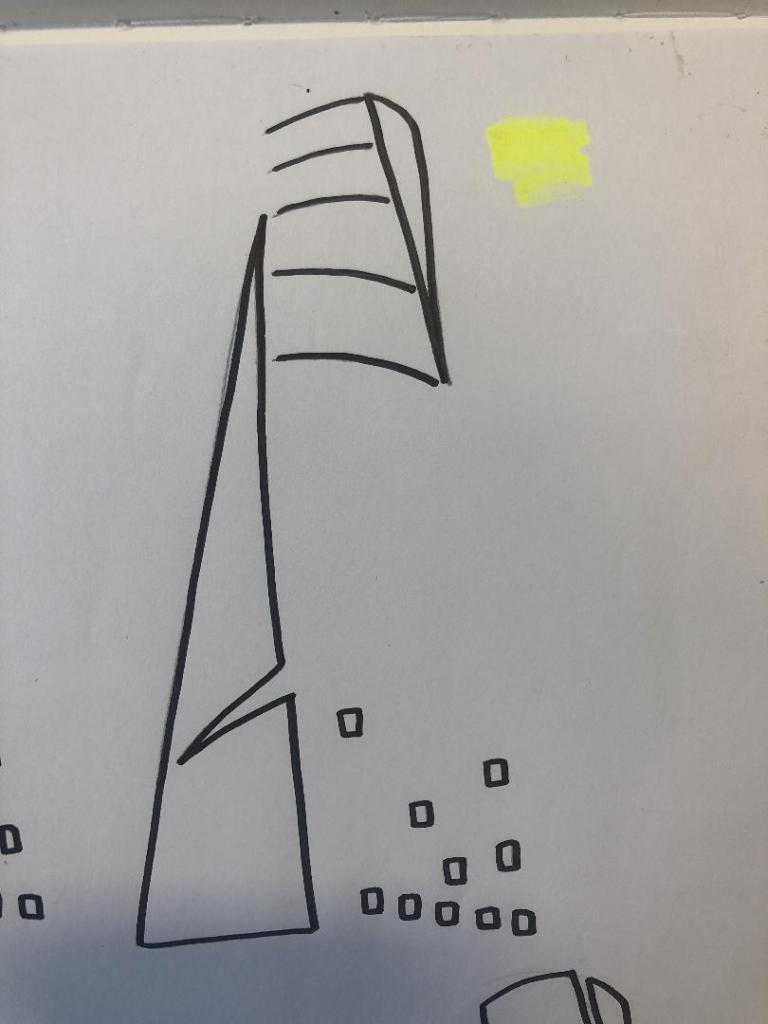
I started to sketch some initial ideas in my sketchbook. I was trying to make the designs as minimal as possible- stripping them right down to their bare essentials- the basic shapes and layout.
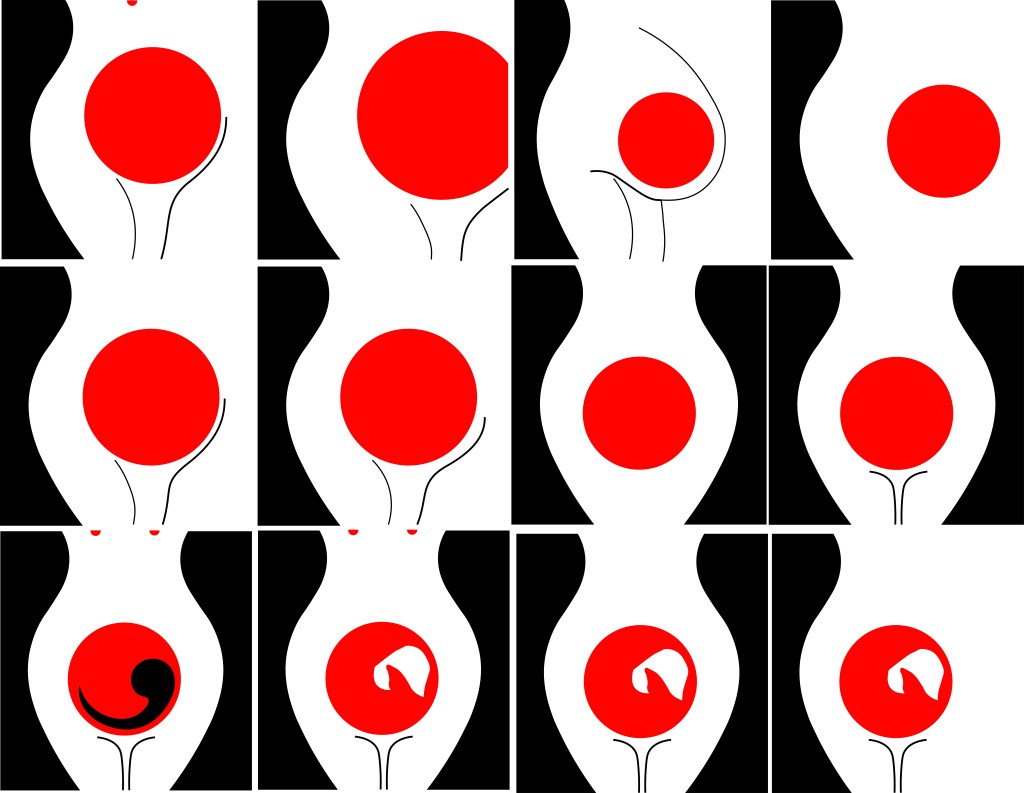
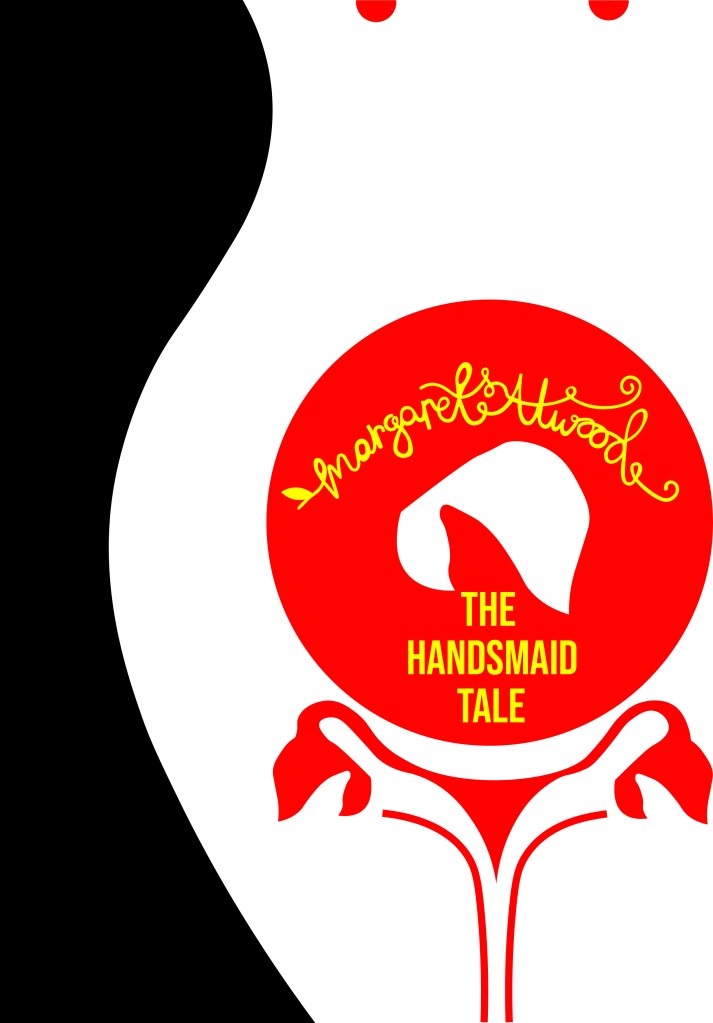
Some of the ideas I came up with were winners and helped me to go forward and develop the ideas but a lot of them just didn’t work! The third along at the top was supposed to symbolize a pregnant tummy but just ended up looking like a droopy boob!! The ones that worked the best are the most simple. I liked the black that I used as the outline silhouette of a woman’s body. I was playing around with the idea of negative space within a design at this point. I then had the idea to depict the unborn child (first in foetus stage) and then just using the bonnet to depict the unborn female in the womb. I also used small red circles on the earlier designs to depict nipples; I wanted to push boundaries and design outside of my comfort zone. The book is all about exploiting women and stripping women of their freedom and their rights and I know that in todays society “free the nipple” is quite a controversial movement! I wanted to advocate this in my design and do more or less the opposite what the book storyline doesn’t do! However, I did reframe in the end from using them in my final design 1) because when I removed them it allowed for negative space at the top of the design and didn’t distract the attention from what I actually want the readers to see and 2) because I felt it would be too much and sexualise the book; I didn’t want the cover to imply “sex” at all – I just wanted the cover to show the womanly, strong, female body and for it to represent the pregnancy storyline.
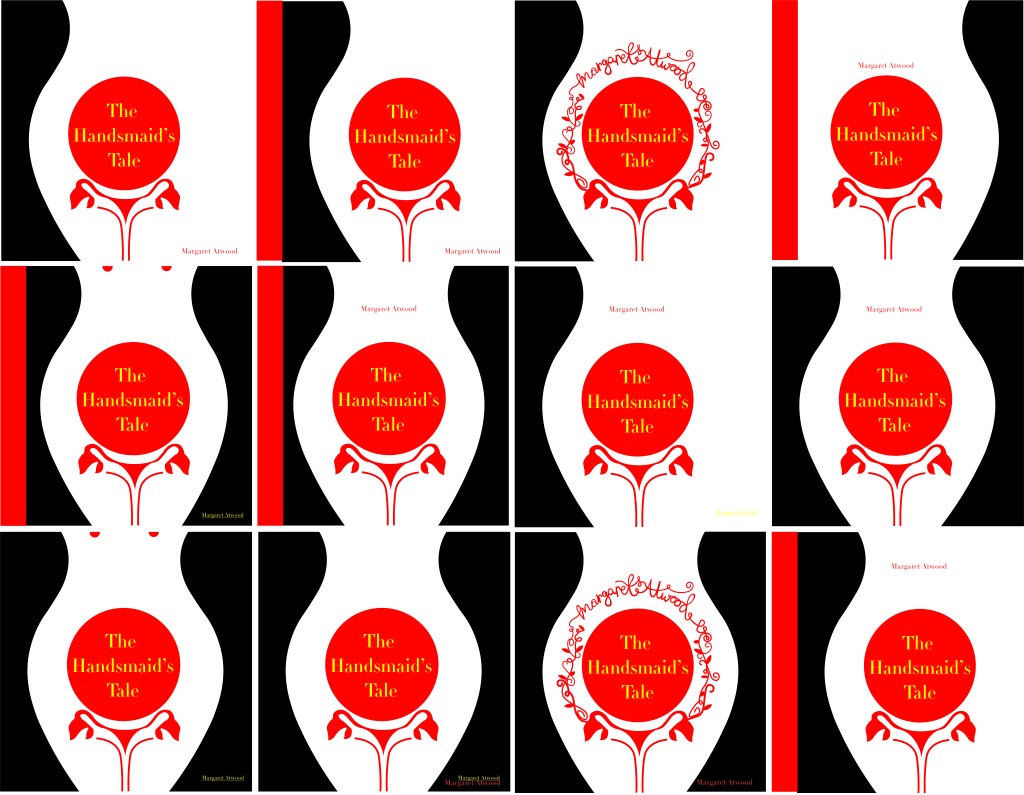
When I had more further ideas of what I was doing I then took the designs forward and developed them into more artboards- eliminating designs at each stage until I finally came up with a handful that I could choose and further develop and improve.
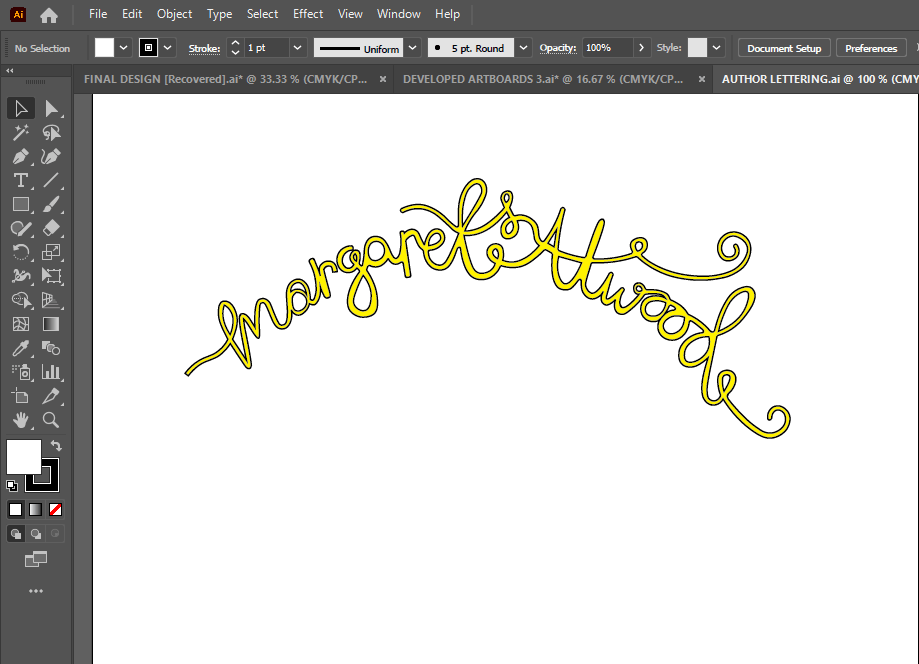
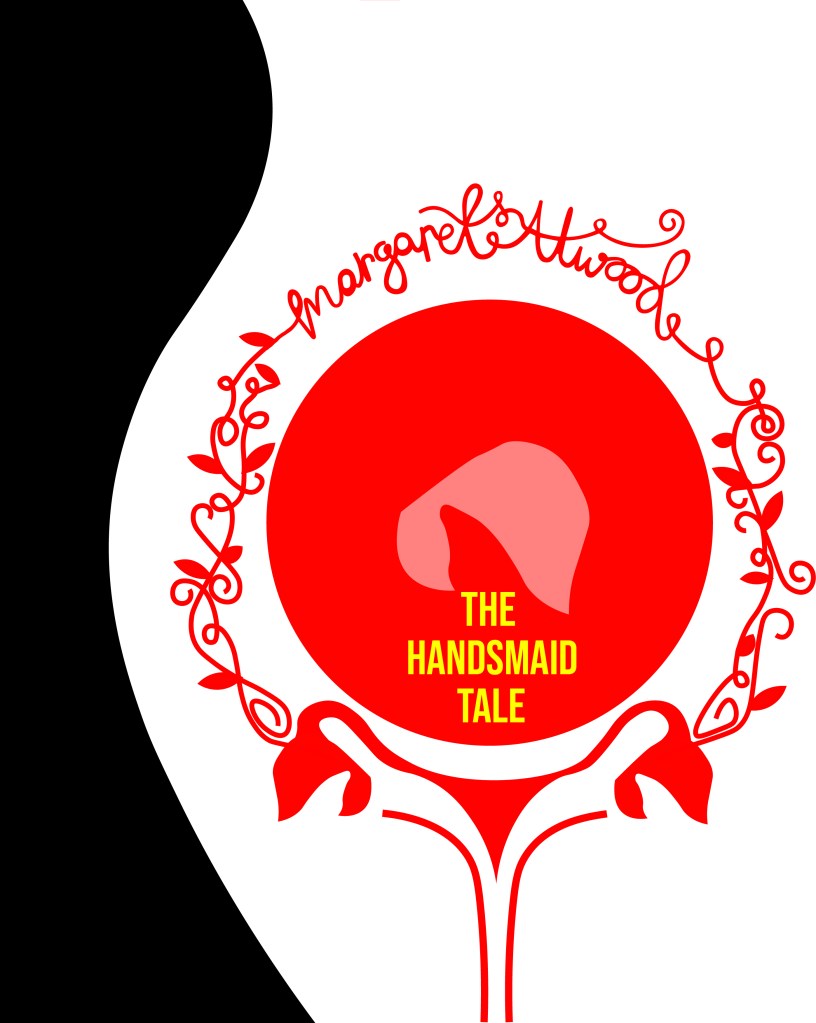
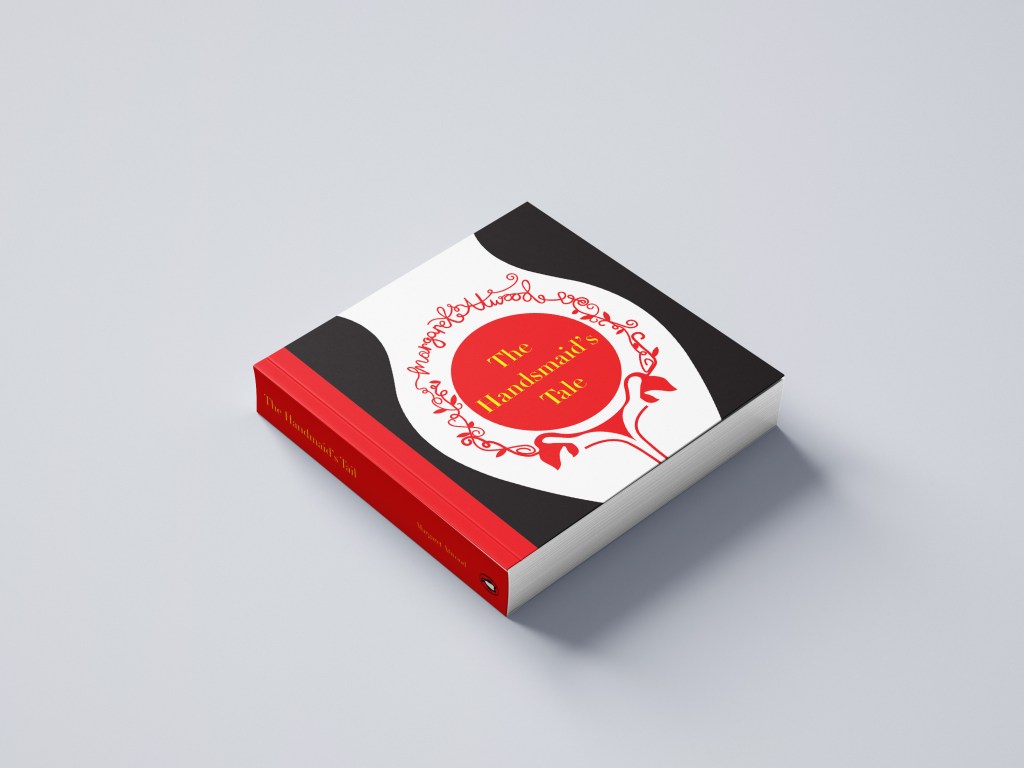
I also experimented with hand lettering because my original idea was to have floral branches and twigs coming out of the pregnant tummy and then evolving into the authors name at the top. I wanted the design to be very feminine and hand lettering just allows a more softer approach that by using typography.
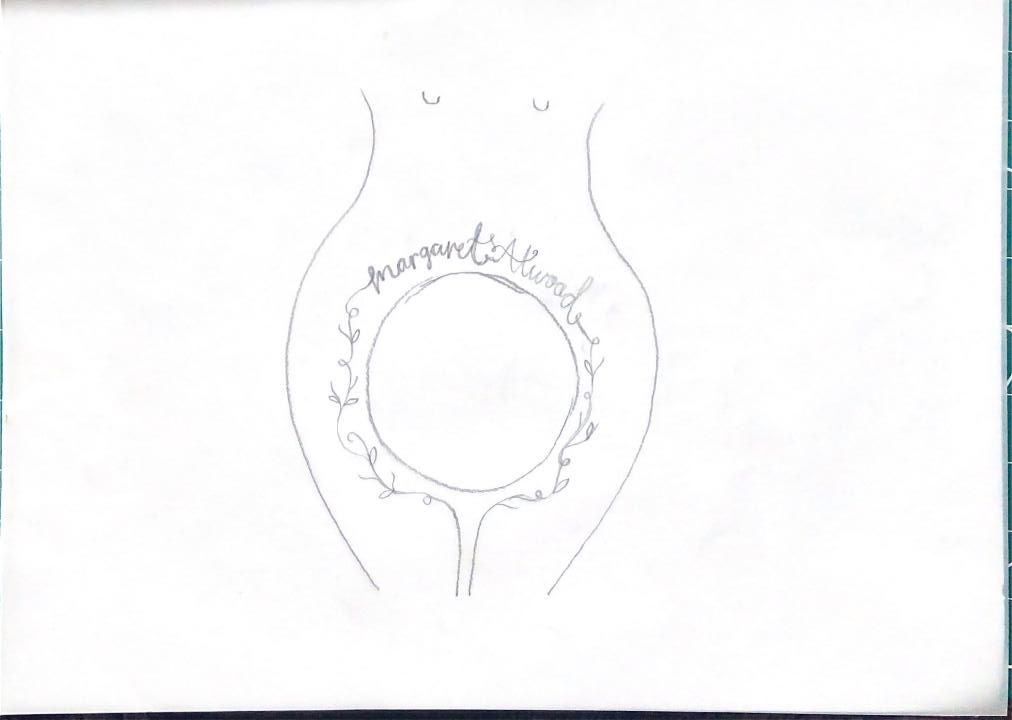
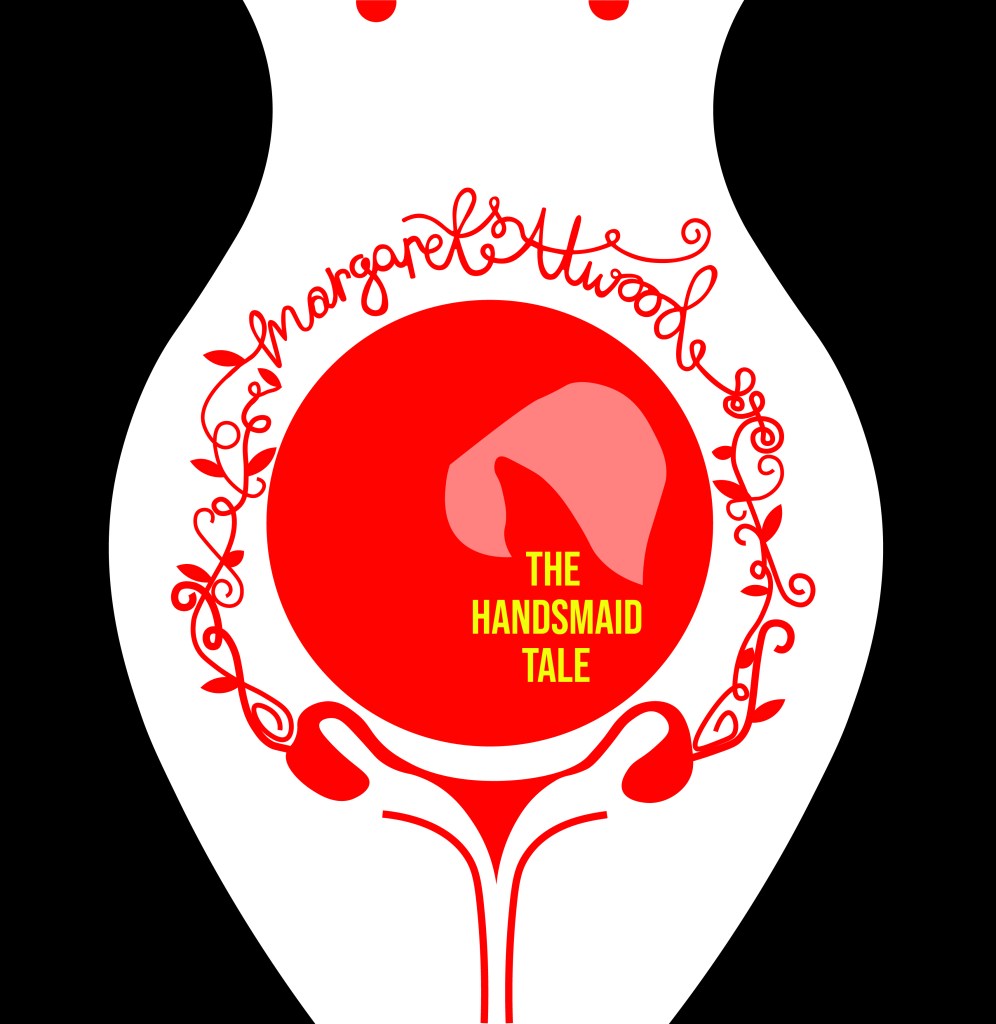
I did change the design from that which I drew above though; instead of having the branches and twigs coming out of the thigh and pregnant belly I had the idea to include the ovaries and make the twigs and branches come out of them instead! I took a key motif (the bonnet) and changed the context of it slightly by making it form the 2 ovaries. I really like this idea because it is using one of the obvious key motifs but using it in such a way that is more expressive and different.


I experimented with hand lettering but also with typography; I wanted to do some design ideas that used typefaces. I was torn between two; Bebas Neue and Didot. Bebas Neue is a Sans-Serif and is very condensed. I initially thought I wanted a sans-serif font that comes across non-expressive, Bold and abrupt but then I thought about the womanly cover and decided that a much softer, feminine typeface would be needed. Didot was the perfect choice! It is a serif font and appears soft and feminine but it is also a lovely, attractive typeface to be able to read (It is popular in glossy fashion magazines!). I then experimented with the leading of the text; I like the tight, condensed look of Bebas Neue but I did think that from a distance it would make it difficult to read if the leading was too tight. I opted for Didot and gave it a much more relaxed, spacious feel.
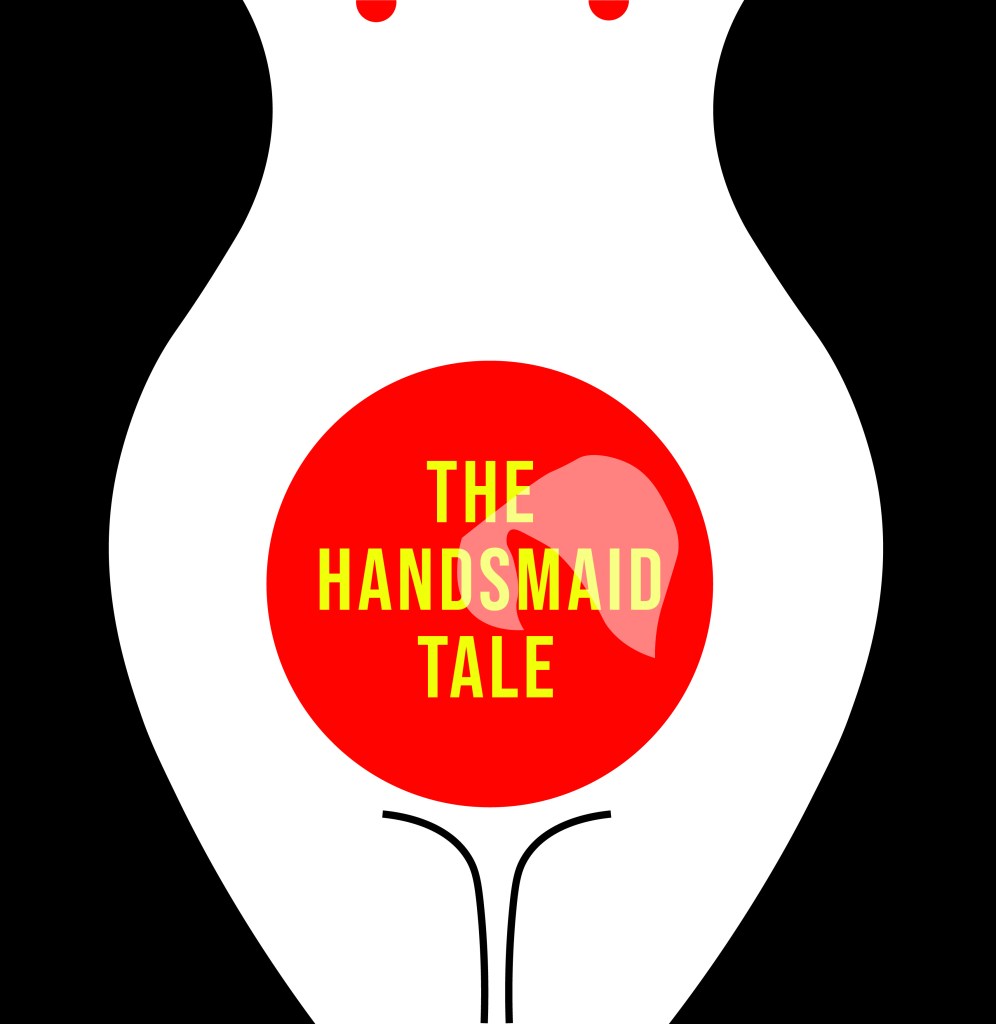
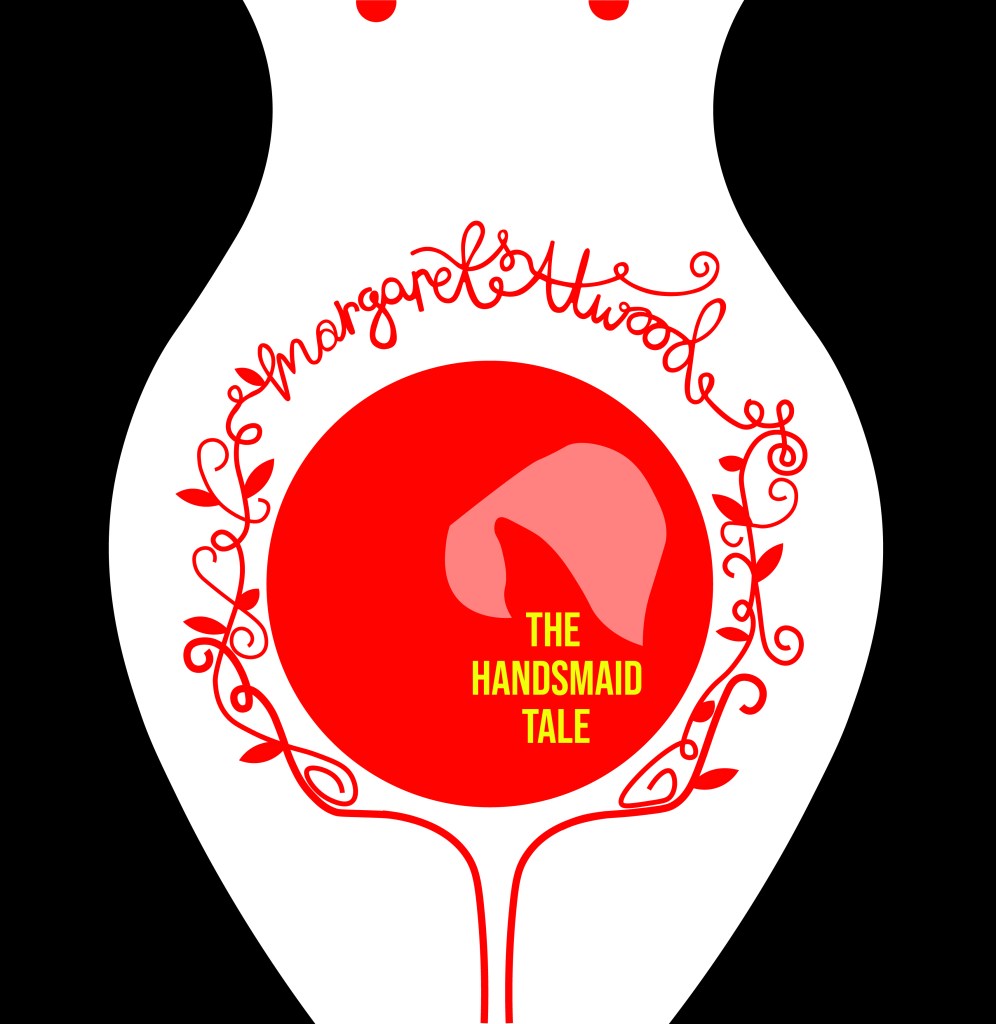
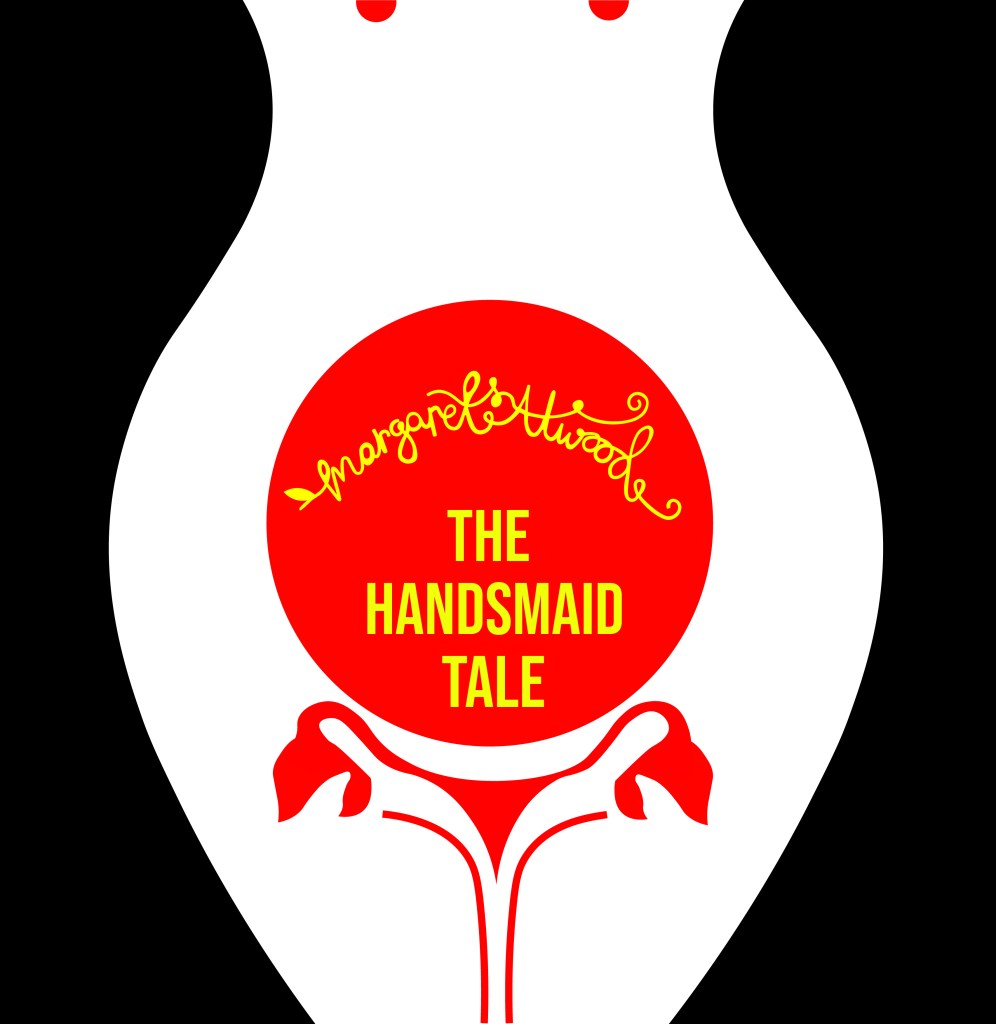

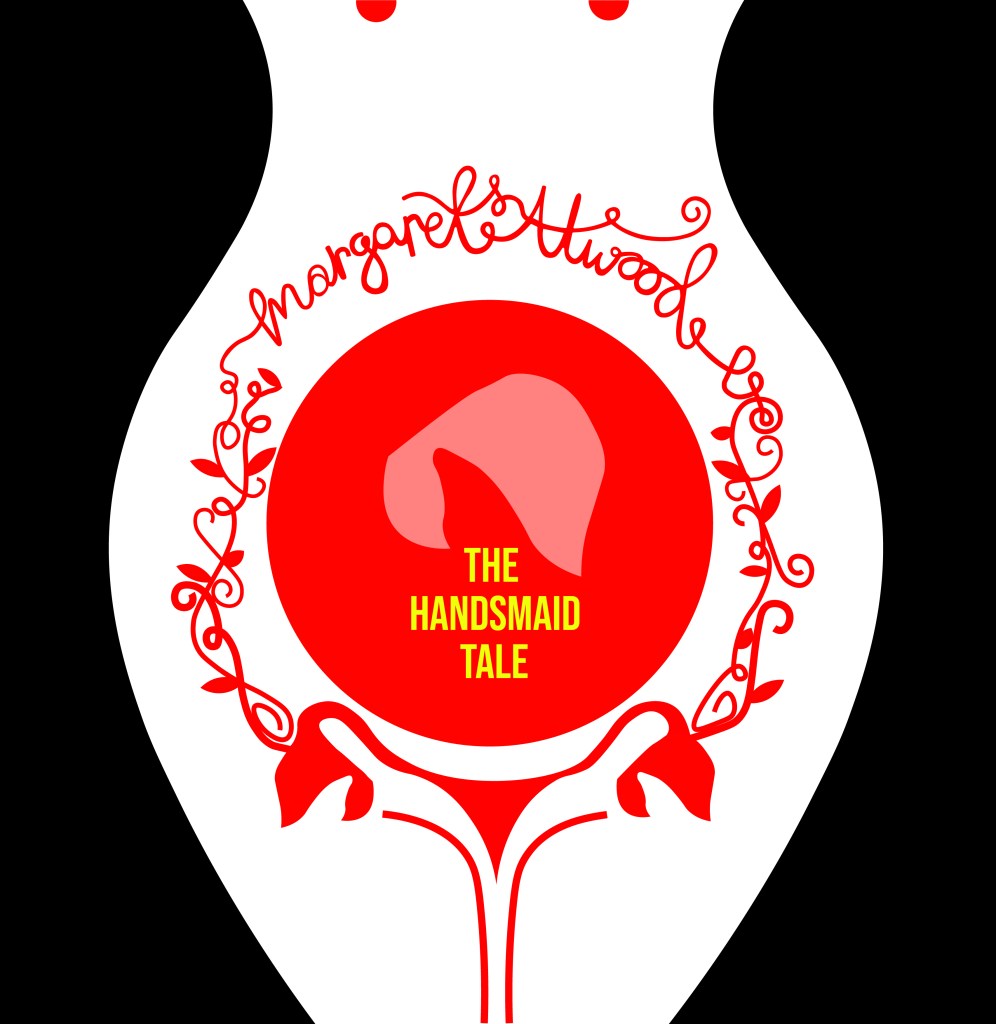
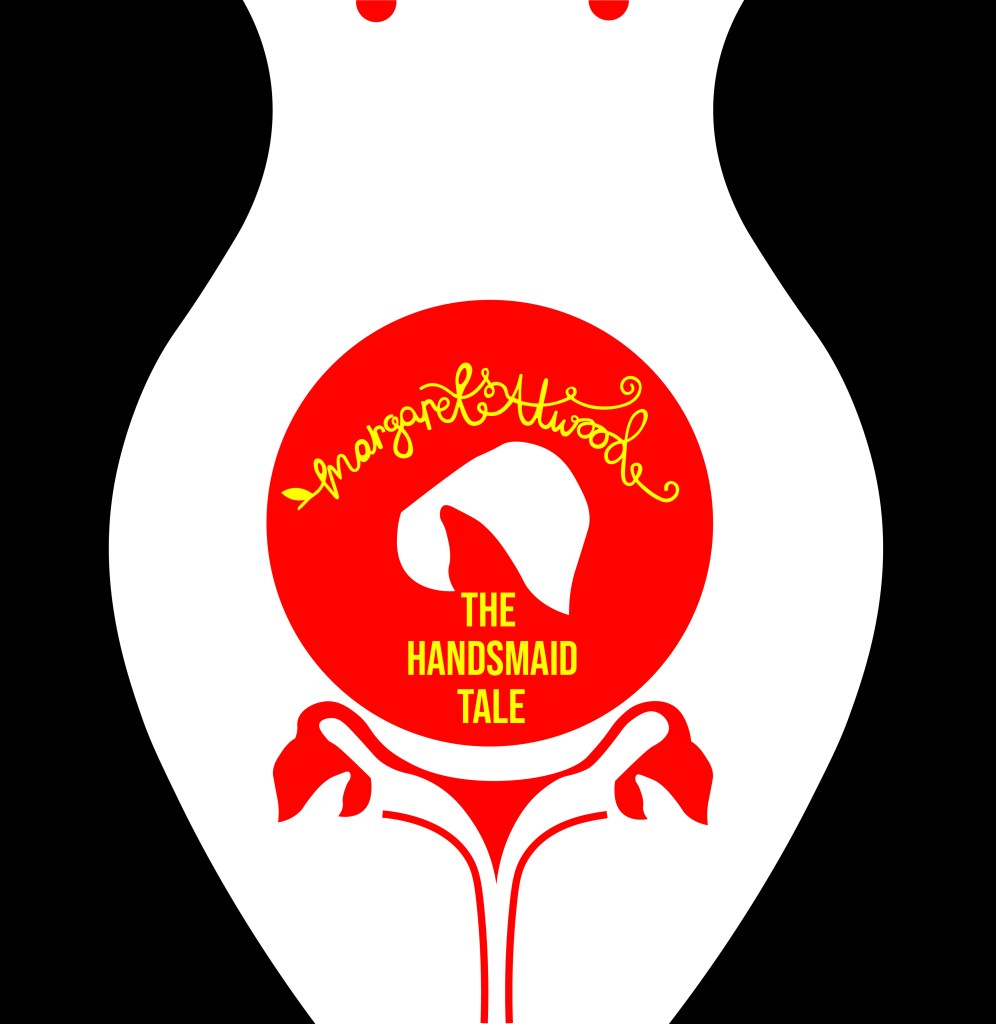


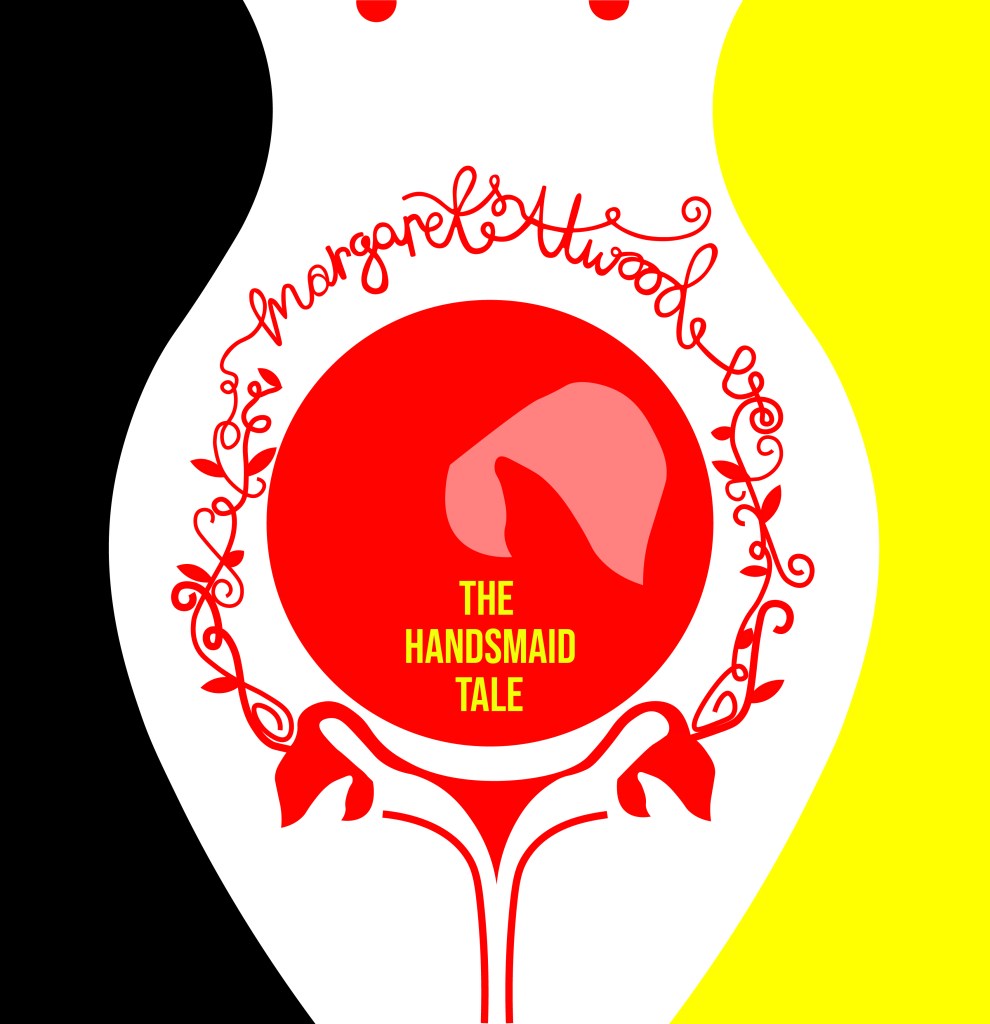

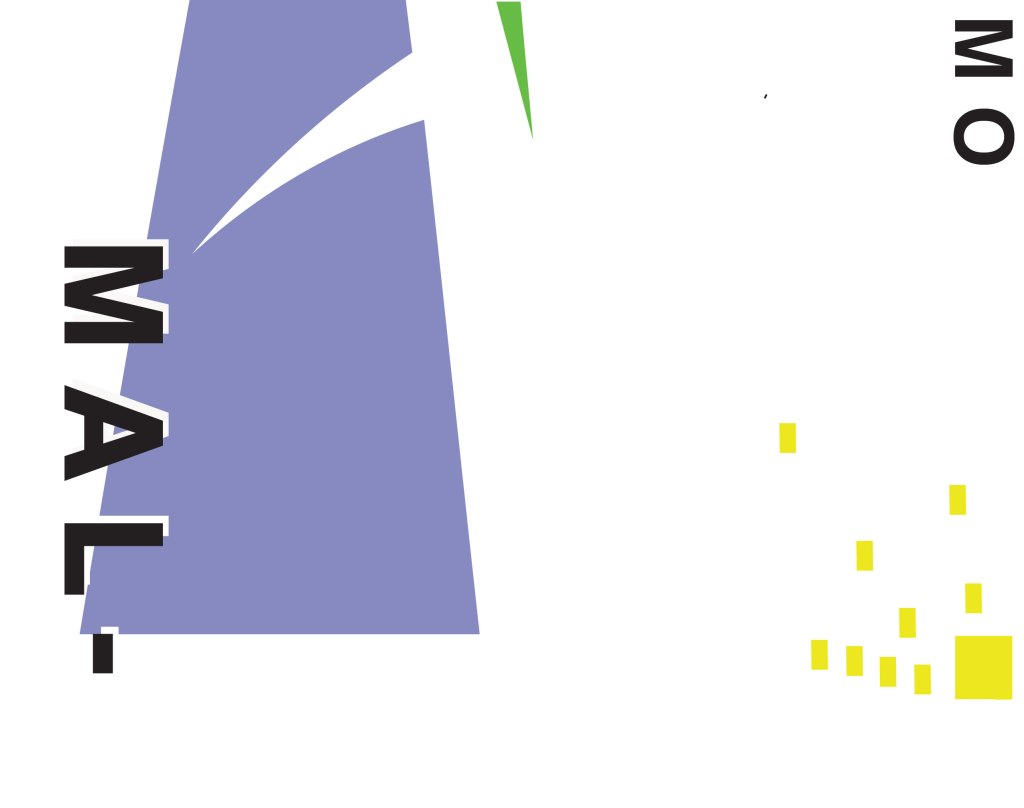
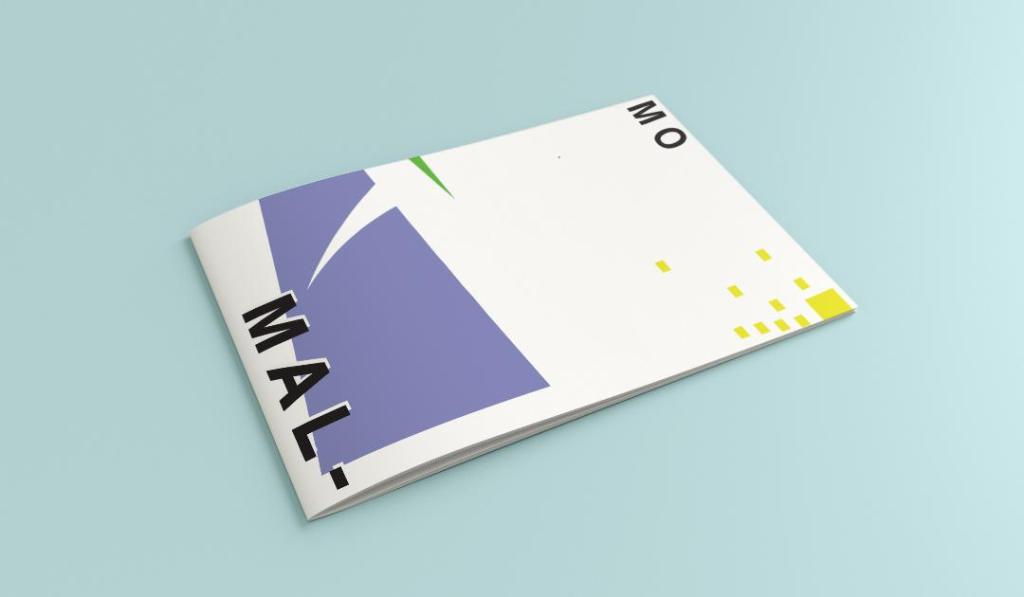
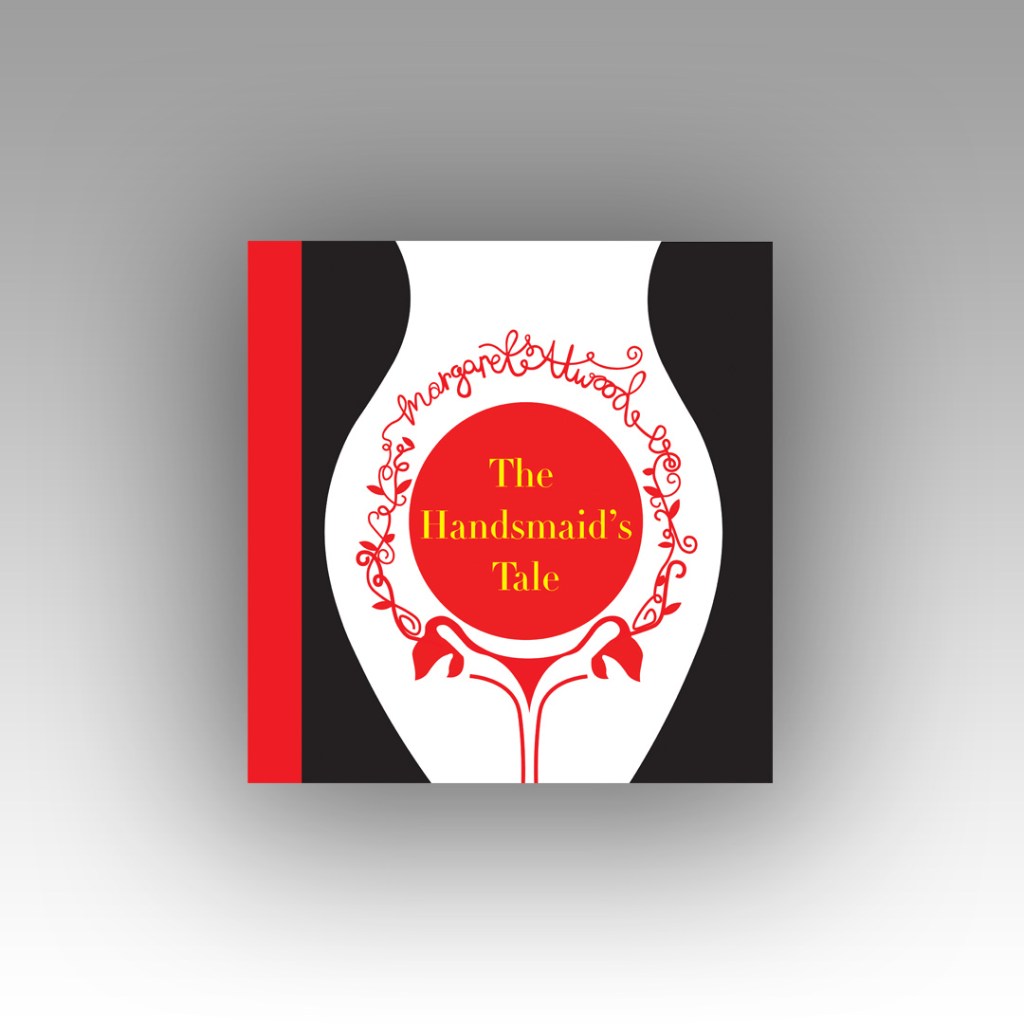
I then developed on the artboard ideas further and experimented with different variations of the typography etc.. I eventually realised that I liked the versions I had done using Didot and with the authors name above in small. I experimented also with colour; the brief specified we were to use no more than 3 colours and the ones I originally experimented with were Red, Yellow and Black. The yellow worked perfectly for the typography as a clash of colour against the rest of the design. It allowed the title to stand out on its own. The red represents the book and the Handmaid and I felt gave it a very communist feel (which actually wouldn’t be too far from the storyline in the book!) Having such simple use of colour really allowed my designs to be striking, clean and really stand out. The colours also contrast each other beautifully.
Just for further feedback and reassurance I printed the artboard pages out and asked my colleagues which ones stood out the best to them. They all agreed with the ones I had chosen as my favourites and these were the ones I took forward. I know that I did not have to produce a final design or cover for this assignment but I enjoyed the exercise so much and really liked my design outcome that I wanted to make it into a final piece for my portfolio and my Instagram account. When I was mocking the designs up, I decided that I liked both versions and wanted both to appear in my portfolio and on my Instagram for comparison so I included both. I do however prefer the version without hand lettering and this would be my choice of final design.
I mocked them up onto a square hardbook book – I had the idea in my head of making a square book as this would allow for more space on the cover:
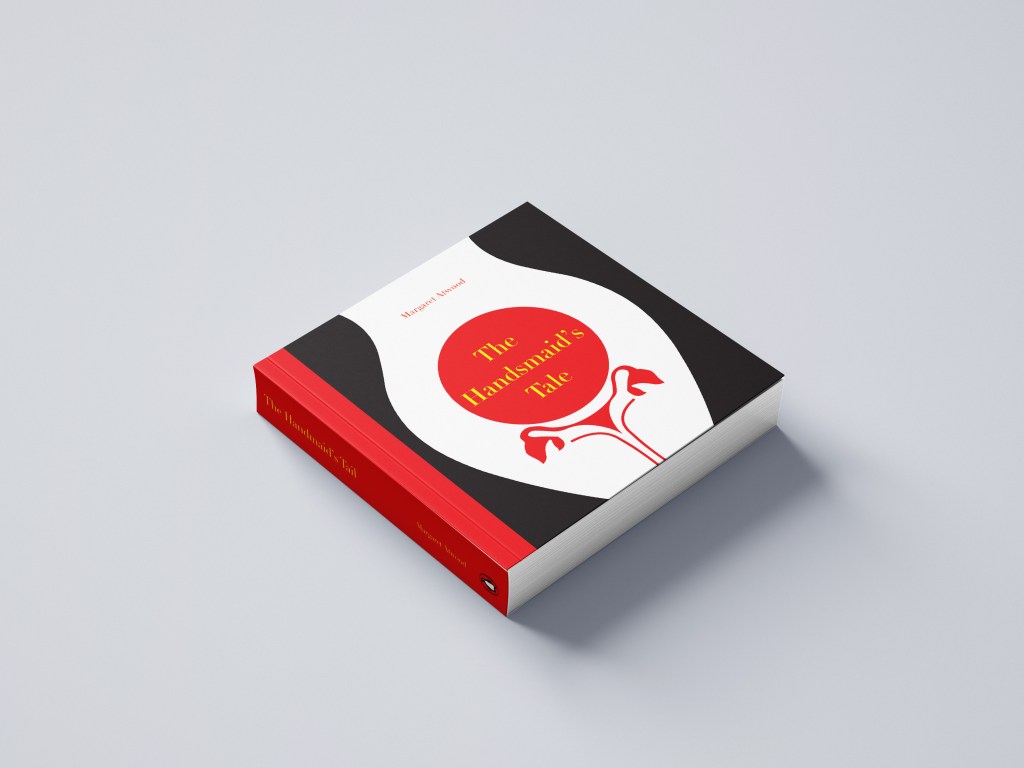
I then mocked them both up onto a paperback edition:

However, because I had designed my design to fit a squared cover I did lose some of the negative space from my original design. I still like it though!
The final designs:

Responding to tutor feedback
My overall feedback for this exercise was really good! One of the things that my tutor mentioned in her feedback though which really let me down was that she thought I hadn’t done any first initial sketches before I took it through to digital – it was so frustrating because I did! (*massive crying face right now!) I just totally forgot to import the photo of my sketches onto my original post!!!
So, here they are! (better late than never!)

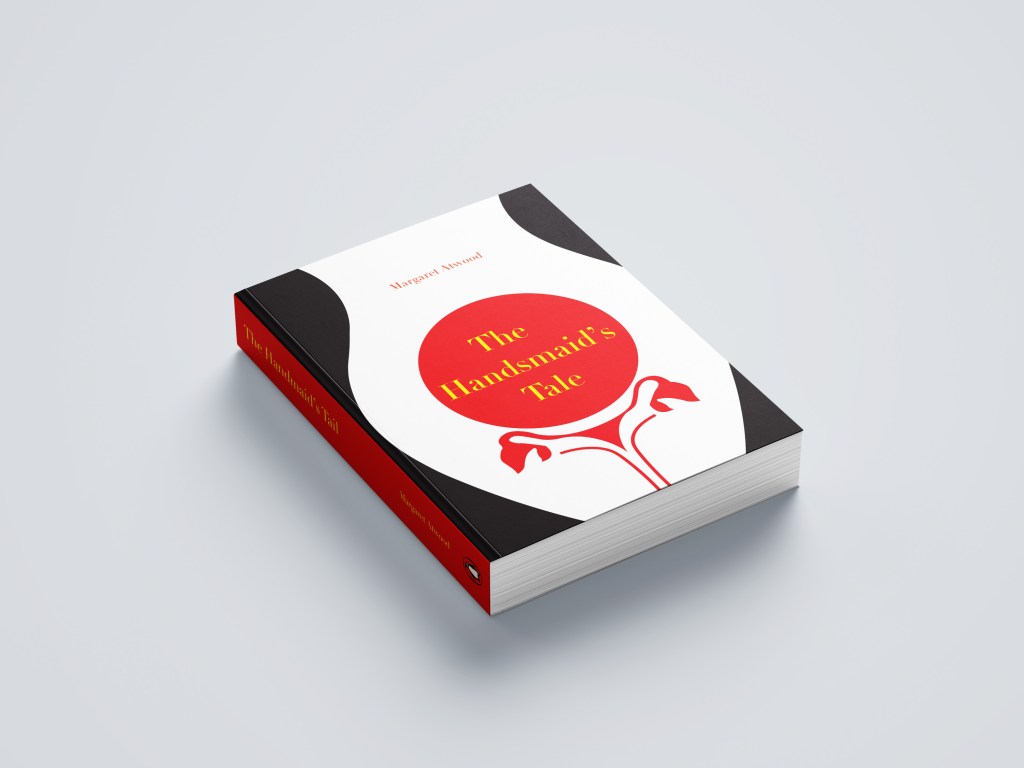
My tutor also commented on my questionable choice of a square book.. which actually now looking back from a few months ago when I completed this exercise I actually completely agree with her. It is unusual to find a squared book unless it is a children’s softback or hardback. I think at the time I massively struggled to find a free A5 decent paperback and hardback mockup online so ended up with the square version!- poor design choice!
Therefore I rethought my decision and mocked my book up nicely onto an A5 mockup:


My tutor then let me know in her opinion she preferred the version of my design where I used hand lettering as it made the book come across more feminine. I totally agree!- I think I just doubt my decisions sometimes and struggle to make final decisions! I could rectify this in the future by doing surveys or something similar where people vote on the final design.. either that or by asking people to critique my work more! The best place to do this would be my workplace as they all have DT experience!
Another question that was highlighted was why did I make the decision to choose yellow as the colour for the type? – simply, I just wanted a contrast from the Red! Yellow and Red both work great next to black but contrast against each other!